


Ever feel like you're shouting your marketing messages into a void? You spend time and money on campaigns, but when you look at your website traffic, it’s just a big, blurry number. That's marketing without UTM parameters.
Think of them as little breadcrumbs you attach to your links. These tiny bits of code tell you exactly how someone found their way to your website, turning vague traffic data into a crystal-clear story.
What Are UTM Parameters and Why They Matter

Imagine you’re throwing a big party. You send out invitations through email, post flyers around town, and run a social media ad. Wouldn't you want to know which invitation brought the most guests? Of course you would. That's precisely what UTMs do for your website traffic.
These small additions to your URLs act like name tags for every visitor. They tell Google Analytics the backstory behind each click, answering critical questions that would otherwise be lost in the shuffle. Without them, traffic from a Facebook ad, an email newsletter, and an influencer's post all gets lumped together.
Turning Confusion Into Clarity
UTM stands for "Urchin Tracking Module," a name from the early days of web analytics. But all you really need to know is that they help you pinpoint the exact source of your visitors. This precision is what turns a confusing mess of traffic data into a clear picture of your marketing performance.
By adding these simple tags, you can finally see:
- Which social media platform drives the most engaged users.
- If your paid ads are actually making you money.
- Which version of an email call-to-action gets the most clicks.
- How much traffic a specific influencer campaign is sending your way.
UTM parameters close the loop between your marketing actions and your website results. They provide the hard evidence you need to justify budgets, prove ROI, and make smarter decisions about where to focus your energy.
This level of detail is a game-changer. To measure the real success of your essential online marketing strategies, using UTMs isn't just a good idea—it's a must-do for accurate tracking.
The Modern Standard for Attribution
Using UTMs isn't some niche hack; it’s a foundational part of modern digital marketing. It's become so standard that by 2025, around 80% of medium to large businesses worldwide are expected to be using them to track where their traffic and sales come from. These tags are what allow for truly data-driven decisions that optimize every dollar you spend.
Ultimately, mastering UTM parameters means you can stop guessing and start knowing. You gain the power to measure what really matters, fine-tune your approach based on solid data, and confidently steer your marketing toward real, measurable growth.
Deconstructing the Five Core UTM Parameters
To really get the most out of Google Analytics, you have to understand what each UTM parameter does. Think of them like the five questions a journalist asks to tell a complete story: Who, Where, How, Why, and Which. Each parameter answers a key question about your website traffic, and together, they build a detailed picture for every single click.
When you get this right, vague traffic data transforms into a clear story about what’s working in your marketing—and what isn’t. This isn't just about tracking clicks; it's about making smarter decisions.
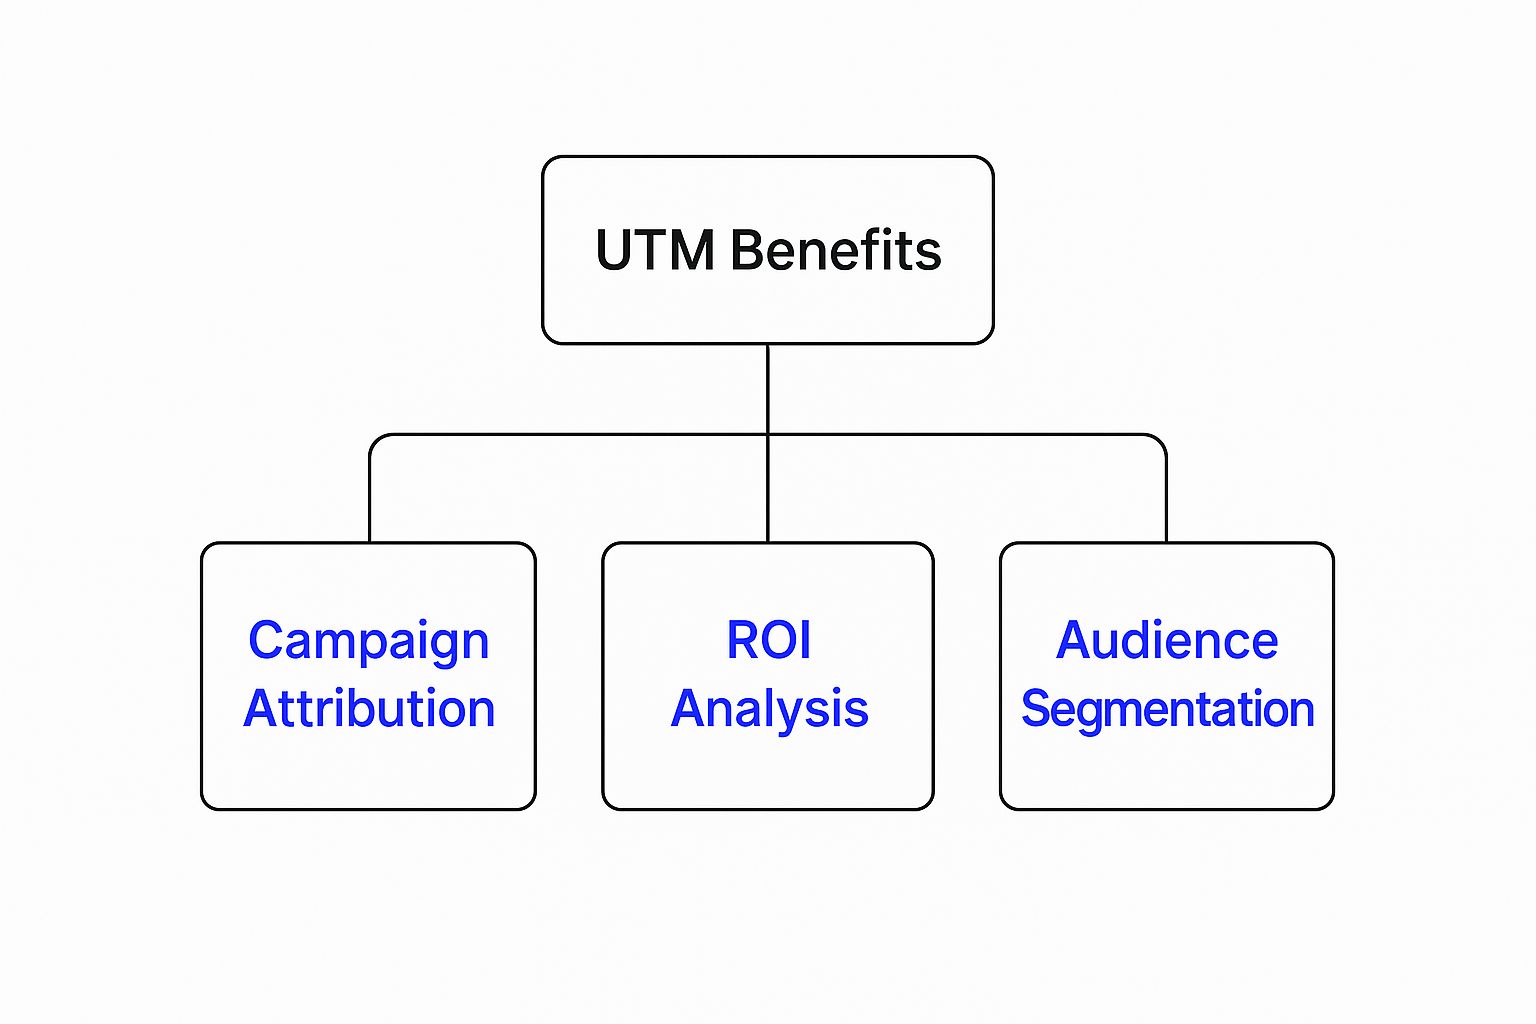
As you can see, it all starts with solid attribution. From there, you get better ROI analysis and can segment your audiences with way more precision. Let’s break down each piece.
To make this crystal clear, here’s a quick-reference table that lays out what each UTM parameter is for, the question it answers, and a few real-world examples.
The Five Essential UTM Parameters Explained
| UTM Parameter | Core Question It Answers | Example Values |
|---|---|---|
| utm_source | Where is the traffic coming from? | google, facebook, newsletter, linkedin |
| utm_medium | How did the traffic get here? | cpc, social, email, affiliate |
| utm_campaign | Why are we running this marketing effort? | summer-sale-2024, new-product-launch |
| utm_term | What keyword or audience did we target? | running_shoes, marketing-managers-us |
| utm_content | Which specific link or ad was clicked? | blue-button, header-link, image-ad-v2 |
Think of this table as your cheat sheet. Now, let's dig into the specifics of how you’d actually use these in the wild.
Utm_source: The "Where"
The utm_source parameter is your starting point. It answers the simple but crucial question: "Where did this visitor come from?" This tells you the specific platform, website, or publication that sent the traffic your way.
Be specific here. Vague sources like "social" are pretty useless. You need to name the exact platform.
utm_source=google(for Google Ads traffic)utm_source=facebook(for traffic from Facebook)utm_source=active-campaign(for an email newsletter)
This is the first layer of understanding where your best visitors originate.
Utm_medium: The "How"
Next up is utm_medium, which answers the question: "How did this traffic get here?" It describes the marketing channel, giving you a way to group your efforts into broader categories for high-level analysis.
You can think of the medium as the type of vehicle (like a car or a bus) and the source as the specific route it took. You might have multiple routes (Facebook, Instagram, LinkedIn) all using the same vehicle type (social media).
Common mediums you'll see are:
- cpc: Cost-per-click, for any paid ads.
- social: For links shared organically on social media.
- email: For links clicked inside your email campaigns.
- affiliate: For links from your affiliate partners.
When you combine source and medium, you get a really clear picture, like facebook / cpc (a paid ad on Facebook) versus facebook / social (a regular, unpaid post).
Utm_campaign: The "Why"
This is where it all comes together. The utm_campaign parameter answers the big-picture question: "Why are we running this marketing effort?" This tag lets you group all the different ads, emails, and posts related to a single marketing initiative.
Whether it’s a holiday sale, a new feature announcement, or a push to promote a new blog post, the campaign name ties it all together. This is how you measure the total impact of a campaign across every channel you're using.
For instance, a summer promotion might have links like these:
- An email blast:
utm_source=active-campaign&utm_medium=email&utm_campaign=summer-sale-2024 - A Facebook ad:
utm_source=facebook&utm_medium=cpc&utm_campaign=summer-sale-2024
Later, in Google Analytics, you can just filter by "summer-sale-2024" and see exactly how the whole campaign performed.
Utm_term and Utm_content: The "What" and "Which"
The last two parameters, utm_term and utm_content, are technically optional, but this is where the real magic happens for optimization. They add powerful layers of detail.
utm_term(The What): This was originally designed to track the specific keywords you're bidding on in a paid search campaign (e.g.,utm_term=running_shoes). Today, it's also super useful for identifying audience segments in your social ads.utm_content(The Which): This is an absolute must for A/B testing. It helps you tell the difference between multiple links that all point to the same URL within the same campaign. You can use it to track which specific button, image, or call-to-action got the click (e.g.,utm_content=blue-buttonvs.utm_content=header-link).
Mastering these five Google Analytics UTM parameters gives you the granular data you need to stop guessing and start making marketing decisions that are actually backed by data.
How to Build and Implement UTM Tagged URLs
Knowing the five Google Analytics UTM parameters is one thing, but putting them into action is where the magic really happens. Moving from theory to practice can feel a little intimidating, but it’s much simpler than it looks. You can either build your tracking URLs by hand or use a dedicated tool to do the heavy lifting for you.
Manually piecing a URL together is a great way to understand how it all works under the hood. The formula is simple: just take your base URL, add a question mark (?), and then string your parameters together using ampersands (&).
For example:https://www.yourwebsite.com/landing-page?utm_source=facebook&utm_medium=social&utm_campaign=summer-sale
While that works just fine, it’s surprisingly easy to make a mistake—a single typo can break your tracking completely. That’s why most marketers I know rely on specialized tools to keep things consistent and accurate.
Using Google's Campaign URL Builder
The easiest way to get your feet wet is with Google's own free Campaign URL Builder. It’s basically a simple form where you plug in your website URL and fill in the fields for each parameter. The tool then spits out a perfectly formatted URL, ready to copy and paste.
This approach takes all the guesswork out of the equation and ensures your links are always structured correctly, which is absolutely vital for keeping your Google Analytics data clean.
Here’s a look at the builder in action, all set to create a tracking link for a social media campaign.

As you fill in the fields for source, medium, and campaign, you can see the tool generating the complete, ready-to-use URL at the bottom. It’s a very visual process that makes it crystal clear how each piece of information contributes to the final tracking link.
For those of us managing tons of campaigns, an even more advanced UTM generator can be a real lifesaver, allowing you to save templates and maintain consistency across all your team's efforts.
Where to Implement Your Tagged URLs for Maximum Impact
Okay, so you’ve created the URL. That’s step one. The real value comes from putting it to work strategically across all your marketing channels. The goal is simple: replace every standard link you share with a tagged version so you can trace every single click back to its origin.
Here are the most critical places to deploy your new UTM-tagged URLs:
Paid Advertising Campaigns: This one is non-negotiable. Whether you're running ads on Google, Facebook, LinkedIn, or TikTok, every ad's destination URL must be tagged. This is how you measure the exact ROI of each campaign, ad set, and individual creative.
Email Marketing: Don't let your email traffic get lost in the murky "direct" traffic bucket. Tagging links is essential for measuring the true impact of your effective email marketing strategies. Make sure to tag every link in your newsletters, promotional emails, and automated sequences. You can even use
utm_contentto see if people click the header link, an image, or the main call-to-action button.Social Media Posts: Every link you share in your organic social media posts needs a UTM tag. This is how you distinguish traffic from a paid ad (
utm_medium=cpc) versus a regular organic post (utm_medium=social). And don't forget to tag the link in your social media bio to track clicks from your profile page!Influencer and Affiliate Marketing: When you’re working with partners, give them unique UTM-tagged links. Using their name in the
utm_source(likeutm_source=influencer-jane-doe) lets you attribute traffic and conversions directly to their efforts, making it easy to see who your top performers are.
Pro Tip: Let's be honest, the URLs that these tools generate can be long and ugly. Always use a URL shortener like Bitly to create a cleaner, more user-friendly link before you share it with the world.
You can even track offline materials. By generating a QR code from a UTM-tagged URL, you can measure engagement from print ads, flyers, or event banners. This 360-degree approach ensures that no matter where a visitor comes from, you have the data to understand their journey.
Finding Your UTM Campaign Data in Google Analytics 4
Alright, you've done the hard work. You’ve carefully built your UTM-tagged links and sent them out into the wild across your marketing channels. Now for the fun part: watching all that data roll in and start telling a story.
This is where you connect the dots, turning those tracking codes into real, actionable insights. But where exactly is this treasure trove of information hiding inside Google Analytics 4?
Navigating GA4 can feel a bit like exploring a new city at first, but your campaign data is just a few clicks away. Once you know the route, you'll see GA4 automatically sorts your traffic based on the parameters you set, giving you a crystal-clear picture of what’s working and what’s not.
Locating the Traffic Acquisition Report
The main hub for all your UTM data is the Traffic acquisition report. Think of this report as your mission control for understanding how people find your website. It shows you where each user's session came from.
Here’s the simple path to get there:
- Log in to your Google Analytics 4 property.
- On the left-hand menu, click on Reports.
- Look for the Life cycle section and open the Acquisition dropdown.
- Click on Traffic acquisition.
When you first land on this report, you'll see a table organizing your traffic by Session default channel group. This is a great high-level overview, but the real magic happens when you switch the primary dimension to view your specific UTM data.
Just click the small dropdown arrow on the table's first column. From there, change the primary dimension to Session source / medium or Session campaign. Instantly, the report reshuffles to show you performance based on the exact utm_source, utm_medium, and utm_campaign values you created.
In GA4, Google Analytics UTM parameters are still the gold standard for campaign attribution. They track over 95% of all campaign-driven traffic around the globe. GA4 is built to automatically recognize and process these tags when a user clicks your link, which is what allows for such detailed analysis. For a deeper dive, Analytify.io offers more great insights on how GA4 and UTMs work together.
Drilling Deeper with Secondary Dimensions
Seeing your overall campaign performance is one thing, but what about the nitty-gritty details? How do you know if your A/B test on an ad creative or a call-to-action button was successful? This is where the utm_content parameter becomes your best friend.
You can pull this data into your report by adding a secondary dimension. It’s like adding another layer of detail to your analysis. For instance, if you're looking at your "summer-sale" campaign, you can add a secondary dimension to see precisely how each ad variation performed.
Here's how to add a secondary dimension:
- In the Traffic acquisition report, click the small blue plus sign (+) right next to the primary dimension dropdown.
- A search box will pop up. Type "content" and choose Session manual ad content.
Boom! The report updates with a new column, showing the
utm_contentvalues you used. Now you can directly compare the performance of yourblue-buttonversus yourheader-link, or see howimage-ad-v1stacked up againstimage-ad-v2, all within the same campaign.
This level of detail is what separates good marketing from great marketing. It helps you answer specific, crucial questions like, "Do our video ads actually drive more conversions than static images?" or "Which email CTA gets the most clicks?"
Being able to see and analyze this data is a core function of any quality social media analytics dashboard.
By mastering these simple reporting tricks in GA4, you graduate from someone who just makes UTMs to a marketer who uses them to drive intelligent, data-backed decisions. You’ll be able to report on campaign success with confidence, justify your marketing spend, and constantly refine your strategy based on what the numbers are telling you. This is the real payoff for all that work you put into setting up your tracking correctly.
UTM Best Practices for Clean and Accurate Data

Anyone can slap some Google Analytics UTM parameters onto a URL. That part's easy. But using them well? That’s an art form, and it's what separates clean, actionable data from a confusing mess. Inconsistent or poorly planned UTMs can create chaotic analytics reports that are actually worse than having no data at all.
Think of your UTMs as a digital filing system for your marketing traffic. If everyone on your team uses their own random labeling method, you’ll never find what you're looking for. By setting up clear rules from the start, you make sure every click gets filed correctly. The result is consistent, reliable, and incredibly powerful reporting.
Establish a Consistent Naming Convention
This is your first, and most important, rule of order: create a rock-solid naming convention and stick to it like glue. Consistency is the bedrock of clean data. Without it, your analytics will splinter into dozens of hard-to-read fragments.
Here are the non-negotiable rules every team should live by:
Always Use Lowercase: Google Analytics is case-sensitive, which is a classic rookie mistake. To GA,
Facebook,facebook, andFaceBookare three completely different sources. A simple "lowercase only" rule instantly cleans this up.Use Underscores or Hyphens, Not Spaces: Spaces in URLs are trouble. They can break links or turn into ugly strings of characters like
%20. Just use an underscore (_) or a hyphen (-) to separate words.summer_saleis clean and effective;summer saleis a mess waiting to happen.Keep It Simple and Descriptive: Your campaign names need to make sense to anyone on your team, even months from now. Ditch the cryptic codes and internal jargon. A name like
q3-promo-us-2024is infinitely more useful thanpromo123.
Following these simple rules prevents the small, seemingly harmless errors that compound into massive data headaches over time. A disciplined approach is where clean data begins.
Create a Shared UTM Management System
The bigger your team gets, the faster UTMs can descend into chaos. If one person tags links with utm_source=facebook while another uses utm_source=fb, your tracking is already compromised. The fix is a centralized system that everyone on the team uses, every single time.
A simple shared spreadsheet—like a Google Sheet—is often the perfect tool for this. It becomes the single source of truth for all your campaign links.
Your sheet should log everything:
- The final shortened URL you share publicly.
- The full, un-shortened URL with all its UTM tags.
- Each parameter (
source,medium,campaign, etc.) in its own column. - The date the link was created.
- Who created it and a quick note on its purpose.
This shared document kills the guesswork, prevents duplicate tags, and ensures everyone is speaking the same data language. Taking a few hours to build this system will save you countless days of painful data cleanup down the line.
The Golden Rule: Never Use UTMs on Internal Links
This is the one rule you can never, ever break. Do not use UTM parameters on links that point from one page of your website to another.
Here's why this is so critical: when a user clicks an internal link that has UTM tags, it completely overwrites their original session data. Imagine someone finds you through a Google organic search. They land on your blog, then click a banner on that page tagged with utm_source=homepage_banner. Just like that, Google Analytics forgets they came from Google and reports their session as originating from your homepage banner.
This one mistake torpedoes your attribution data, making it impossible to know where your visitors truly came from. Google Analytics is already built to track how users move around your site, so let it do its job. Reserve UTMs exclusively for external links that point to your site.
Adhering to these best practices isn't just about being tidy. Recent findings show that a consistent UTM taxonomy can boost data accuracy by over 50%, which has a direct impact on your budget and strategy. Plus, automating parameter generation can speed up campaign deployment by up to 40%. By staying disciplined, you’ll unlock the real power of your campaign analysis and make decisions based on data you can actually trust. You can also explore our guide on https://postsyncer.com/blog/improving-social-media-engagement for more insights.
Common Questions About UTM Parameters
Once you start using Google Analytics UTM parameters, you'll quickly move past the basics and run into real-world questions. These are the little details that can make the difference between having okay data and having great data. Think of this as your go-to guide for those tricky situations that pop up along the way.
Getting these common questions answered will help you fix problems on the fly and fine-tune your approach, making sure your data stays clean, accurate, and incredibly useful.
Distinguishing Between Utm_term and Utm_content
One of the first things that trips people up is the difference between utm_term and utm_content. They seem similar at first glance because they both add extra detail to your tracking, but they’re built for two very different, powerful jobs.
Think of yourself as a detective. To solve a case, you need to know both the motive (who you were after) and the method (what specific clue they followed). In the UTM world, utm_term is the motive, and utm_content is the method.
utm_termis for identifying your target. Originally, this was designed to track the specific paid keywords you were bidding on in a search campaign. For instance, if you ran a Google Ad for running shoes, you might useutm_term=womens-trail-running-shoes. It tells you exactly which keyword brought in the click. Its role has grown since then. Now, marketers often useutm_termto identify an audience segment in a social ad, likeutm_term=marketing-managers-us.utm_contentis for telling your creatives apart. This parameter is your secret weapon for A/B testing. It helps you see which of your links got the click when they all point to the same URL within the same campaign. For example, if your email newsletter has a link in the header and a big blue button in the body, you could useutm_content=header-linkfor one andutm_content=blue-buttonfor the other.
Here’s the easiest way to remember it:
utm_termanswers, "What keyword or audience did I target?" whileutm_contentanswers, "Which specific ad or link got the click?"
When you use them together, the insights get incredibly granular. You might find that your marketing-managers-us audience (utm_term) converts best when they click on your video-ad (utm_content), giving you a crystal-clear direction for what to do next.
Creating Custom UTM Parameters in Google Analytics
This is a big one for marketers who want to track things beyond the standard five parameters. Can you just make up your own, like utm_region=north-america or utm_product-line=winter-collection? The short answer is a bit of a "yes, but no."
Technically, you can add any parameter you want to a URL. The browser won't care, and the link will work just fine.
However—and this is the important part—Google Analytics 4 will not automatically recognize or report on your custom parameters. GA4 is built to look for those five core UTMs: utm_source, utm_medium, utm_campaign, utm_term, and utm_content. Any other utm_ tag you invent will be completely ignored by its standard acquisition reports.
So, what do you do if you really need to track that extra data? The right way to do this in GA4 is by using custom dimensions. This is a more advanced feature where you tell GA4 to look for a specific piece of information in your URLs and make it available for reporting.
For example, you could create a custom dimension called "Product Line" and configure it to pull the value from a URL parameter you name product_line. It takes a little setup in the GA4 admin panel, but it gives you the power to slice and dice your data in ways that are perfectly matched to your business.
Tagging Social Media Posts Versus Paid Social Ads
A final, and absolutely critical, point of confusion is how to tag organic social posts versus paid social ads. Mixing these up is a huge mistake because it makes it impossible to measure the true ROI of your ad spend. You need a clean break between your earned media (community posts) and your paid media.
The key to keeping them separate is the utm_medium parameter. By using different and consistent values for each, you create two distinct buckets of data in Google Analytics.
Here’s a simple framework you can start using right away:
For Organic Social Media Posts:
- This covers any regular, unpaid post you share on your Facebook page, your LinkedIn feed, a tweet, or an Instagram story.
- Recommended Medium: Use
utm_medium=social-organicor justutm_medium=social. Consistency is what matters most. This tag clearly marks the traffic as coming from your day-to-day community building. - Example Link:
...&utm_source=facebook&utm_medium=social-organic&utm_campaign=new-blog-post
For Paid Social Media Ads:
- This includes any boosted posts, sponsored content, or ads you run on platforms like Facebook, Instagram, LinkedIn, or TikTok.
- Recommended Medium: Use
utm_medium=social-paidorutm_medium=cpc(for cost-per-click). Usingcpcis a common industry practice that groups all your paid traffic—search and social—together. - Example Link:
...&utm_source=facebook&utm_medium=social-cpc&utm_campaign=summer-sale
By sticking to this one simple rule, your Google Analytics reports will become instantly more valuable. You’ll be able to directly compare the traffic and conversions from your organic social strategy against your paid campaigns, helping you make much smarter decisions about where to put your time and money.
Ready to take control of your social media strategy and analytics? PostSyncer provides an all-in-one platform to schedule content, analyze performance, and manage all your social profiles from a single dashboard. Stop guessing and start making data-driven decisions by signing up for a free 7-day trial at https://postsyncer.com.