So, you want to chop up YouTube videos into smaller, shareable clips. Smart move. There are a few ways to get this done, from using YouTube's own simple Clip button for quick shares to getting your hands dirty in the YouTube Studio Editor if you're the channel owner. You can even go rogue with screen recording software or third-party tools for more control.
Why Clipping YouTube Videos Is a Game Changer

In a world where everyone is shouting for attention online, making your content actually stick is a real challenge. This is where clipping YouTube videos becomes your secret weapon. It’s the art of slicing up your long-form content into short, punchy clips—and honestly, it's a non-negotiable strategy for anyone serious about content distribution today.
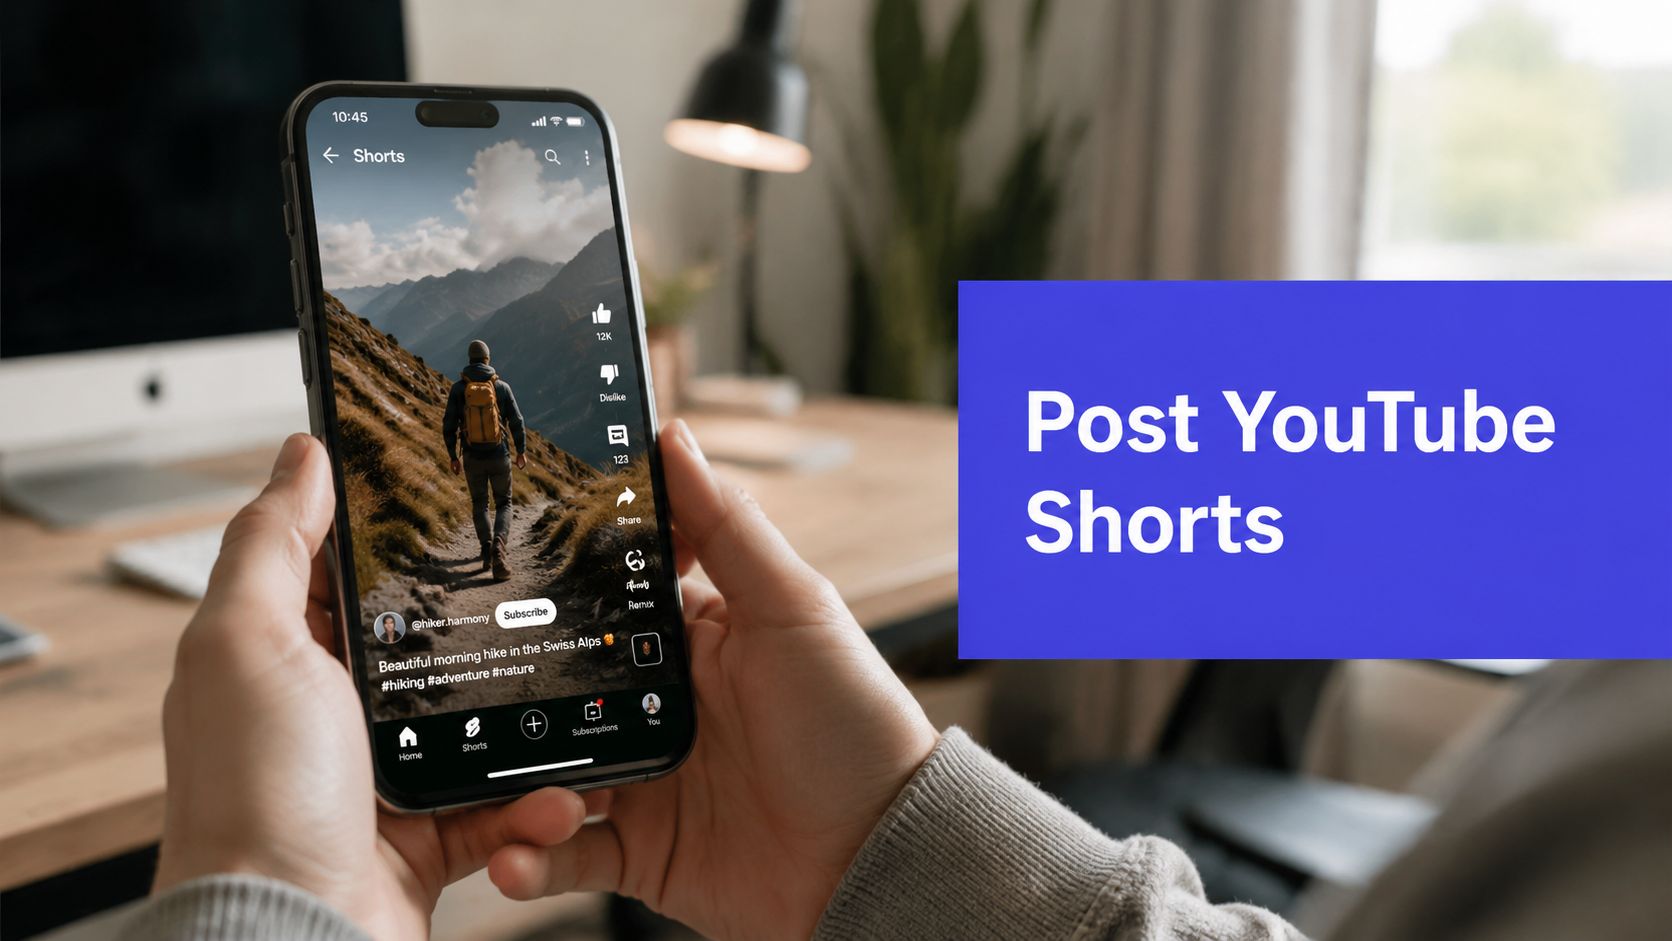
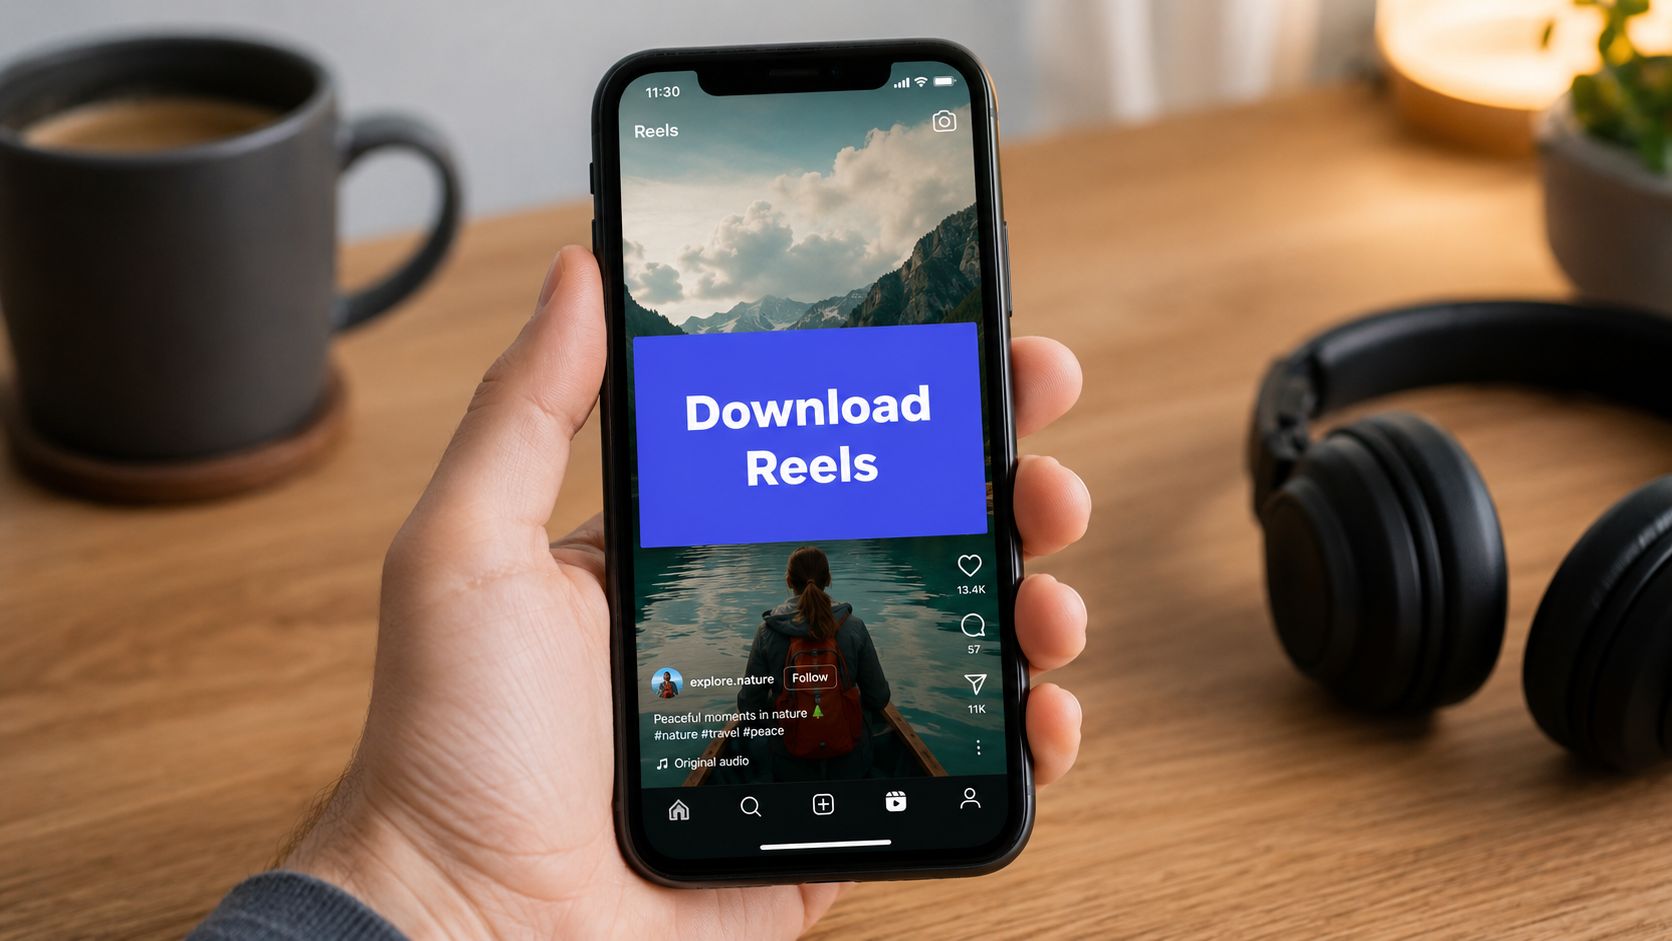
Think about it: you can turn a single, deep-dive video into a whole week's worth of killer posts for TikTok, Instagram Reels, and YouTube Shorts. It’s all about working smarter, not harder, to grab eyeballs in a world of endless scrolling.
Before we get into the "how-to," let's quickly look at the best methods for different situations. This table gives you a quick overview so you can pick the right tool for the job right from the start.
Choosing Your YouTube Clipping Method
| Clipping Method | Best For | Ease of Use | Key Limitation |
|---|---|---|---|
| YouTube Clip Feature | Instantly sharing a short segment of someone else's video. | Very Easy | Creates a link, not a downloadable file. |
| YouTube Studio Editor | Channel owners editing their own long-form videos. | Moderate | Only works for your own uploaded content. |
| Screen Recording | Capturing specific video/audio when no other option works. | Easy | Can result in lower quality; potential copyright issues. |
| Third-Party Tools | Downloading clips from various sources for repurposing. | Easy | Requires caution regarding copyright and terms of service. |
Each method has its place, and knowing which one to use will save you a ton of headaches down the line.
Maximize Your Content's Reach
The biggest win from clipping is simple: it multiplies your content's lifespan and reach. Let's be real, a one-hour podcast can feel like a huge commitment for someone just discovering you. But a 30-second clip with a powerful quote or a hilarious outtake? That’s an easy yes.
This strategy lets you meet your audience right where they hang out. Someone mindlessly scrolling Instagram Reels might stumble upon your clip, get hooked, and then actively search for your full-length video on YouTube. Every single clip is a breadcrumb leading people back to your main content hub.
Think of each long-form video as a block of marble. Clipping is the chisel you use to carve out multiple smaller, beautiful sculptures, each with its own appeal and purpose.
This approach is incredibly powerful when you consider the sheer noise online. Every single minute, a staggering 500 hours of video are uploaded to YouTube—a number that has held steady into 2025. With that much competition, your long-form masterpieces risk getting completely buried unless you smartly chop them up for wider distribution. You can explore more YouTube statistics to see just how intense the competition is.
Boost Engagement and Save Time
Clipping doesn't just expand your reach; it also directly fuels audience engagement and makes your production workflow way more efficient. Short-form video platforms are built for rapid interaction—likes, comments, and shares. By feeding these platforms a steady diet of your best moments, you create more chances for your audience to connect with your brand.
Here’s a quick rundown of the main advantages:
- Increased Discoverability: Short-form algorithms are designed to push content to new audiences. Your clips can get in front of people who would never have found your long-form videos otherwise.
- Content for Every Platform: You can create clips perfectly tailored to the unique aspect ratios and viewing habits of each social network. A square video for Instagram, a vertical one for TikTok—all from the same source.
- Time Efficiency: This is the big one. Instead of starting from scratch for every platform, you’re pulling value from work you’ve already done. This saves an insane amount of time.
A podcaster, for example, can turn an hour-long interview into a whole series of viral moments. This keeps their social feeds buzzing and constantly drives traffic back to their main channel, all without burning themselves out trying to create new content every single day.
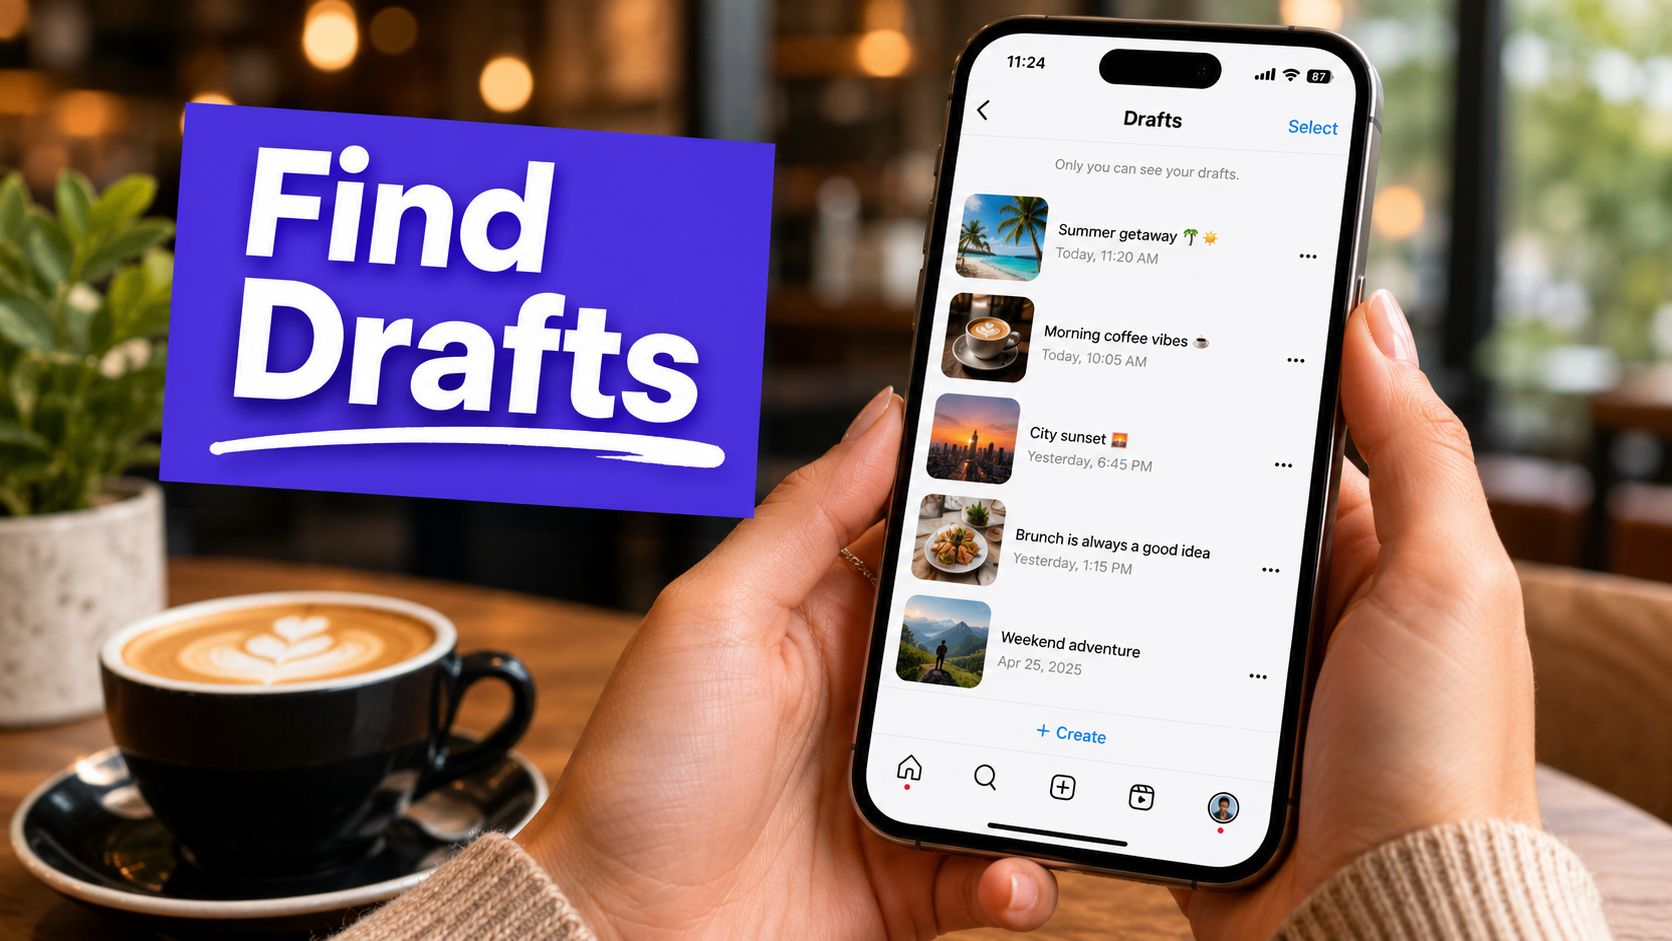
Mastering YouTube's Built-In Clipping Tools
Before you even think about downloading third-party software, it’s worth getting familiar with the powerful tools YouTube has built right into its platform. Honestly, these native features are often the fastest and most direct way to grab clips, especially if you're working with your own content or just need a quick, shareable snippet.
They’re designed to keep you inside the YouTube ecosystem, which makes the whole process feel seamless and integrated.
The Quick and Easy "Clip" Feature
First up is the simple "Clip" feature. You’ve probably seen that little scissors icon sitting right below the video player. This tool is perfect for when you're watching a video and want to instantly capture and share a specific moment—whether it's a hilarious reaction in a gaming stream or a key takeaway from a tutorial.
It couldn't be simpler to use:
- Just click the "Clip" button under the video.
- A small window pops up, letting you drag a slider to select a segment between 5 and 60 seconds long.
- Give your clip a descriptive title so people know what they're about to see.
- Hit "Share clip" to get a unique link.
One thing to remember is that this method doesn't actually download a video file. Instead, it creates a direct link that starts the video at that exact moment. This is perfect for dropping into a social media post, a blog, or a message to a friend. It's a zero-fuss way to highlight the best parts of a video.
Diving Deeper with the YouTube Studio Editor
Now, for content creators, the real power is tucked away inside the YouTube Studio. This is your command center for managing everything on your channel, and it includes a surprisingly capable video editor that goes way beyond basic trimming.
If you’re serious about repurposing your long-form videos into polished Shorts or other bite-sized content, this is where you should start. Just head to your channel's content library, pick a video, and open the editor.
The interface gives you a detailed timeline of your video, which makes it much easier to make precise cuts right where you want them.
Creating New Videos from Existing Content
Inside the editor, you can zero in on the exact segment you want to spin off into a new piece of content. The "Trim & Cut" tool is your best friend here. You simply drag the handles on the timeline to set the start and end points for your clip.
The biggest advantage of using the Studio Editor is its ability to create brand-new, separate videos from your library without messing with the original upload. This is an absolute game-changer for building a solid Shorts strategy directly from your existing long-form content.
Once you’ve isolated your segment, you can save it as a completely new video. A fantastic workflow I've seen work well is to identify several "clippable" moments in a single long video and export each one as a separate Short.
This approach turns one big video upload into a steady stream of content, helping you consistently feed the hungry short-form video algorithms. It’s an incredibly efficient way to get more mileage out of every single video you produce.
Leveraging Third-Party Tools for More Power
While YouTube’s own editor is a solid starting point, you’ll eventually hit a ceiling. When you need more flexibility, more control, or simply want to clip videos you don’t own for things like commentary or analysis, third-party tools are the answer.
These applications really open up a world of possibilities that you just can't get with the native YouTube interface.
Generally, these tools fall into two camps: quick online clippers and more robust screen recording software. Each serves a different purpose, so picking the right one comes down to what you’re trying to do and how much control you need over the final clip.
For many creators, the first step before bringing footage into their own editing software is using one of the many YouTube to MP4 converter tools out there. These offer more advanced options for downloading and saving clips you want to work with.
Online Video Clippers for Speed
Online video clippers are all about speed and convenience. These are web-based tools where you just drop in a YouTube URL, pick your start and end times, and it generates a downloadable clip. Perfect for quickly grabbing a segment when you’re on the go and not at your main editing station.
A word of caution, though. The quality can be a mixed bag, and it's super important to use reputable sites to avoid any security headaches. For a more professional and secure workflow, especially for content you actually plan to publish, you might want a more controlled method.
If you're looking for an all-in-one solution, our powerful YouTube video downloader can simplify this whole process for you.
Screen Recording for Maximum Control
For the highest level of control and quality, screen recording software is the professional's choice. Tools like OBS Studio (an incredible free option) or Camtasia let you capture any part of your screen—including a playing YouTube video—in high resolution. This method gives you complete authority over exactly what gets recorded.
This is the go-to technique for creating reaction videos, detailed analysis, or educational content where you might need to pause, zoom in, or overlay your own commentary in real-time. It helps ensure the clip becomes a truly transformative part of your new, original content.
Setting up a screen recording session is straightforward: define the capture area to fit the YouTube video player, ensure your system audio is being recorded, and just hit the record button. This process hands you a clean, high-quality video file ready for any editing software.
This approach also forces you to think more strategically. Click-through rates (CTR) are the lifeblood of YouTube, with averages often sitting somewhere between 4.8% and 8%. When you create a clip, you're essentially creating a new first impression.
Your goal is to package that moment so effectively that it drives clicks and views on its own, which ultimately contributes to the success of your broader content strategy. To get a better feel for these metrics, you can explore detailed analytics breakdowns on YouTube and see how top creators optimize their content.
Understanding Copyright and Fair Use
Let's be honest: when you learn how to take clips from YouTube videos you don't own, it can feel like you're wading into a legal minefield. Understanding copyright is non-negotiable if you want to stay out of trouble.
Every single video uploaded to YouTube is automatically protected by copyright. That means you can't just download someone else's greatest hits, stitch them together, and call it a day. That’s a surefire way to earn a copyright strike.
YouTube's system for this is a powerful, automated beast called Content ID. It relentlessly scans every new upload, looking for matches to existing copyrighted material. If it finds one, the original owner has the power to block your video, run ads on it for their own profit, or just have it taken down entirely. Rack up a few of these, and your channel could be gone for good.
So, What About Fair Use?
This is where things get a bit more nuanced. "Fair Use" is a legal concept that can be your best friend, but it's often misunderstood. It’s a doctrine that allows for the limited use of copyrighted material without getting permission first. But—and this is a big but—it’s not a free-for-all. It’s a defense, not a right, and you might have to prove your case.
The absolute key to a solid Fair Use argument is being transformative. You have to do more than just re-share; you must add a new layer of meaning, expression, or context to the original clip. You need to create something new from it.
Let's look at a couple of real-world scenarios:
- Probably Fair Use: A film critic uses a 10-second scene from a blockbuster to break down its brilliant cinematography. They provide detailed commentary and analysis, and the clip is essential for making their point.
- Probably Infringement: Someone grabs the "Top 10 Funniest Moments" from a popular streamer's last broadcast and uploads it with a new title card. There's no original commentary, no critique, no new context.
The question you have to constantly ask yourself is: "Am I adding significant value and creating something new, or am I just piggybacking on someone else's work?" One leans toward Fair Use; the other is a straight-up infringement.
Practical Steps to Stay in the Clear
Navigating these rules is about more than just the technical steps of clipping a video; it's about your creative approach. And make no mistake, YouTube is serious about enforcement. In just Q2 of 2025, a staggering 11.4 million videos were removed as the platform cracked down on policy violations. That number alone should tell you how carefully you need to tread. If you want to dive deeper into these trends, you can review recent YouTube statistics and their implications for creators.
To keep your channel safe and your content legit, build these best practices into your workflow:
- Keep It Short and Sweet: Use the shortest possible segment of the video. Only grab what is absolutely essential to illustrate your point, and not a second more.
- Make Your Voice the Star: The clip should be a supporting actor, not the main event. Your commentary, critique, or analysis needs to be the primary focus.
- Give Credit Where It's Due: Always, always credit the original creator. Put a clear and obvious credit in your video and a link back to the source in your description. It’s good ethics and shows you’re acting in good faith.
- Don't Do Harm: Never use a clip in a way that misrepresents the original creator, takes their words out of context, or could damage their reputation or ability to monetize their own work.
If you treat other creators' content with respect and focus on adding your own unique value, you can clip with confidence and avoid the dreaded copyright notice.
Your Workflow for Repurposing Clips at Scale
Knowing how to snip a clip from a YouTube video is one thing. Building a scalable content machine from that skill is something else entirely. A random, "when-inspiration-strikes" approach just doesn't cut it if you want real results. To truly milk your long-form content for all it's worth, you need a repeatable process that turns one video into a month's worth of social media gold.
Think about it from a practical standpoint. Let's say you're a marketing agency, and your client produces a weekly, one-hour podcast. Your job is to spin that single piece of anchor content into a constant flow of engaging clips for TikTok, Instagram Reels, and YouTube Shorts. This isn't just about posting more often; it's about systematically squeezing every drop of value from the content you already have.
Identifying Your Golden Moments
First things first, you have to find the "clippable" moments. These are the golden nuggets—the self-contained snippets that pack a punch in under 60 seconds. You're essentially hunting for powerful quotes, surprising stats, actionable tips, or stories that hit you right in the feels.
I've found the best way to do this is to have a dedicated "timestamping" session right after the main video is finalized. Watch it through with a specific mission: note down the start and end times of every potential clip.
- Look for emotional peaks: Laughter, genuine surprise, or a passionate rant? These are engagement magnets.
- Isolate actionable advice: Find those clear, concise moments where a valuable tip is shared. People love a quick win.
- Find strong narrative hooks: Does the speaker kick off a story with a bold statement or a question that makes you lean in? That’s your perfect attention-grabber.
Optimizing Clips for Vertical Viewing
Once you've got your list of timestamps, the real work begins. Just exporting a 16:9 clip and slapping it on Instagram is a rookie mistake. It won't work. You have to reframe and upgrade each clip for the vertical, sound-off world of mobile social media.
This is the part that ensures your clips don't just exist on social media—they're actually set up to perform.
A common mistake is treating a YouTube clip as a finished product. For vertical platforms, it's just the raw material. The real work is in the repackaging—the reformatting, captioning, and visual enhancement that makes it native to its new environment.
This flowchart breaks down the ethical process for using clips from other creators' content.

As you can see, it's not just about clipping. The crucial steps are adding your own value and giving proper credit to stay on the right side of things.
A huge part of this optimization is adding burned-in captions. With so many people watching videos on mute while scrolling, captions are non-negotiable. Using a reliable tool can save you a ton of time here. For instance, a good YouTube caption generator can automate the transcription and make sure it's accurate without you having to type it all out by hand.
Scheduling for Maximum Impact
Okay, you've got a folder full of optimized, captioned, vertical clips. The last step is to schedule them strategically. Don't just dump them all online at once. Map it out on a content calendar, spacing them out to keep a consistent drumbeat of content across your platforms.
Let's go back to that agency client with the weekly podcast. If you pull just five killer moments from each episode, that gives you 20 high-quality clips per month. That’s nearly a daily post, all spun out of just four hours of original content.
This systematic approach turns your long-form video from a one-and-done event into a sustainable engine for social media growth. And if you want to get even more mileage out of each video, you can explore broader content repurposing strategies that go beyond just video clips.
Frequently Asked Questions About Clipping Videos
Once you start thinking about how to take clips from YouTube videos, a few big questions usually pop up right away. Getting solid answers to these is crucial. It’s the difference between building a smart content strategy and accidentally running into copyright trouble down the line.
Let's clear up the most common questions I hear.
Is It Legal to Clip Someone Else's YouTube Video?
This is the big one, and the answer isn't a simple yes or no. It really boils down to how you plan to use the clip.
If you just grab a segment and re-upload it as is, you're looking at a straightforward copyright violation. That's a fast track to getting a Content ID claim or even a channel strike.
However, there's a legal concept called "Fair Use" that can protect you. This applies when you use short clips for things like commentary, news reporting, education, or parody. The key word here is transformative. You have to add something new—your own insight, analysis, or humor. Your commentary needs to be the star of the show, with the clip acting as evidence or a reference point.
As a rule of thumb, always credit the original creator. It's just good practice.
What Is the Best Format for Social Media Clips?
To make a real splash on platforms like TikTok, Instagram Reels, and YouTube Shorts, you have to think vertically. The gold standard is a 9:16 aspect ratio (1080x1920 pixels), which fills up the entire screen on a phone.
When you're exporting your clips, these are the settings you'll want to use:
- File Type: MP4 is the universal choice. It works everywhere.
- Codec: H.264 gives you that perfect mix of high quality and a file size that won't take forever to upload.
- Frame Rate: 30 frames per second (fps) is a solid, reliable choice for smooth playback on any device.
Nailing these settings ensures your clips look sharp and load instantly for people scrolling through their feeds.
Can I Monetize a Channel of Clipped Content?
It's highly unlikely, and I wouldn't recommend building your strategy around it. YouTube's monetization rules, which are part of the YouTube Partner Program, are specifically designed to reward original, high-value content.
Channels that are just a collection of other people's clips, with little to no original input, almost always get flagged for "reused content."
To build a real, monetizable channel, your energy has to go into creating original value. Think of clips as ingredients for a new dish, not the entire meal itself.
What YouTube is looking for is your unique commentary, your creative editing style, or the educational perspective you bring to the table. A channel built solely on repurposed clips will almost certainly be denied monetization. This is why it's so important to understand the bigger picture of content creation, right down to the details like knowing the best times to upload a video on YouTube to get that initial boost.
Ready to streamline your entire social media strategy, from clipping to scheduling? PostSyncer provides a complete toolkit to manage your content across all platforms, helping you turn powerful clips into consistent growth. Start your free 7-day trial of PostSyncer today!