


You've got the video exported, the tab is open, and you're ready to hit upload. That's where a lot of people start making rushed decisions.
They write the title inside YouTube, throw together a thumbnail at the last minute, forget tags, publish at a random time, and then wonder why a solid video goes nowhere. The problem usually isn't the upload itself. It's treating posting like a file transfer instead of a launch.
When you post a YouTube video well, you're managing a full workflow. You're checking the file so YouTube processes it cleanly. You're preparing metadata before the upload screen asks for it. You're making deliberate visibility choices. Then you're pushing the video beyond YouTube so one asset does more than one job.
Prepare Your Video File and Metadata First
A good YouTube launch is usually won before the upload starts.
By the time I open YouTube Studio, I want the file checked, the thumbnail finished, the title options drafted, and the description ready to paste. That cuts rushed decisions, prevents avoidable mistakes, and makes the actual publish step fast enough that I can spend more attention on timing and promotion.
If your export settings are off, YouTube may still accept the file, but the result can look softer than expected, process slowly, or feel slightly wrong in playback. YouTube recommends MP4, H.264 video, and AAC-LC audio for reliable uploads and playback quality, as outlined in YouTube's recommended upload encoding settings.

Check the file before you upload
Start with the export itself. Frame rate mismatches, interlaced exports, or the wrong codec can create small quality problems that hurt the first impression right away. Viewers will not describe it as an encoding issue. They just feel that the video looks off and leave.
Use a quick file check before anything goes live:
- Container: MP4
- Video codec: H.264
- Audio codec: AAC-LC
- Frame rate: Match the source footage
- Scan type: Progressive
- Pixel shape: Square pixels
This step protects retention early. Metadata can improve discovery, but it cannot fix a weak playback experience.
Prepare metadata outside YouTube
The upload window is a poor place to do original thinking. It is built for entry, not strategy.
I prep metadata in a working doc first so the launch has options instead of guesses. That doc usually includes:
- Three title options with different keyword angles or curiosity hooks
- A description draft with the promise, supporting context, links, chapters, and CTA
- Tag ideas for topic coverage and close variations
- Thumbnail copy so the text and title support the same idea
- Playlist placement if the video belongs in a series
This also makes approvals easier. If someone on the team needs to review copy, thumbnail text, or link placement, it is much faster to fix in one document than inside the upload flow.
Build your launch kit once
Keep every publish asset in one folder before posting day.
That folder should include the final video, thumbnail, description draft, link list, and caption file if you have one. The goal is consistency. The second goal is speed, especially if you are posting regularly and repurposing clips right after publish.
If you use PostSyncer, this is the point where the workflow starts to pay off. Once the core assets are organized, you can move from YouTube upload to distribution without rebuilding the same package for every platform. That is the bigger shift. Posting stops being a one-off task and starts working like a launch system for the full video lifecycle.
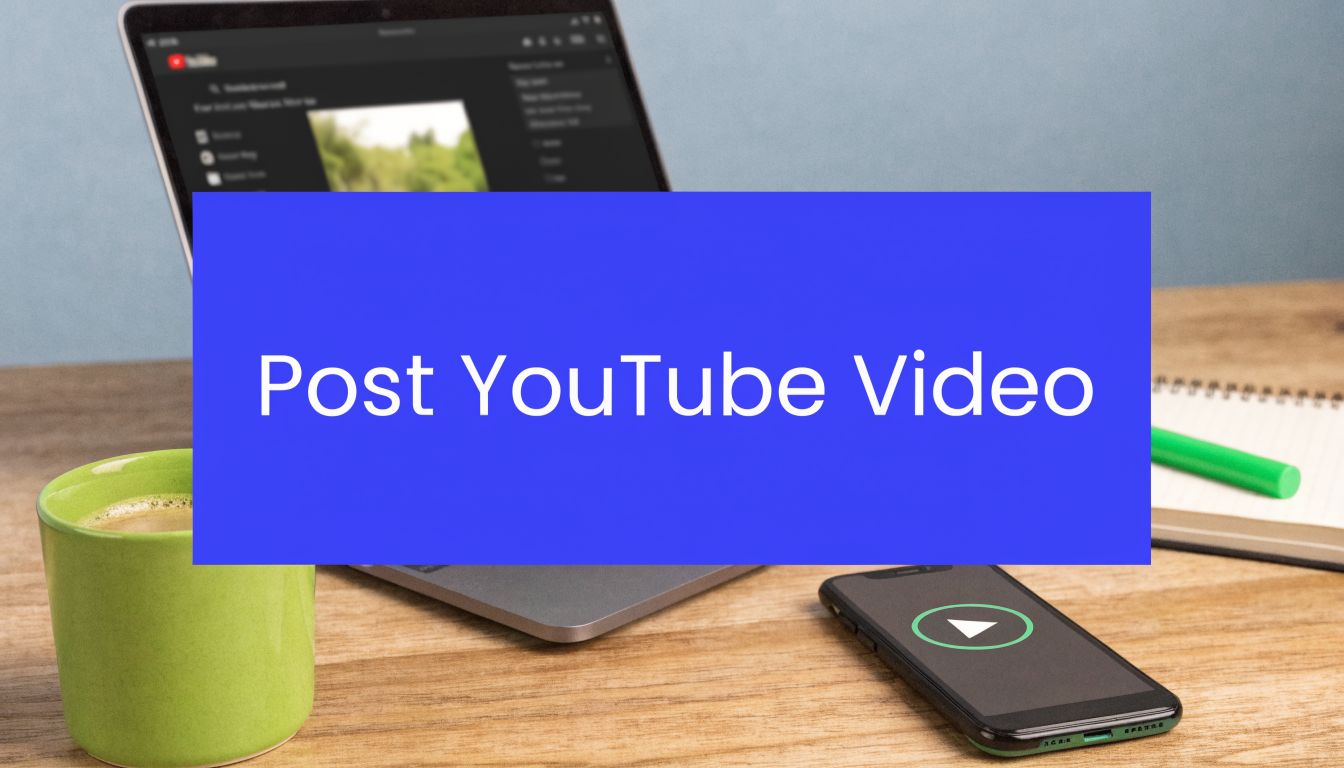
The Step-by-Step Upload Process on Desktop and Mobile
Uploading itself is simple. The trick is knowing which device is best for which job.
Desktop is better when you want full control over metadata, scheduling, playlists, and final review. Mobile is useful when speed matters or you're posting lighter content on the go.

Upload on desktop
For most long-form videos, this is still the cleanest path.
- Open YouTube Studio and sign in to the correct channel.
- Click Create in the top area, then choose Upload videos.
- Drag in your file or select it from your computer.
- While the file uploads, paste in your prepared title and description.
- Add the thumbnail, playlist, audience setting, and other required details.
- Move through the checks and visibility screens.
- Save as private, unlisted, public, or scheduled, depending on your launch plan.
Desktop gives you more breathing room. You can compare title options, review line breaks in the description, and spot formatting mistakes before the video goes live.
Upload on mobile
The YouTube mobile app is fine for quick posting, especially if the video was edited on your phone.
The usual flow looks like this:
- Tap create: Use the plus button in the app.
- Select your video: Choose the finished file from your camera roll.
- Fill in essentials: Add a title, description, and visibility setting.
- Confirm upload: Let the app process and publish.
For short updates, event clips, or rapid publishing, mobile works. For a polished launch, desktop usually wins.
A quick visual walkthrough can help if you're training a teammate or reviewing the interface before publishing:
Use the right device for the right task
Here's the practical split I recommend:
| Situation | Better choice |
|---|---|
| Long-form educational video | Desktop |
| Fast upload from an event or field shoot | Mobile |
| Careful scheduling and metadata review | Desktop |
| Quick social-first clip | Mobile |
Uploading from mobile isn't wrong. It's just easier to miss the details that influence discovery.
If your goal is to get a file online, either route works. If your goal is to post a YouTube video that performs, desktop usually gives you better control.
Optimize Your Video for Search and Clicks
The upload screen is where average videos get buried and strong videos get a real chance. Most creators spend far more time editing the video than packaging it. That's backwards.
YouTube doesn't only evaluate the content itself. It also responds to whether viewers click and keep watching. That makes the details screen part marketing, part positioning, and part quality control.
Start with the title and thumbnail
A strong title does two jobs. It tells YouTube what the video is about, and it gives a human being a reason to care right now.
The cleanest titles usually front-load the primary topic. Put the core phrase early, then add tension, specificity, or a promised outcome. Don't write titles that sound like placeholders from your edit timeline.
The thumbnail matters just as much, and often more. According to Zapier's breakdown of YouTube metrics, top-quartile channels aim for a click-through rate of 8.5% or higher, Average View Duration over 50%, and a high CTR can lead to 2-5x more impressions. The same source notes that many creators see a 40% uplift in CTR by A/B testing different thumbnail designs.
That's why I treat the thumbnail as a packaging asset, not decoration.

Write for both discovery and clarity
Descriptions still matter, but not because you need to stuff them with every keyword variation you can think of. What works better is a clear opening summary, useful supporting detail, and organized navigation.
A practical structure looks like this:
- Opening lines: State what the viewer will get from the video
- Supporting context: Add relevant keywords naturally
- Chapters or timestamps: Help people jump to sections
- Links and CTA: Point to the next action without clutter
- Resource list: Keep referenced tools or pages easy to find
If you're stuck on tags, use a dedicated helper like this YouTube tags generator to get a cleaner starting list. Tags won't rescue weak packaging, but they can support topic clarity when the main metadata is already solid.
Don't skip the supporting fields
Small settings can refine the viewer experience.
Your title gets the click. Your thumbnail earns the click. Your structure keeps the watch time.
A few details worth handling every time:
- Category and audience setting: These help YouTube understand where the video belongs.
- Subtitles or captions: Better for accessibility and easier viewing in low-audio situations.
- End screens and cards: Good for moving a viewer to the next relevant video.
- Playlists: Useful when the video belongs to a series and you want more session time.
The biggest mistake here is speed. People rush through the details tab because the upload bar makes them feel done. They're not done. This is the part that gives the video a chance to earn attention.
Choose the Right Visibility and Publishing Options
Publishing settings change the role a video plays. The same file can be a private review draft, a soft-launch asset, or a full public release depending on the visibility choice.
A lot of new creators hit Public by default because it feels like the obvious finish line. It isn't always the best option.
Compare the visibility settings
Here's the practical difference:
| Setting | Best use case | Watch-out |
|---|---|---|
| Private | Internal review, approvals, final checks | Nobody else can view it unless you explicitly allow access |
| Unlisted | Sharing with specific people, embedding, soft launches | It won't be broadly discoverable on YouTube |
| Public | Standard release for search, browse, and subscribers | Mistakes are immediately live |
| Scheduled | Planned releases at a chosen time | Requires your metadata and assets to be ready in advance |
Private is useful when a client, founder, or teammate needs to review the final upload inside YouTube itself.
Unlisted is practical when you want a controlled release. It's also helpful if you need to send the video to partners or place it somewhere before a broader launch.
Public is right when everything is finalized and you want immediate distribution through your normal channel activity.
Scheduling beats reactive publishing
If you're serious about consistency, scheduling is the setting that matters most. It lets you batch work, avoid last-minute publishing, and line up releases when your audience is most likely to respond.
If you haven't settled on your timing yet, this guide on the best time to upload video on YouTube is a useful starting point for choosing smarter publish windows.
A scheduled video usually gets better support internally too. The thumbnail is ready, links are checked, and nobody is rewriting the description five minutes before launch.
When to use Premieres
Premieres are worth considering when the video has an event feel. Product launches, collaborations, episode drops, and community-driven content can benefit from that live-debut energy.
The trade-off is simple. A Premiere asks for attention at a specific moment, so you need enough audience interest to justify it. If the video is evergreen and search-driven, standard scheduling is often cleaner.
For most business channels and working creators, the default recommendation is simple: schedule more often than you publish manually, and use Premieres selectively.
Amplify Your Reach with Automated Repurposing
A YouTube upload shouldn't be the end of the workflow. It should be the source asset for everything that follows.
It's common for teams to lose momentum at this point. They post the long-form video, then tell themselves they'll clip it later for Shorts, Reels, TikTok, LinkedIn, and X. Later rarely happens. The editor moves on, the manager gets pulled into approvals, and the video sits there doing one job when it could be doing six.
Turn one video into a content batch
YouTube Shorts now averages over 70 billion views per day, and vertical video assets on YouTube Shorts deliver 10-20% more conversions per dollar than standard video formats, according to Sprout Social's YouTube stats roundup. That's the clearest reason to repurpose after publishing instead of treating the long-form cut as the finish line.

A practical repurposing stack often includes:
- Short clips: Pull sharp moments for Shorts, Reels, and TikTok
- Quote graphics: Turn a strong line into a static post
- Text posts: Summarize one lesson for LinkedIn or X
- Email teaser: Drive your list back to the full video
- Blog embed: Support the topic with written context
That's the difference between posting content and building a system.
Build a repeatable flywheel
The easiest way to sustain this is to stop thinking in single posts. Think in asset families.
A long-form YouTube video can lead to a week of supporting content if you decide that before upload day. Schedule the main release, queue the clips, draft platform-specific captions, and spread the distribution instead of blasting everything at once. If you want a broader framework for that kind of process design, this piece on workflow automation strategies for neurodivergent professionals is useful because it focuses on reducing cognitive overhead, not just saving clicks.
That matters more than people admit. Good workflows don't only improve output. They reduce decision fatigue.
Automate the boring parts
Manual repurposing breaks down in the same places every time. Files end up in the wrong folder. Captions get rewritten from scratch. Posting windows get missed. Team members duplicate work.
A more durable setup uses one system for scheduling and cross-posting. If you're mapping that process, this guide on how to automate social media posting is a solid reference point for building a repeatable calendar around a single source video.
The fastest-growing content operations don't create more from scratch. They extract more from what they already made.
For agencies and lean in-house teams, that's the operational win. The video goes live once on YouTube, then keeps earning reach in adapted formats without another round of manual publishing chaos.
From Upload to Ubiquity Your New Video Workflow
A good YouTube post starts before the upload and keeps working after publish. That's the shift that changes results.
You prepare the file so playback quality doesn't sabotage retention. You upload with control, not in a rush. You treat the details screen like a marketing surface because that's exactly what it is. You choose visibility based on intent, not habit. Then you repurpose the video so one release supports the rest of your content calendar.
That's a stronger way to post a YouTube video in 2026. It's less about pushing a file live and more about running a launch process you can repeat.
If your channel includes music content, release strategy has a few extra wrinkles around packaging and audience targeting. This guide on optimizing YouTube music uploads is worth reading for that niche.
The core principle stays the same. Don't think upload. Think lifecycle.
If you want one workspace to plan the launch, schedule supporting posts, repurpose clips, and track what worked after publish, try PostSyncer. It's built for creators, marketers, and agencies that need a cleaner way to turn one video into a full multi-platform campaign.