


Learning how to create Instagram Reels is pretty straightforward on the surface: you come up with an idea, film some clips, and use the editor to add music and text before hitting publish. But mastering this process is what separates the casual posters from the serious growers. Right now, Reels are the single most powerful tool you have for organic growth on the platform.
Why Reels Are Your Secret Weapon for Instagram Growth
Before we get into the nitty-gritty of making them, let’s talk about why Reels need to be your top priority. Instagram isn't just a photo-sharing app anymore—it hasn't been for a while. It’s a fast-paced, video-first world where short-form content is king.
Time and time again, Reels blow other post types out of the water when it comes to reach and engagement. The algorithm loves them and actively pushes your Reels to new audiences it thinks will be interested. This gives you a level of discoverability that a standard feed post or even a Story just can't compete with.
For anyone serious about building a community or even figuring out how to become a social media influencer, Reels are the primary vehicle to get you there.
The bottom line is simple: if you want to grow on Instagram today, you have to make Reels. It’s not optional anymore. More visibility from Reels means more followers and more engagement. It’s a direct line to growth.
The Numbers Don't Lie
Don't just take my word for it—the data backs this up completely. Research consistently shows that Reels get 1.36 times more reach than carousels and a massive 2.25 times more reach than single-photo posts. Even more telling is that Reels are on track to capture 35% of total screen time on Instagram. That's where all the attention is going.
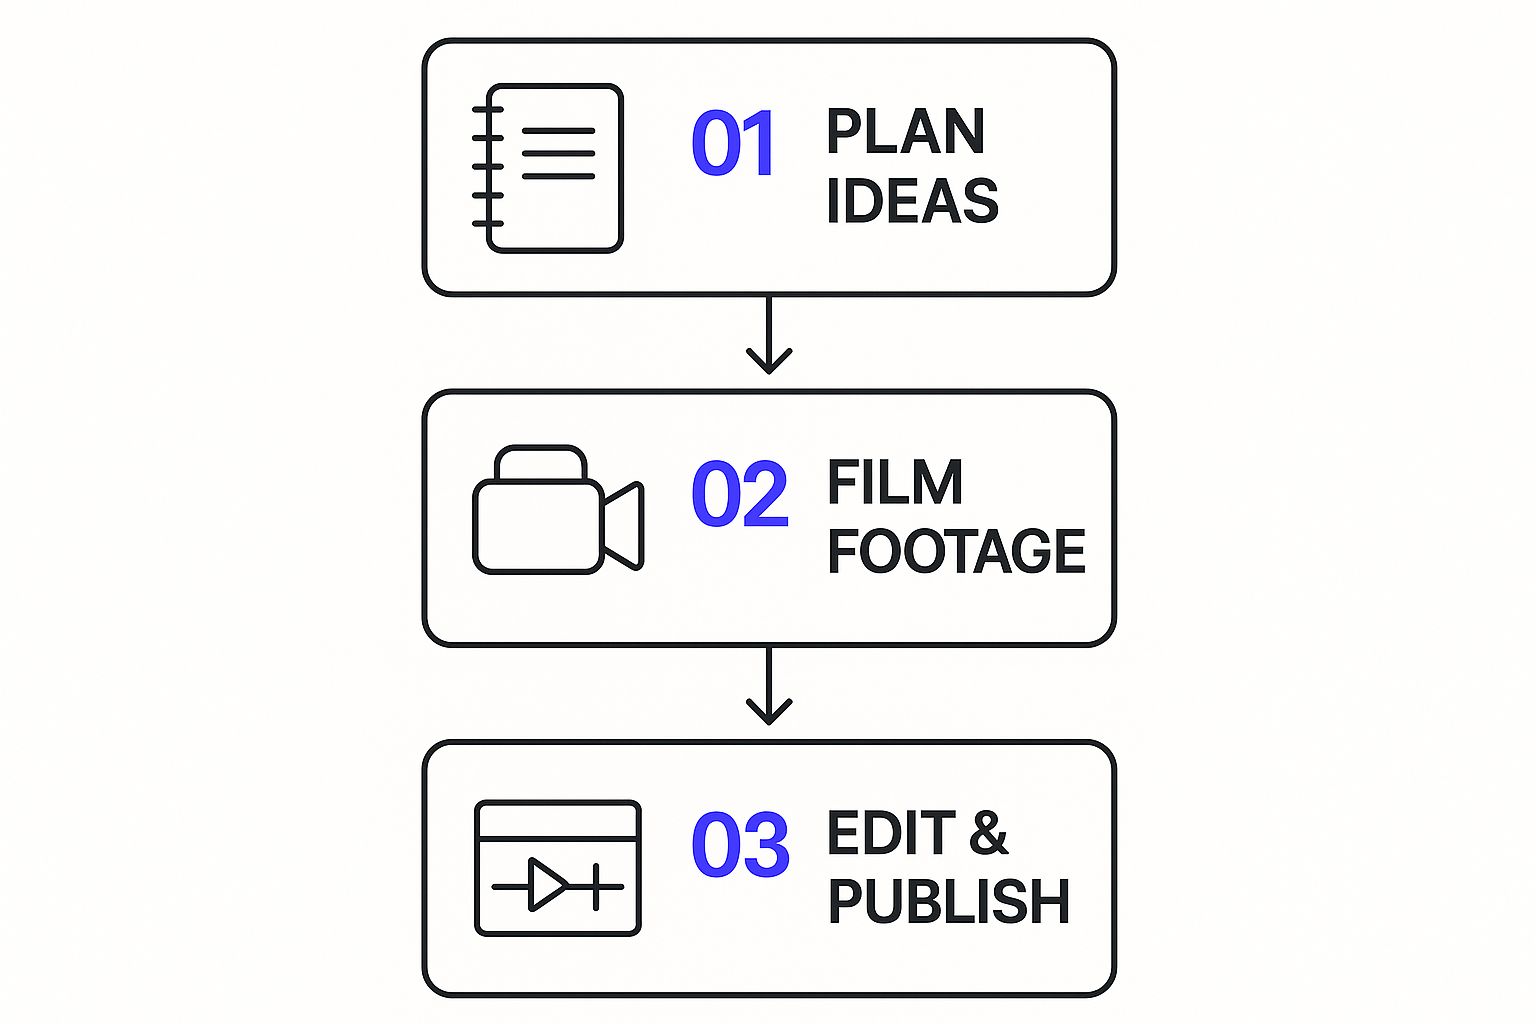
Before we dive deep, let's look at the big picture. The entire process of creating a killer Reel can be broken down into a few core phases.
Quick Guide to Your First Viral Reel
Think of this table as your roadmap. It's a high-level summary of the journey we're about to take, from a spark of an idea to a published Reel that gets views.
| Phase | Action | Key Goal |
|---|---|---|
| Planning | Brainstorm & script your idea. | Create a concept that is engaging and trend-aware. |
| Shooting | Film your clips. | Capture high-quality video footage. |
| Editing | Add music, text & effects. | Assemble a dynamic and visually appealing video. |
| Publishing | Write a caption & post. | Optimize for discovery and encourage engagement. |
Getting comfortable with this simple workflow—plan, shoot, edit, publish—is the foundation for every single successful Reel you'll ever make.
By mastering each of these stages, you turn a simple video into a powerful tool that can genuinely transform your Instagram account. Now, let’s get into the details.
Developing Reel Concepts That Hook Viewers
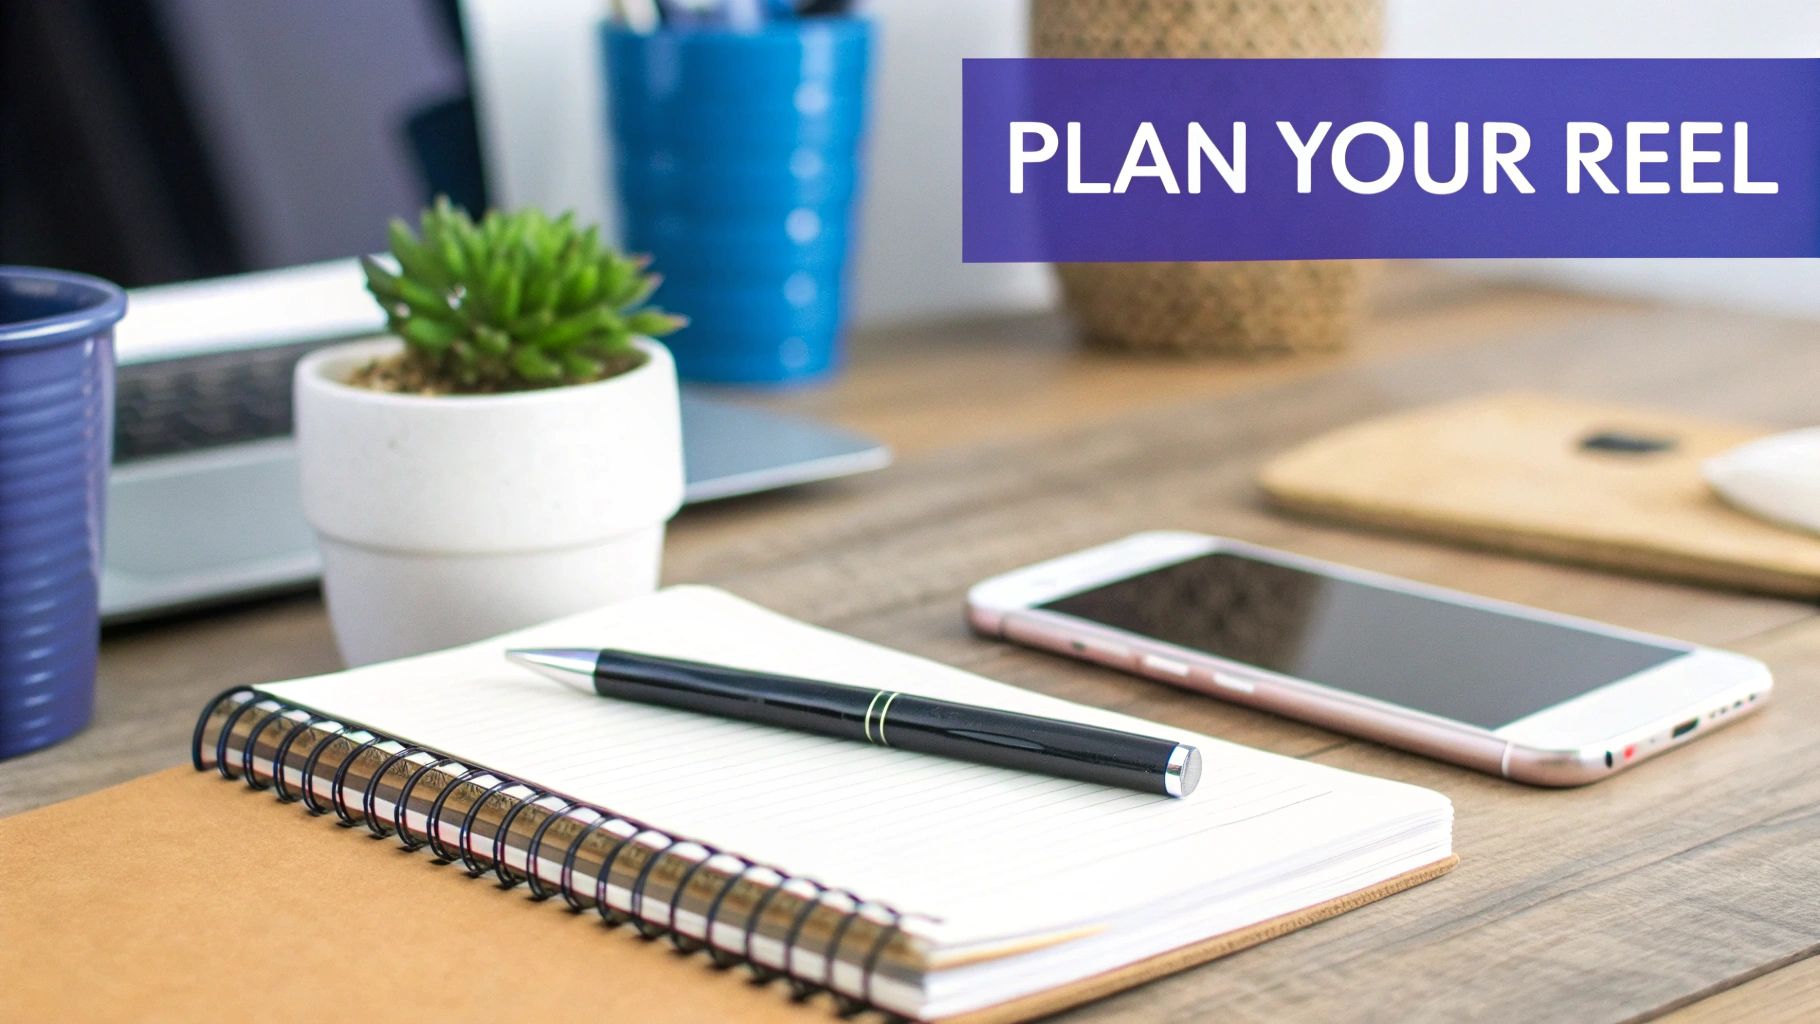
Viral Reels are born from great ideas, not happy accidents. Before you even think about hitting record, you need to lay the groundwork with a solid concept that actually connects with your audience and pushes you toward your goals.
It all starts with brainstorming. Put yourself in your audience's shoes and think about what they really want to see from you. Are they looking for quick tutorials, behind-the-scenes glimpses into your process, or just a funny skit to brighten their day? The most successful Reels always provide genuine value, whether that’s through education or pure entertainment.
A simple outline or storyboard is a total game-changer here. It doesn't have to be a masterpiece—a few bullet points on a notepad can transform a vague idea into a coherent story with a clear beginning, middle, and end. Trust me, this tiny bit of prep work ensures your final video is compelling and easy for anyone to follow.
Tapping into Trends Strategically
Jumping on trends is one of the fastest ways to boost your visibility, but you have to do it with purpose. Don't just copy a popular dance if it has absolutely nothing to do with your brand. The real key is to adapt the trend to fit your specific niche.
For example, a real estate agent could use a trending audio of someone saying "I'm obsessed" to showcase a stunning new home listing. This approach feels authentic and natural while still piggybacking on the audio's existing momentum.
To stay ahead of the curve, make it a habit to spend a few minutes each day scrolling through the Reels feed. Pay close attention to recurring sounds, video formats, or challenges. This active listening helps you spot opportunities to put your own unique spin on what’s popular. Learning how to find trending hashtags is also a crucial part of this research, as they often signal what's about to blow up.
Building Your Content Pillars
To keep your content consistent and avoid the dreaded "what do I post?" panic, you need to establish a few core content pillars. Think of these as the main topics or themes your account will always circle back to.
Your content pillars are the foundation of your Reels strategy. They ensure every video you create reinforces your brand identity and speaks directly to your target audience's interests, building a loyal community over time.
For a personal trainer, these pillars might look something like this:
- Workout Tutorials: Quick, effective exercise demonstrations.
- Myth Busting: Debunking common fitness misconceptions.
- Healthy Recipes: Simple, nutritious meal ideas they can actually make.
Having a structure like this makes brainstorming a million times easier. And when you need to shake things up, you can explore fresh content ideas for Instagram that still fit within your established pillars. This framework guarantees your content stays relevant and consistently valuable to your followers.
Filming and Editing Directly in Instagram
While third-party apps have their place, sometimes the best way to create a killer Reel is by filming and editing right inside Instagram. This approach keeps you plugged into the platform's native features, making it easier to hop on trends and use the latest effects as they drop.
For many creators, the in-app editor is all you'll ever need. It's surprisingly powerful and built to get your content in front of people fast.
And the audience is massive. As of 2025, Instagram has over 2 billion monthly active users scrolling through Reels. That’s a huge slice of the user base, proving just how essential this format has become. You can dig into more stats about the rise of Instagram Reels on teleprompter.com.
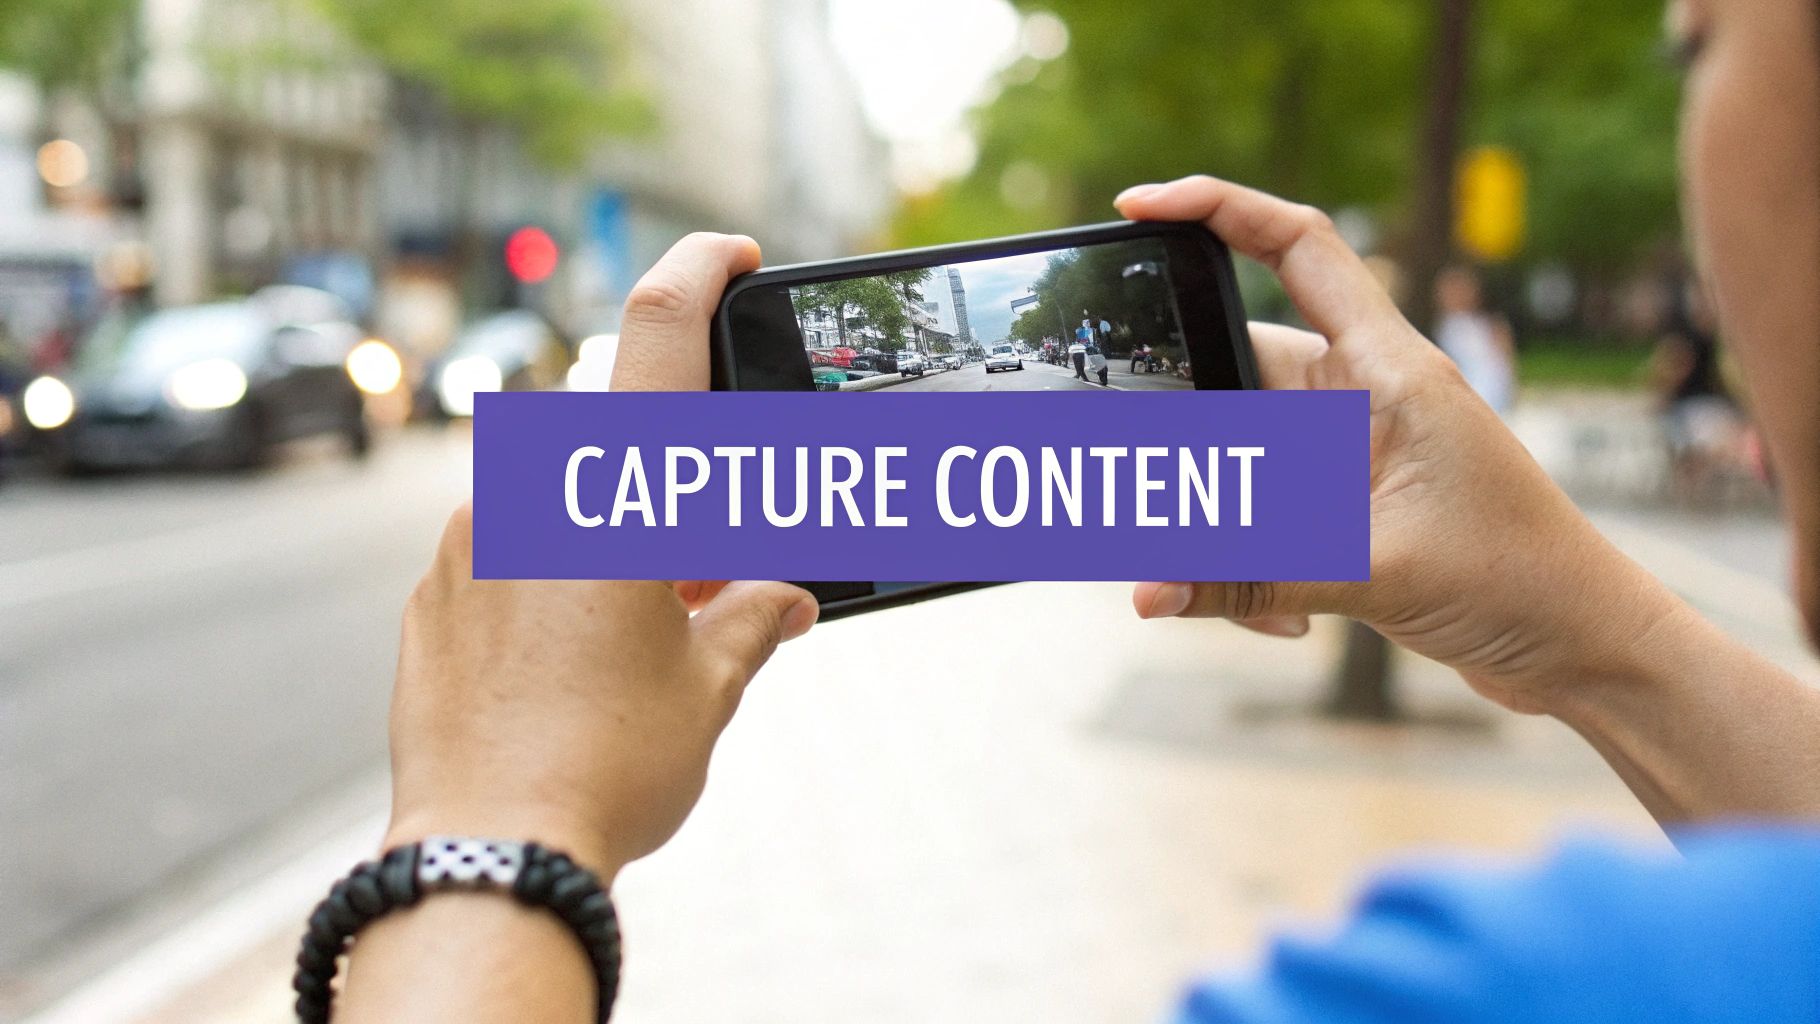
Mastering the Reels Camera Tools
When you open the Reels camera, you'll spot a toolbar packed with creative tools. Getting familiar with these is your first step toward making polished, dynamic content without a ton of effort.
Timer: This is a lifesaver if you're a solo creator. You can pop on a 3 or 10-second countdown before the camera starts rolling, giving you just enough time to get into frame. It’s perfect for those hands-free outfit reveals or dance challenges.
Speed Control: Want to add a little drama or energy? The speed tool lets you manipulate time. Speed up a timelapse of your workspace cleanup (2x or 3x) for a satisfying feel, or slow down a dramatic hair flip (0.3x or 0.5x) for that cinematic flair.
Align Tool: This little feature is the magic behind all those seamless transitions you see. After you record a clip, the Align tool shows a transparent overlay of your last frame. This makes it incredibly easy to line up your next shot for a buttery-smooth cut.
The Align tool is your best friend for creating those 'magic' transitions, like outfit changes or 'before and after' reveals. A perfectly aligned shot is what separates an amateur Reel from one that looks polished and intentional.
Adding Effects and Assembling Your Clips
Beyond the basics, Instagram's creative features are where the real fun begins. The AR Effects gallery is a goldmine for finding trending filters or adding a unique vibe to your video. You can also play around with the Green Screen effect to place yourself in front of any image or video from your camera roll—the possibilities are endless.
Once your clips are recorded, hit "Next" to jump into the editing timeline. This is where you'll trim each clip, shuffle their order, and add text overlays or stickers. It’s the final step where you fine-tune the story, making sure every second keeps your audience hooked from start to finish.
Advanced Editing to Make Your Reels Stand Out
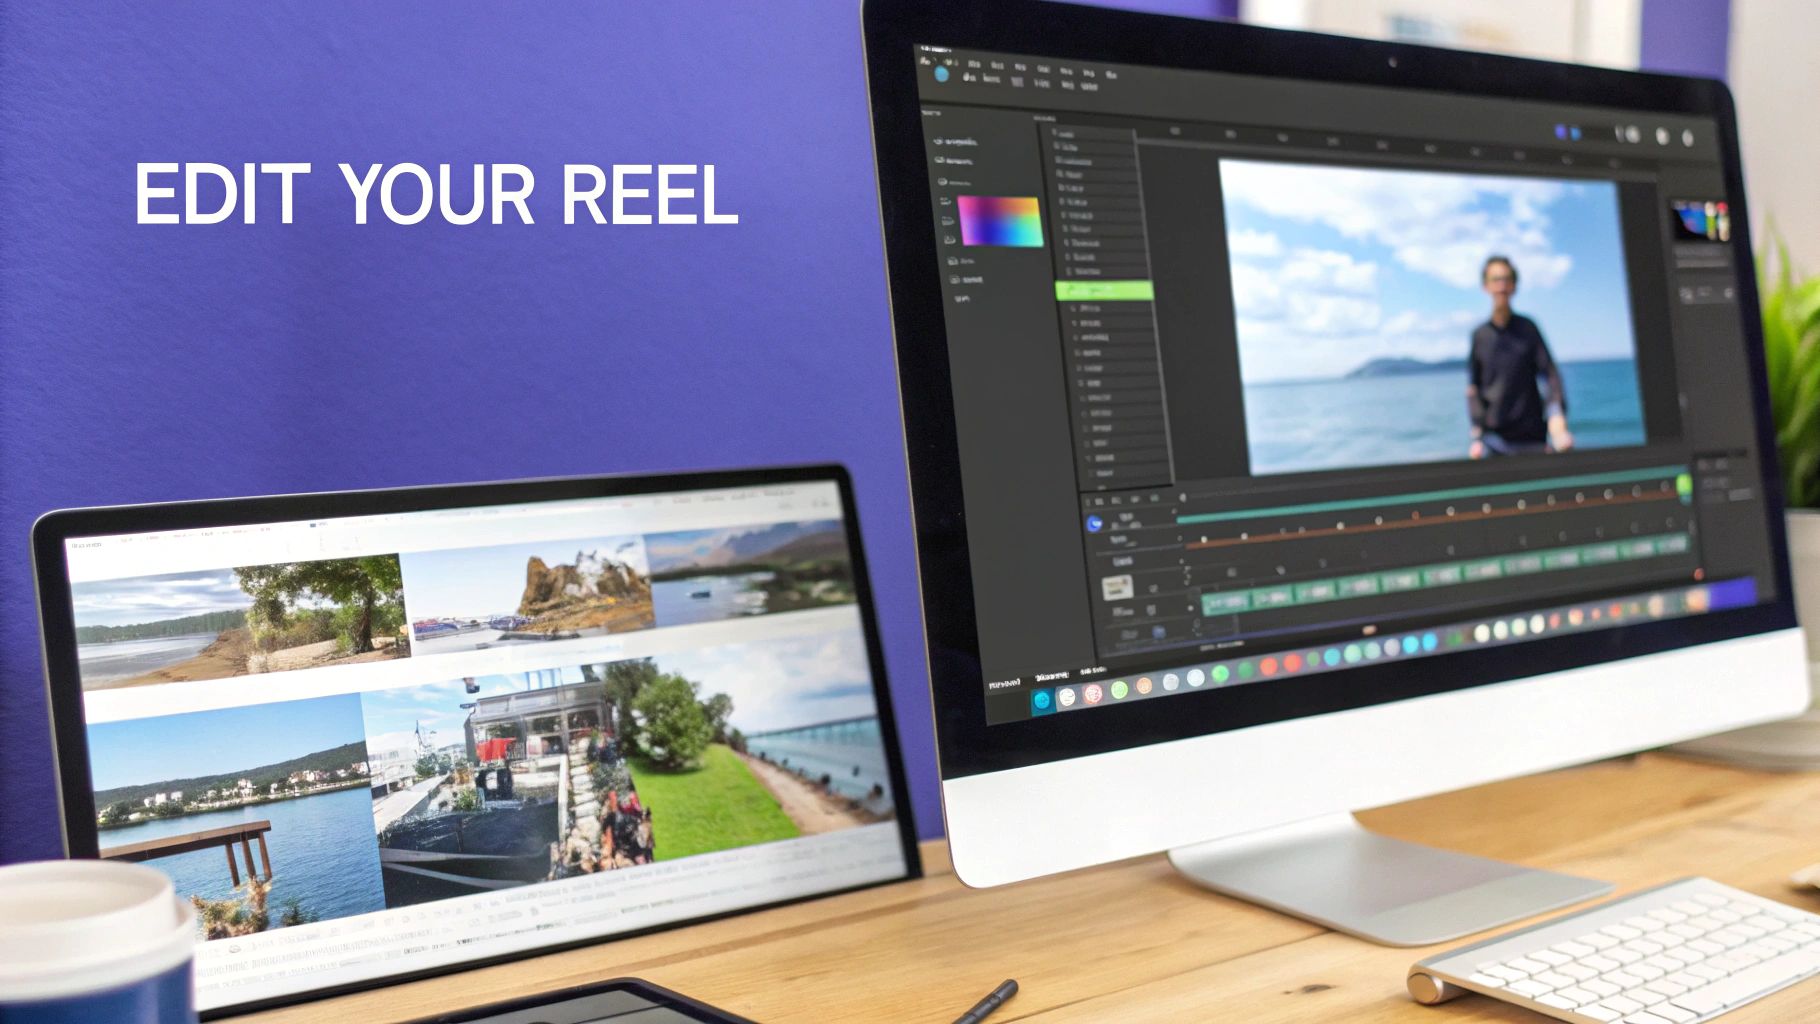
Getting great footage is only half the battle. The real magic, the kind that stops the scroll, happens in the edit. This is where you take a handful of simple clips and weave them into a Reel that hooks viewers from the very first second and refuses to let go.
Precision is everything here. Don't just drop your clips onto the timeline and call it a day. You need to be ruthless with your trimming. Every millisecond counts in short-form video, so snip out any dead air, awkward pauses, or moments that don't push the story forward. A fast-paced, energetic edit is a must.
One of my favorite pro-level tricks is to sync the video cuts directly to the beat of the music. When a scene changes right as the beat drops, it creates this incredibly satisfying, almost hypnotic effect. It feels polished, professional, and makes people want to watch it again.
Elevating Your Visuals with Text and Effects
Never underestimate the power of text overlays. Since so many people scroll their feeds with the sound off, your text is doing some heavy lifting. But don't just leave a static block of text on the screen for the entire clip. Make it dynamic.
A simple but powerful technique is to have your text appear and disappear in sync with your voiceover or key moments in the audio. In the editor, just add your text, tap it on the timeline, and drag the handles to adjust its start and end points.
This is perfect for:
- Highlighting key takeaways as you say them.
- Creating a punchy Q&A format.
- Building suspense by revealing info bit by bit.
The goal is to guide the viewer’s eye and hammer home your message. When text is timed perfectly, it turns a passive viewing experience into an active one, which does wonders for engagement and makes your point stick.
Beyond text, think about your visual brand. A consistent filter can make your content instantly recognizable. Find one that fits your vibe and stick with it across all your Reels. It’s a small detail that helps build a cohesive, professional-looking feed.
Using Third-Party Apps for a Professional Edge
The built-in Instagram editor is surprisingly capable, but sometimes you need to bring in the big guns. This is where third-party apps like CapCut become absolute game-changers, unlocking a level of creative control that can seriously set your Reels apart.
I usually jump over to an external app when I need to do things like:
- Auto-Captions: Instantly generate accurate subtitles. It's a non-negotiable for accessibility and keeping sound-off viewers engaged.
- Custom Sound Effects: Add those little swooshes and dings that aren't in Instagram's library but add so much personality.
- Advanced Transitions: Go beyond basic cuts with slicker effects like smooth zooms, glitches, or whip pans.
Think of these tools as your secret weapon. Spending a little extra time in an app like CapCut can give your Reels a polished, high-production feel that makes a massive difference.
Publishing Reels for Maximum Reach and Engagement
You’ve filmed and edited a fantastic Reel, but don't hit "publish" just yet. The final moments before your video goes live are just as critical as the edit itself. A little strategy here can be the difference between a flop and a viral hit.
Think of this as your pre-launch checklist. It all starts with the caption. Your goal isn't just to describe what's happening in the video—it's to kickstart a conversation. Ask a compelling question or share a super relatable thought to get people talking in the comments. A great caption encourages saves, which is a major signal to the Instagram algorithm that you've made something valuable.
Optimizing for Discovery
Next up, let's talk hashtags. A smart hashtag strategy is your best bet for getting your Reel in front of people who don't follow you yet. Don't just slap on a few generic tags; you need a mix.
I recommend a blend of broad, niche, and community-specific hashtags. For instance, if you're a personal trainer, you might use #fitness (super broad), #kettlebellworkout (more niche), and #strongwomencommunity (hyper-targeted to a community). This gives you multiple avenues for discovery.
Your cover photo is another piece of the puzzle. It's the first thing people see when they land on your profile grid, so it needs to grab their attention. You can pull a dynamic frame from the video itself or upload a custom-designed image that clearly tells viewers what the Reel is about. A clean, enticing cover makes your whole profile look more polished and professional.
Remember to always share your Reel to your main Feed and your Story. This gives your content a crucial initial push, signaling to the algorithm that your existing audience finds it interesting.
Finally, tag any relevant accounts. If you collaborated with another creator, used a product from a specific brand, or filmed at a local business, give them a tag. This not only gives credit where it's due but also sends them a notification, increasing the odds they'll share your Reel with their own audience.
Every little bit of initial momentum helps, especially for smaller accounts. In fact, smaller profiles can see view rates as high as 20%, often blowing larger accounts out of the water. You can dig into more stats like this by checking out the latest Instagram engagement benchmarks on socialinsider.io.
Each of these small steps works together to give your Reel a successful launch and helps you improve your overall social media engagement.
Frequently Asked Questions About Instagram Reels
So, you've started creating Instagram Reels, but a few nagging questions keep popping up. Don't worry, that's completely normal. Getting these details ironed out is what separates the beginners from the pros and helps you avoid those frustrating little pitfalls.
Let's start with the big one: video length. Instagram lets you create Reels up to 90 seconds long, but just because you can doesn't mean you should. I've found the real magic for trends and viral-style content happens in that 7-15 second window. If you're doing a tutorial or a more in-depth piece, you can stretch it out, but your first three seconds have to be absolutely magnetic.
Common Creator Challenges
Another hurdle I see people stumble over all the time is music licensing, especially for business accounts. If you have a personal account, you’ve got access to a massive library of chart-topping hits. Business accounts, however, are limited to a royalty-free collection to stay on the right side of copyright law. It’s tempting to try and find a workaround, but trust me, it's not worth it. Using copyrighted audio can get your Reel muted or even taken down, so stick to the commercial library or create your own original audio.
Finally, what happens when a Reel just... flops? We've all been there. It can happen for a handful of reasons:
- Poor Quality: The algorithm isn't a fan of blurry, poorly lit, or shaky videos. Make sure your content is crisp.
- Ignoring Trends: Jumping on trending audio or formats is like a cheat code. It helps the algorithm categorize your content and show it to more people.
- Weak Optimization: Did you use relevant hashtags? Did you post when your audience was actually online? These small details make a big difference.
The worst thing you can do is get discouraged by one underperforming Reel. Look at it as a piece of data. Figure out what went wrong, tweak your approach for the next one, and just keep creating.
Nailing your Reels game does more than just rack up views and likes. It’s a seriously effective way to get your brand in front of new eyes and is a key part of learning how to increase brand awareness on social media.
Ready to take control of your entire social media strategy? PostSyncer provides an all-in-one platform to schedule, analyze, and manage your content—including Reels—across every network. Start your free 7-day trial today.