If you're just looking for the quick answer, the most common Instagram image size is 1080 x 1080 pixels for a standard square post. But if you really want to grab attention, a vertical post at 1080 x 1350 pixels is your best bet because it simply takes up more of the screen.
Getting these dimensions right from the very beginning is the difference between a sharp, professional-looking feed and one filled with blurry images and awkward, unintentional crops.
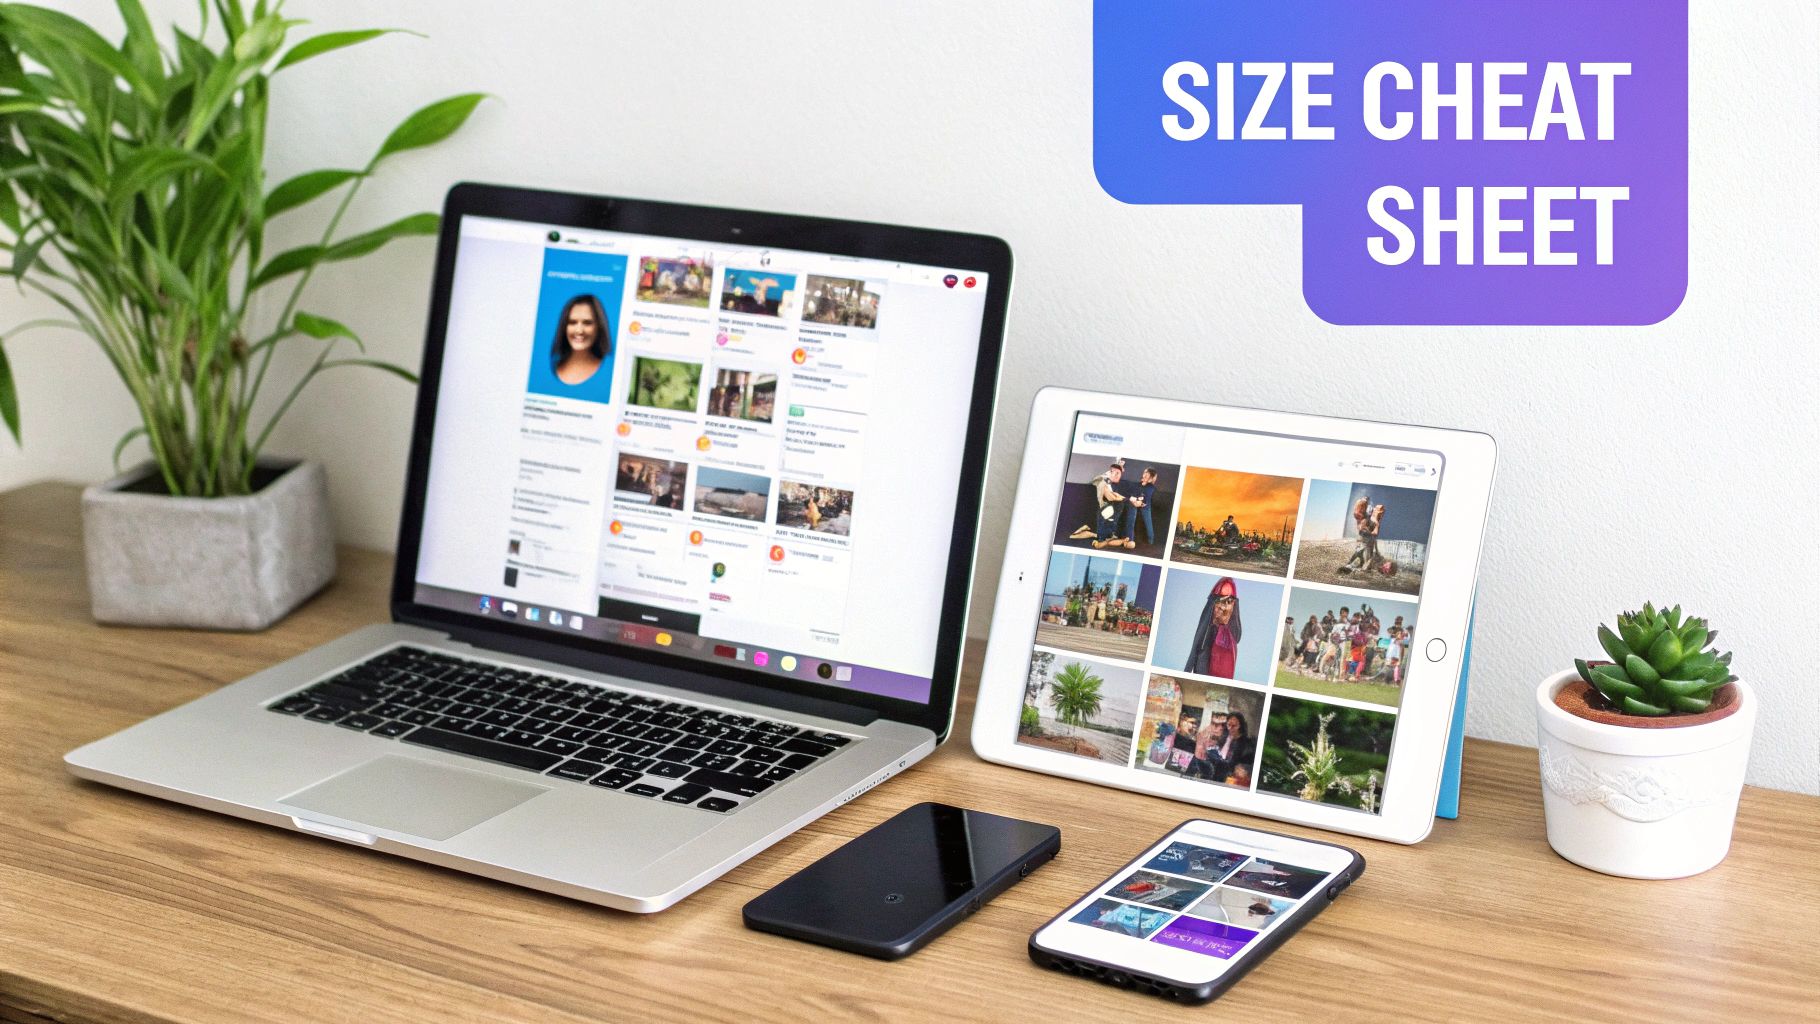
The Quick-Reference Instagram Image Size Cheat Sheet
Trying to keep up with all the different Instagram image sizes can feel like a moving target. The platform supports so many formats, from classic square photos to full-screen vertical Stories, and each one has its own ideal dimensions.
Sticking to the right sizes does more than just look good—it prevents Instagram’s aggressive compression algorithm from wrecking your image quality. This cheat sheet is your go-to resource, giving you the exact numbers you need to get it right every time.
Official Instagram Image Size and Dimensions
For social media managers and creators who need the numbers at their fingertips, this table is your best friend. I've broken down all the core specs you'll need for every major post type to save you time and keep your workflow moving.
| Post Type | Recommended Dimensions (Pixels) | Supported Aspect Ratios | Key Tip |
|---|---|---|---|
| Square Post | 1080 x 1080 px | 1:1 | The classic Instagram look. Always a safe and reliable choice. |
| Portrait (Vertical) Post | 1080 x 1350 px | 4:5 | Best for engagement as it occupies the most vertical screen space on the feed. |
| Landscape (Horizontal) Post | 1080 x 566 px | 1.91:1 | Use sparingly; it takes up the least amount of screen real estate. |
| Instagram Story / Reel | 1080 x 1920 px | 9:16 | Full-screen vertical is non-negotiable for immersive content. |
| Carousel Post | 1080 x 1080 (Square), 1080 x 1350 (Portrait), 1080 x 566 (Landscape) | 1:1, 4:5, 1.91:1 | All images/videos in a carousel must have the same aspect ratio. |
| Reel/IGTV Cover Photo | 1080 x 1920 px | 9:16 | The cover is full-screen, but remember the center 1080 x 1080 area appears on your grid. |
| Profile Picture | 320 x 320 px (minimum) | 1:1 | It's displayed as a circle, so keep your main subject centered. |
By adhering to these guidelines, you'll maintain a polished and consistent look across your entire profile, making sure your content always shows up exactly as you intended.
Here's a quick visual that ties it all together, summarizing the most essential dimensions for your posts, stories, and profile picture.
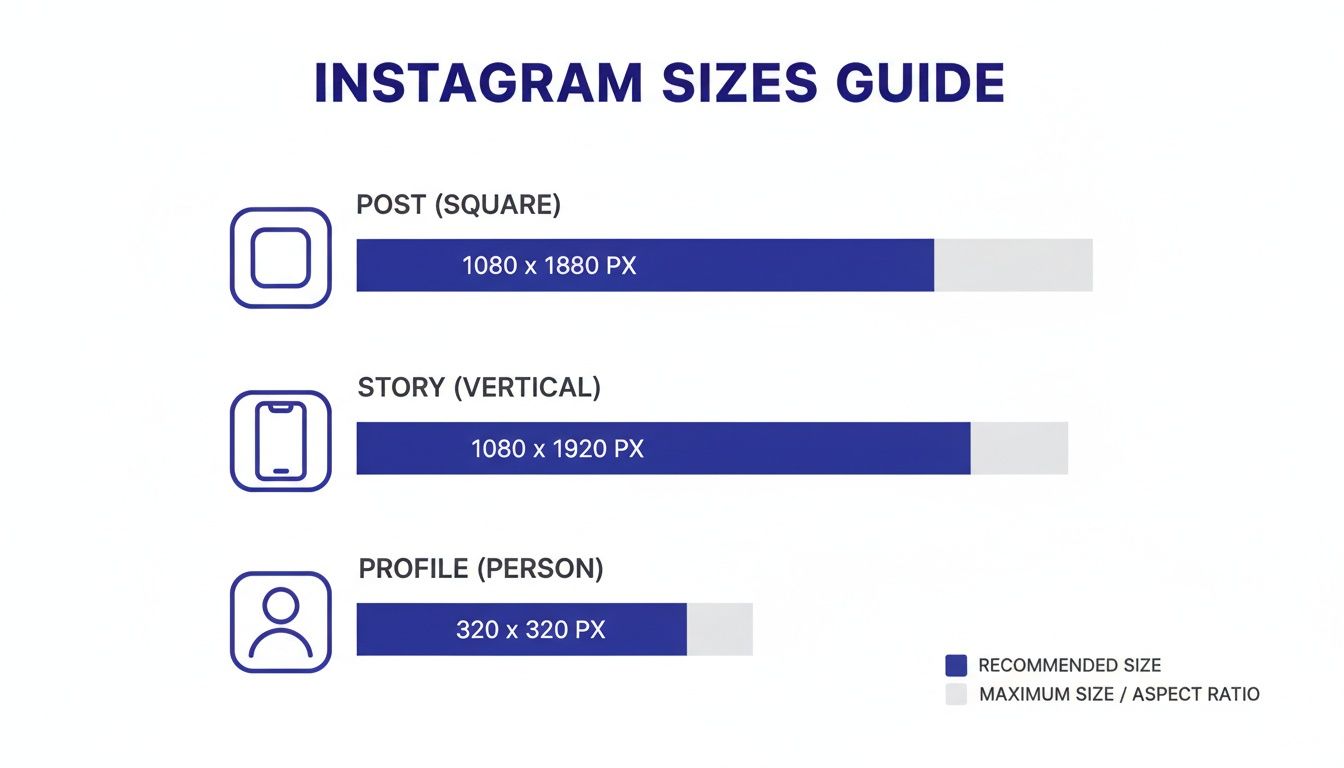
This graphic really drives home how different each format is, from the traditional square to the tall, vertical orientation needed for Stories and Reels. Mastering these sizes is the first step toward a flawless feed.
And to make things even easier, you can use our Instagram post formatter tool to quickly resize your images before you post.
Why Instagram Image Dimensions Actually Matter
You might think nailing the perfect Instagram image size is just a technical detail, but it's one of the most fundamental parts of a solid content strategy. Get it wrong, and you’re basically handing over creative control to Instagram. The platform will automatically crop, stretch, or compress your visual to make it fit, and the results are rarely pretty.
This is the number one reason you see blurry, pixelated, or just plain awkwardly cropped photos floating around. That perfect product shot loses all its punch when a key feature is lopped off, and a stunning landscape just looks distorted. These little quality issues really add up, chipping away at your brand's credibility and making it look like you don’t sweat the details.
The Algorithm and User Experience
It's not just about looking good, either. Image dimensions directly influence how the Instagram algorithm sees your content. The platform’s main goal is to keep people scrolling and engaged, and high-quality visuals are the fuel for that engine. When your images are sized correctly, they create a much better, smoother experience for the user.
Take the portrait orientation (1080 x 1350 pixels), for example. This format literally takes up more real estate on a phone screen, which can hold a user's attention for that extra split second. That tiny bit of increased "dwell time" is a huge positive signal to the algorithm, telling it your content is engaging and worth showing to more people.
On the flip side, a poorly sized image can be jarring. If it's oddly cropped or low-quality, people scroll right past it. This signals to the algorithm that your post isn't very interesting. As any good https://postsyncer.com/blog/social-media-branding-guide will tell you, consistent, clean formatting is essential for making sure every single post works for you, not against you.
Strategic Impact on Brand Performance
For any business or agency on Instagram, getting these dimensions right is non-negotiable. Every post is a touchpoint with your audience and a reflection of your brand. Consistent visual quality builds trust and authority. You wouldn't slap a low-res logo on your website, right? The same logic applies here.
Think about how all these little technical pieces fit into a larger proven Instagram marketing strategy meant to grow your brand. When your images are sized properly, your message comes through clearly, your products look their best, and your brand maintains a polished, professional feel. This isn't just about being a perfectionist; this attention to detail translates directly into better performance, stronger engagement, and a much more powerful presence online.
From Square Photos To Vertical Video
If you really want to understand why Instagram's image sizes are what they are today, you have to look at its history. What started as a simple, retro-inspired app for sharing photos has ballooned into a content beast with multiple formats. This evolution isn't just trivia—it's the key to creating content that actually feels right for the platform.
When Instagram first hit the scene, its entire identity was wrapped up in that iconic square photo. It was a deliberate nod to old Polaroid pictures, and that simplicity was a huge part of its initial charm.
The Shift Beyond The Square
For a long time, the square was it. That was your only option. But as our phones got smarter, so did our creative ambitions. Back when Instagram launched on October 6, 2010, every image was a strict 612 x 612 pixels. Fast forward to 2015, and the game changed. Smartphone screens were getting taller, and users were clamoring for more creative flexibility.
Instagram wisely responded by bumping up the resolution to 1080 x 1080 pixels for squares while finally allowing non-square uploads. As long as you stayed between an aspect ratio of 1.91:1 and 4:5, you were good to go. This opened the door for 1080 x 566 landscapes and, more importantly, 1080 x 1350 vertical portraits. You can find more great historical context on these social media image sizes on Hootsuite's blog.
That 2015 update was huge. It officially shattered the square-only rule, giving creators the power to post cinematic landscape shots and, crucially, use portrait mode to dominate more of the screen. It was a clear signal that Instagram was paying attention to how people were actually using their phones.
The Rise of Vertical Video
The next big moment came in 2016 with the launch of Instagram Stories, which went all-in on the vertical format with a new 1080 x 1920 pixel standard. This full-screen, immersive experience was an absolute home run and proved that vertical was the future.
This whole journey—from square-only photos to full-screen vertical video—wasn't random. It was a direct response to how we all naturally hold and use our smartphones.
Reels cemented this vertical-first world. Today, that 9:16 aspect ratio isn't just for disappearing Stories; it's the foundation for permanent, highly discoverable video content built for maximum engagement. In fact, knowing how to create Instagram Reels is pretty much required reading for any serious strategy now. The trend is crystal clear: if you’re not optimizing for vertical, you’re missing out. It's no longer a choice; it's a strategic necessity.
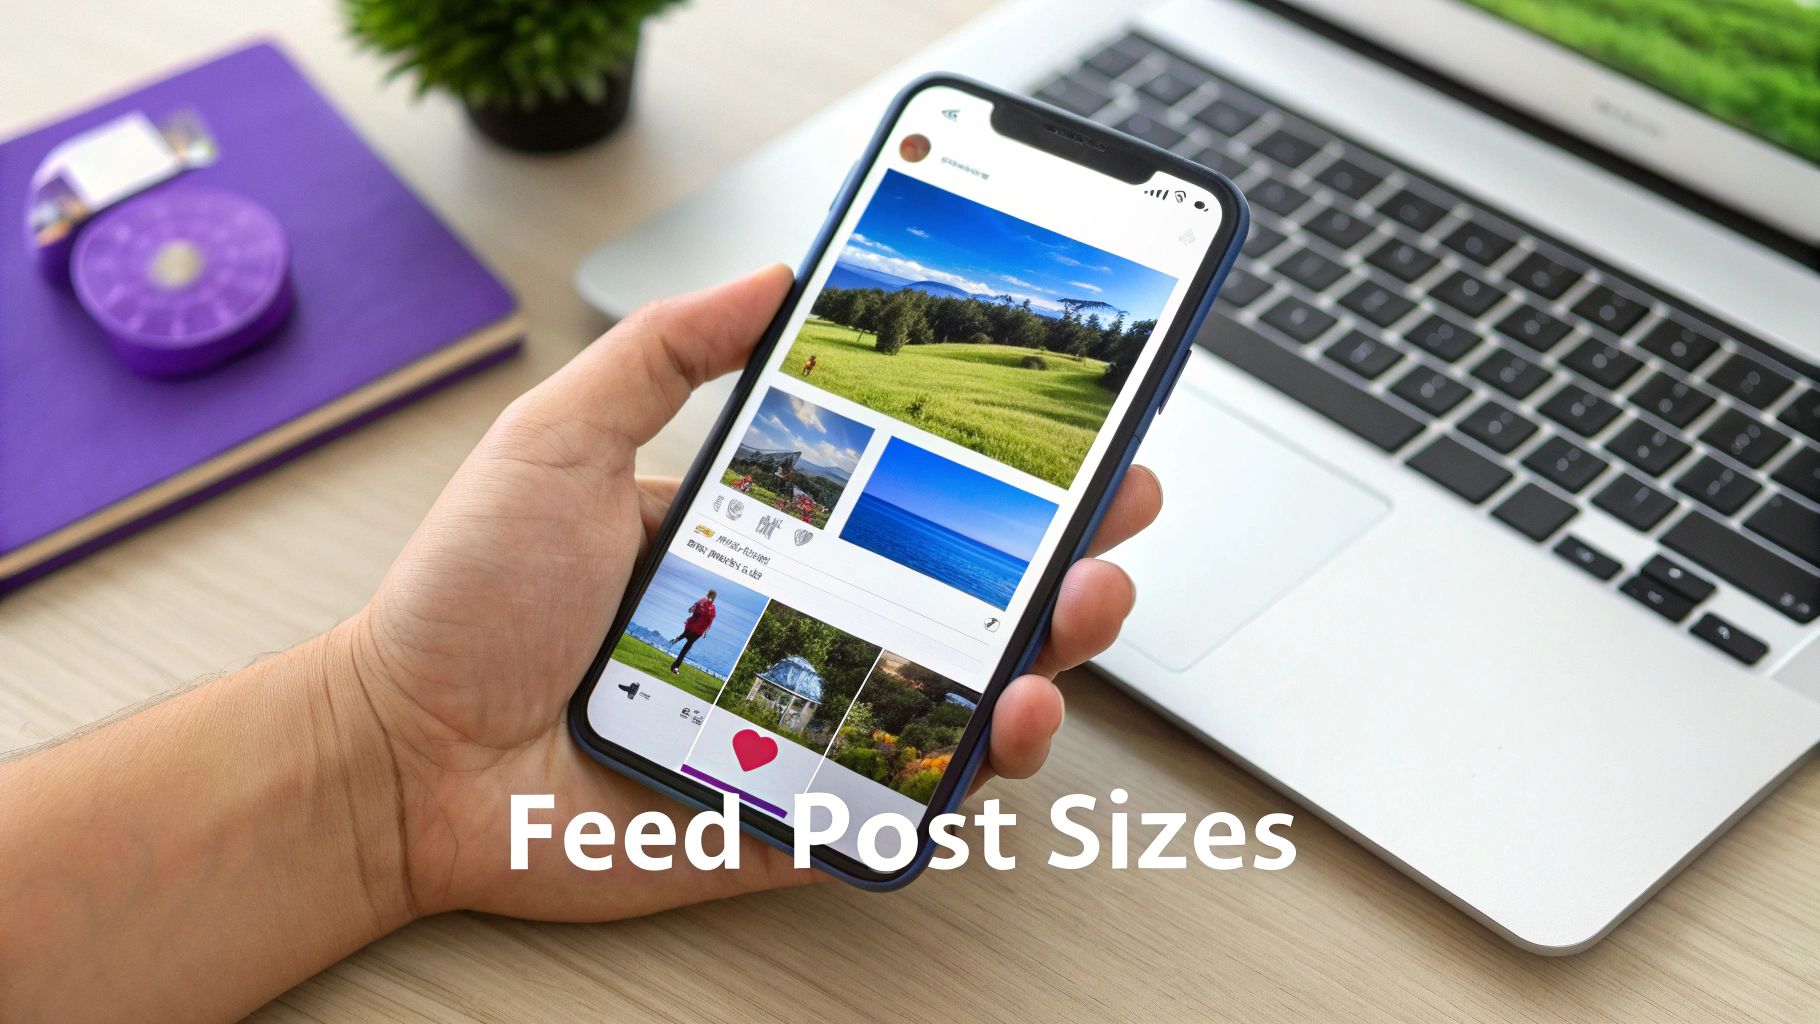
Getting Your Feed Post Image Sizes Just Right
Even with Stories and Reels grabbing so much of the spotlight, your Instagram feed is still the heart and soul of your profile's visual identity. If you want a grid that looks professional and pulls people in, you have to nail the correct Instagram image size for every single post.
There's a reason Instagram gives you three options: Square, Portrait, and Landscape. Each one has a specific job to do. This isn't just about what looks good; it's a strategic choice that determines how much real estate your content gets on someone's screen. Knowing the strengths and weaknesses of each format lets you decide whether you're trying to showcase a detailed product shot or a stunning panoramic view.
The Classic Square Post: 1:1
The original, the icon—the square post is still a workhorse format. It's a safe bet for almost any type of content and gives your profile grid a clean, uniform look that's hard to mess up.
- Recommended Dimensions: 1080 x 1080 pixels
- Aspect Ratio: 1:1
Square posts are perfect for headshots, tightly-cropped product photos, or any graphic where you want the subject front and center. Because everything is perfectly symmetrical, you don’t have to stress about weird cropping. What you see is what your followers get, which is why so many brands stick with it for a consistent aesthetic.
The High-Impact Portrait Post: 4:5
If you're chasing maximum engagement, the portrait post is your best friend. It’s simple, really: a taller image takes up more vertical space on a phone screen. This makes it harder to just scroll past, which often means more time spent looking at your content and, ultimately, better performance.
This format really hit its stride when Instagram started pushing more vertical content. The big moment was in 2016 with the launch of Stories at 1080 x 1920 px. Then IGTV came along in 2018, cementing the 4:5 ratio (1080 x 1350 px) as the ideal size for feed portraits. These shifts were a huge factor in Instagram's explosion from 100 million monthly active users in 2013 to 2 billion by 2022. You can get a deeper look at Instagram's evolution on SocialSellinator.com.
- Recommended Dimensions: 1080 x 1350 pixels
- Aspect Ratio: 4:5
Go with a portrait post for infographics, full-body fashion shots, or any image where the vertical orientation helps tell the story. Just remember one key thing: your profile grid will automatically crop the preview to a 1:1 square. Make sure your main subject is centered so it doesn't get awkwardly chopped off on your grid.
The Cinematic Landscape Post: 1.91:1
You don't see a lot of landscape (horizontal) posts on the feed, and there's a good reason for that. They take up the least amount of screen space, making them incredibly easy for users to flick past without a second glance. Less screen time can often mean less engagement.
Pro Tip: Be intentional with the landscape format. Save it for content that absolutely needs a wide frame to work—think group photos, sweeping scenic shots, or cinematic video stills that would be ruined by a tighter crop.
- Recommended Dimensions: 1080 x 566 pixels
- Aspect Ratio: 1.91:1
While landscape is great for those wide shots, always be aware of how little space it commands in the feed. If you absolutely have to post a horizontal image, a great workaround is to use a design tool to place it inside a square or portrait canvas. This adds a border but gives the image much more visual weight, preventing it from getting lost in a sea of taller posts.
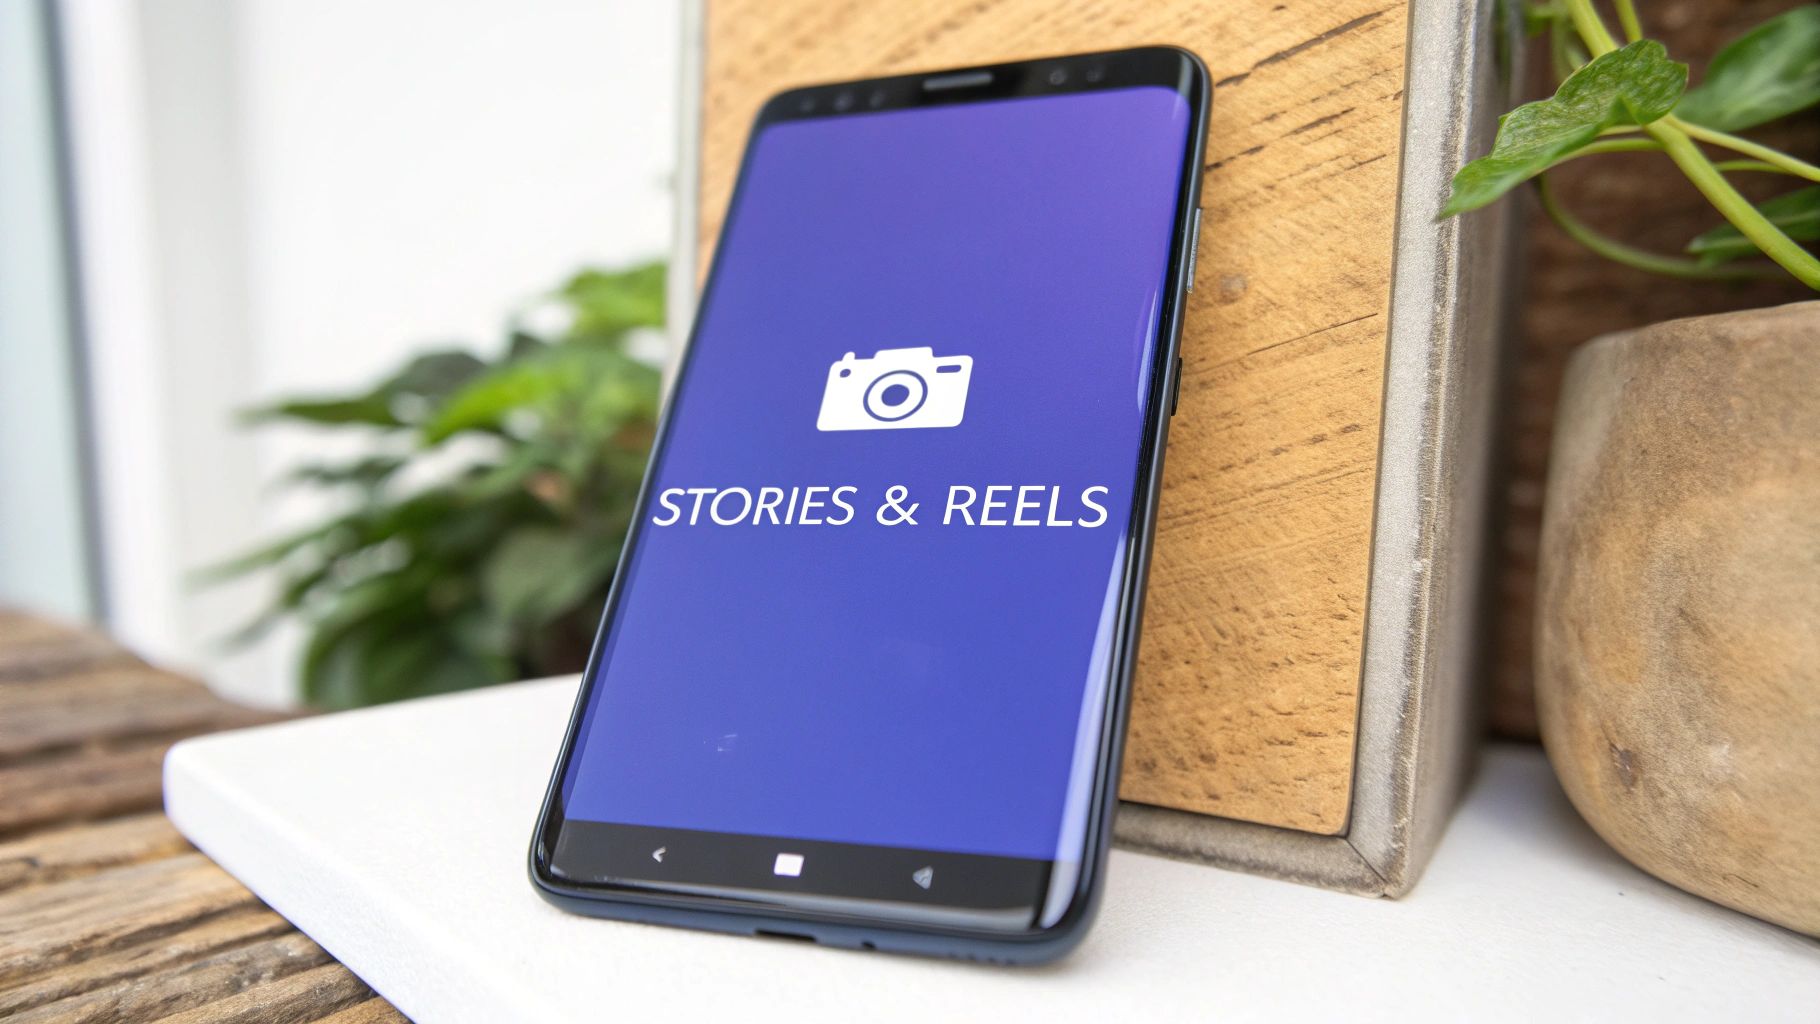
Getting Your Stories and Reels Dimensions Just Right
If you want to win on Instagram today, you have to nail your Stories and Reels. It's that simple. These formats are the engine of the platform, and they follow one non-negotiable rule: think vertical, always. To really grab someone's attention and pull them into your world, you have to design for a full-screen, immersive experience.
The magic numbers for both Instagram Stories and Reels are 1080 x 1920 pixels. This gives you that perfect 9:16 aspect ratio. Stick to this, and your content will fill up the entire screen on most phones, looking slick and professional without any weird black bars or borders. If you stray from these dimensions, Instagram will take matters into its own hands—cropping your visual or adding awkward filler space. It immediately cheapens the look.
Don't Forget the Crucial Safe Zones
Uploading at 1080 x 1920 pixels is step one. The real craft, though, is working around the user interface (UI) elements that Instagram slaps on top of your content. I've seen it a thousand times: a brilliant piece of content gets ruined because the creator's profile name, the comment field, or a poll sticker completely covers up the most important part of the visual.
This is where "safe zones" save the day. Think of it as an invisible buffer around the edges of your screen. Any vital information—text, your logo, a call-to-action button—needs to stay inside this central area to be seen.
- Top Safe Zone: Leave about 250 pixels of breathing room at the top. This keeps your content clear of the profile icon and username overlay.
- Bottom Safe Zone: You need even more space at the bottom. I recommend a buffer of around 340 pixels to avoid clashing with the caption, comment box, and all the sharing buttons.
By keeping your key elements tucked safely in the middle, you guarantee your message gets across clearly, no matter what device someone is using to watch.
How to Optimize Your Reels Cover Photo
While a Reel plays in the full 9:16 format, its life often starts on your profile grid. This is where your cover photo does double duty. The full cover image you'll upload is 1080 x 1920 pixels, but remember that only the middle square portion shows up on your main profile grid.
When you're designing or picking a cover photo, you have to make sure the most important part of the image is centered neatly inside a 1080 x 1080 pixel square. This simple step ensures that when someone lands on your profile, your grid preview looks intentional and compelling, not like an awkward, cropped mess. If you're thinking more about strategy, checking out resources on Reels vs Post Instagram for Photographers can help you decide how to best use each format.
Planning this out means your content looks polished not just when it’s playing, but also during that critical first impression on your profile—making people much more likely to tap through and watch.
Technical Best Practices For Upload Quality
Nailing the perfect Instagram image size is only half the battle. The other half is fighting Instagram’s notoriously aggressive compression, which can turn a sharp photo into a blurry mess. Getting the technical details right before you upload is your best defense. It's how you ensure your images stay as clear and vibrant as you intended.
First things first, let's talk file formats. For almost all your photos, JPEG is the way to go. It gives you an excellent balance between quality and file size, which is exactly what you need for a platform that’s going to compress your images anyway. But if your image has crisp text, sharp lines, or needs a transparent background—think logos or infographics—a PNG file will keep those details much sharper. Just be aware that PNGs come with a larger file size.
Mastering Your Export Settings
Once you’ve picked your format, your export settings are where the real magic happens. Instagram strips out a lot of data to shrink files, so you need to feed its algorithm the right information from the start. Always export your images in the sRGB color space. This is the standard for the web and what Instagram expects. If you use another profile like Adobe RGB, you'll end up with bizarre, muted colors after you post.
Resolution is just as critical. You might think uploading a massive 4K image guarantees the best quality, but it's actually the opposite. Instagram automatically downsizes any image wider than 1080 pixels, and its resizing process can be brutal. When you force the platform to shrink a huge file, you often end up with more compression artifacts and a softer image.
The key is to resize your image to a maximum width of 1080 pixels before you upload it. This gives you complete control over the final sharpness and minimizes the quality loss from Instagram’s own algorithm.
Tips For A Sharper Upload
To really combat compression, a few small tweaks in your editing software can make a huge difference. These are the final touches that separate a good post from a great one.
- Slight Over-Sharpening: Give your image a tiny bit of extra sharpening before you export. Instagram’s compression tends to soften things up, and this pre-emptive step helps counteract that effect, keeping your details crisp.
- Export Quality: When you export a JPEG, aim for a quality setting somewhere between 75% and 85%. This is the sweet spot that reduces the file size enough to keep the algorithm happy without any noticeable drop in visual quality.
- Avoid Double Compression: Whatever you do, don't screenshot your images to re-upload them. That adds a whole new layer of compression and absolutely wrecks the quality. Always use the original, properly exported file.
By following these technical guidelines, you’re essentially taking control back from Instagram. You’re telling the algorithm how your image should look, ensuring your content shows up with the sharpness and color accuracy it deserves.
Instagram Image Size Questions Answered
We get a lot of questions about the finer points of Instagram image sizes, even after laying out all the specs. Let's tackle some of the most common ones that pop up. This section is all about giving you quick, clear answers to clear up any lingering confusion.
What Happens If I Upload The Wrong Image Size?
If you upload an image that doesn't fit Instagram's recommended dimensions, the app will take matters into its own hands. It will automatically crop or resize your photo to make it fit.
This almost never ends well. You'll either see important parts of your image get awkwardly chopped off, or Instagram will add ugly black borders to fill the empty space. Even worse, this forced resizing leads to heavy-handed compression, which crushes the quality and leaves your content looking blurry and unprofessional.
The fix is simple: always resize your images to the recommended dimensions before you upload them. It’s the only way to guarantee your visuals look exactly how you designed them, preserving both composition and quality.
Should I Upload Images In 4K Resolution To Instagram?
Definitely not. It sounds like a good idea in theory—a bigger, higher-resolution file should mean better quality, right? Unfortunately, that's not how Instagram's compression algorithm works.
Instagram aggressively compresses any image wider than 1080 pixels. When you upload a massive 4K image, you’re forcing the platform to shrink it down drastically. This process almost always introduces more compression artifacts and a softer, less sharp look than if you had just exported it at 1080px wide to begin with. You get far more control over the final look by sizing it correctly yourself.
Key Takeaway: For maximum impact, the portrait orientation at 1080 x 1350 pixels (a 4:5 aspect ratio) is your best bet. This format takes up the most vertical real estate on a phone screen, holding a user's attention far longer than a square or landscape post.
That extra screen space isn't just for show—it often translates directly into higher engagement and better performance in the algorithm.
Streamline your entire social media workflow with PostSyncer. From perfect sizing to AI-powered scheduling and in-depth analytics, we give you the tools to create a flawless feed with less effort. Start your free trial at https://postsyncer.com.