


Ready to add a photo to your Instagram Story? It's pretty straightforward. From your home screen, just tap the plus icon, choose 'Story,' and then swipe up to pull in something from your photo gallery. Pick the image you want, and you're all set to start editing. That simple action is the gateway to all sorts of creative storytelling.
Your Quick Guide to Adding Photos
Instagram Stories are an absolute powerhouse on social media. I mean, over 500 million people dive into them every single day.
And it's not just a few power users, either. A staggering 86.6% of Instagram's user base posts Stories, making it one of the most important places to be if you want to connect with an audience. If you're curious, you can dig deeper into these Instagram statistics, but the takeaway is clear: mastering Stories is non-negotiable.
This guide will walk you through the three core methods for sharing your images.
Before we dive into the step-by-step, let's get a quick overview of your options. Each method serves a different purpose, whether you're making a bold statement or telling a more complex visual story.
Three Core Methods for Adding Photos to Your Story
| Method | Best For | Key Feature |
|---|---|---|
| Single Photo | Making a bold, singular statement with one killer image. | Puts all the focus on one high-impact visual. |
| Layout Grid | Creating clean, organized collages or comparing visuals side-by-side. | Offers structured templates for a polished look. |
| Photo Sticker | The most creative option for layering multiple images over any background. | Total freedom to resize, rotate, and place images anywhere. |
Each of these techniques gives you a different way to capture attention and tell your story effectively.
When you first open up the Story editor and swipe up to your gallery, you'll see a screen that looks something like this.
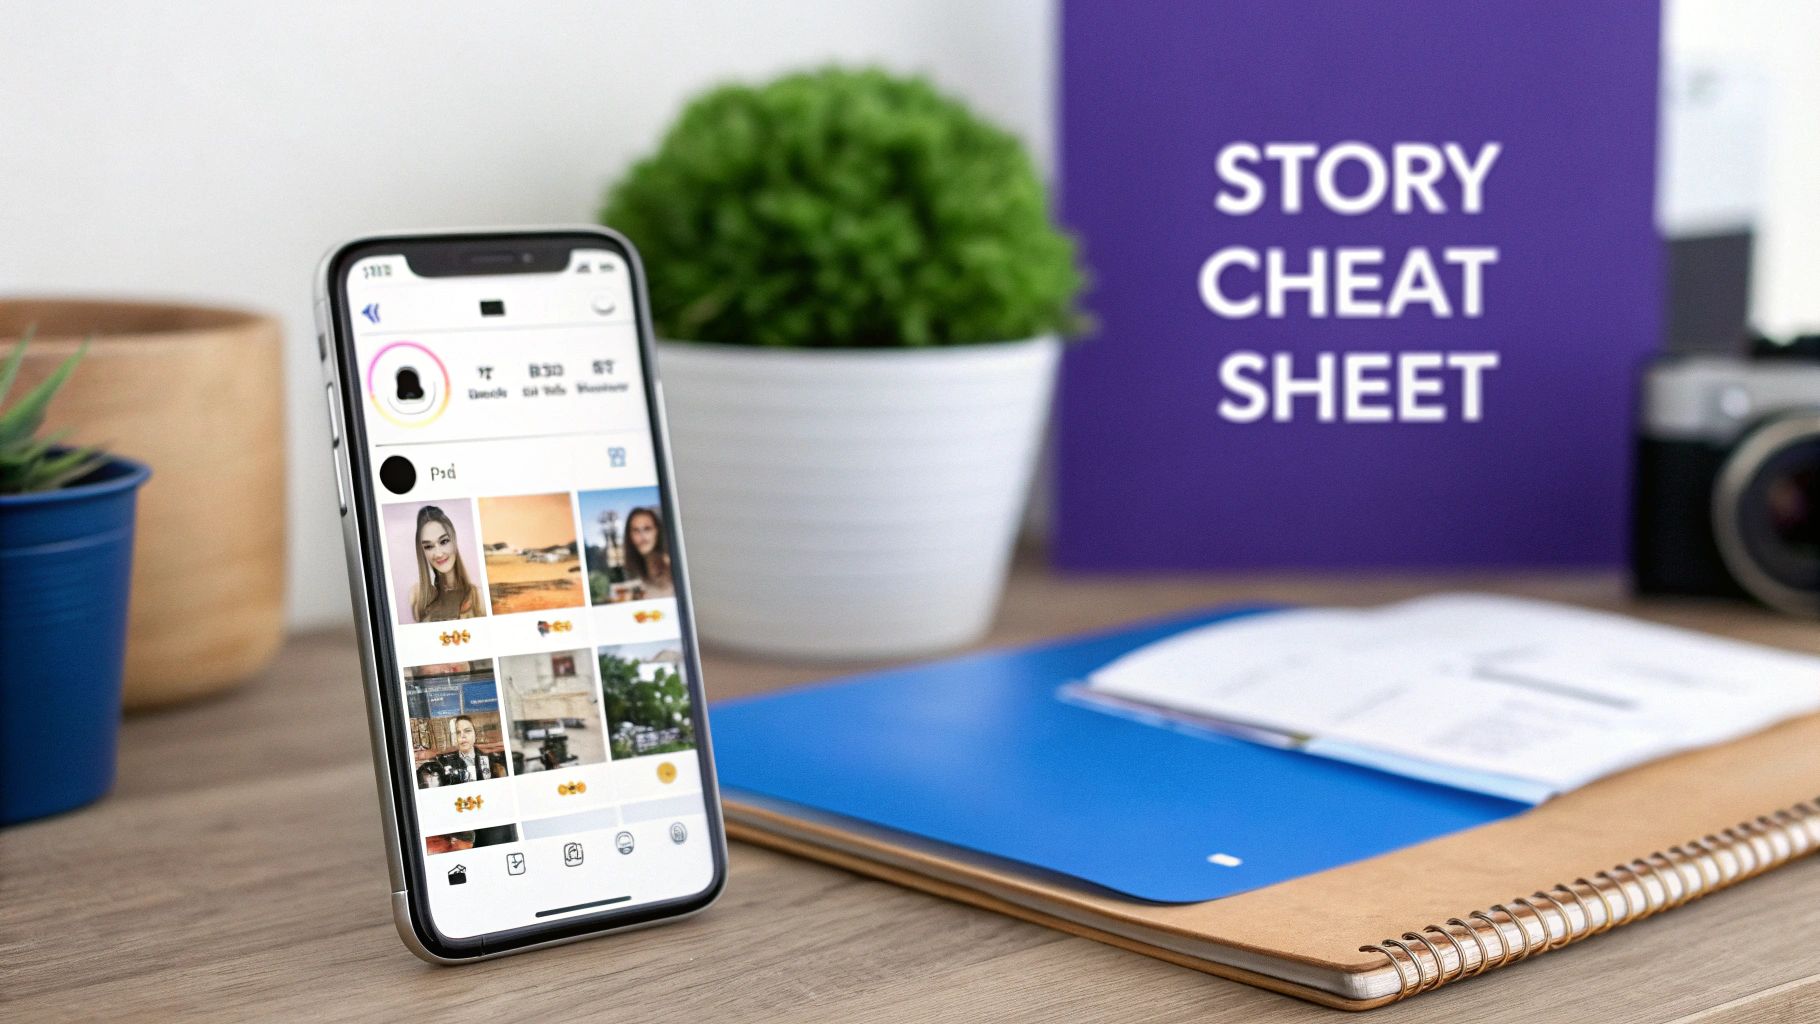
This screen is your starting point. It's where you'll decide whether to build your visual narrative with a single photo or select multiple images to get more creative. From here, you’ll pick the method that best fits what you're trying to achieve with that particular Story.
Adding a Single Photo The Right Way
Posting a single, powerful photo is the absolute cornerstone of Instagram Stories. It might seem like the most basic thing you can do, but how you present that one image makes all the difference between a Story that gets tapped through and one that makes people pause.
Think of this as your foundation. Get this right, and even your simplest Stories will look intentional and polished.
First things first, open up the Story camera and just swipe up from the bottom of the screen. This instantly pulls up your phone’s camera roll, letting you grab any recent photo or video. Once you tap on your choice, it’ll pop right onto the Story canvas, ready for you to work your magic.
Composing Your Image on the Story Canvas
This is where you go from just uploading a picture to actually designing a Story. Instagram gives you a few simple but mighty tools to frame your photo just how you want it. Using two fingers, you can pinch-to-zoom to resize the image on the fly. You can shrink it down to create some clean, empty space around it or zoom way in to put a specific detail front and center.
For example, if you're showing off a new product, you might shrink the photo down a bit. This creates a natural border, giving you the perfect spot to add a price tag or a quick description without making the product itself look cluttered.
Pro Tip: Stop centering every single photo! Seriously, try dragging your image over to a corner or aligning it to one side. This kind of asymmetrical look is often way more interesting visually. Plus, it carves out a dedicated space for you to drop in a poll, a question sticker, or other interactive goodies.
Think about the story you're trying to tell in that single frame. A stunning landscape photo might be zoomed in to focus on a single mountain peak. A portrait could be pushed to the side to make room for a powerful quote.
Mastering these simple moves—pinching, zooming, and dragging—is everything. It takes a basic upload and turns it into a thoughtful piece of content. By controlling the composition, you tell your viewer's eye exactly where to look, making that one photo command the attention it deserves.
Telling a Bigger Story with Multiple Photos
Sometimes, a single photo just doesn't cut it. When you need to capture a whole vibe, show a before-and-after, or just pack more into one frame, Instagram gives you some slick ways to combine multiple images into a single, dynamic Story. This is where your storytelling can really get interesting.
You’ve got two main routes to go here: using the built-in Layout feature for clean collages or getting a bit more hands-on with the flexible Photo Sticker option. Each has its own strengths, giving you the right tool for whatever visual message you're trying to build.
Create Structured Collages with Layout
The Layout feature is your best friend for creating clean, grid-based collages right inside the Story editor. I find it’s perfect for side-by-side comparisons, walking followers through a sequence of events, or just grouping related images into a really polished format.
To get started, just open your Story camera and find the “Layout” icon on the left-hand toolbar. You’ll see a few different grid styles pop up. Once you pick one, you can fill each section by either snapping a new photo on the spot or pulling one from your camera roll. Simple as that.
Here’s what you’ll see when you open up the Layout feature—it’s super intuitive.

As you can see, you just tap each grid segment to add your image and build out a great-looking collage in seconds.
Get Creative with the Photo Sticker Method
If you're after total creative freedom, the Photo Sticker method is where it's at. This technique is fantastic because it lets you layer multiple images on top of any background—a solid color, another photo, or even a video. You can resize, spin, and place these sticker images anywhere you want.
Just start a new Story with whatever background you’ve chosen. Then, tap the sticker icon at the top of the screen and look for the “Photo” sticker (it usually looks like a little gallery icon with a mountain and sun). Pick an image, and boom, it appears on your screen as a movable layer. You can do this over and over to add several photos, creating a cool, custom scrapbook look.
Using multiple frames like this can seriously boost your viewer retention. We've seen that multi-frame stories often have a much lower exit rate than single-image ones, making them a powerful way to keep your audience hooked.
Key Takeaway: The Layout tool is all about structure and simplicity, while the Photo Sticker method gives you maximum creative control for layering and unique designs.
When you're crafting a more complex Story with multiple photos, it helps to pull inspiration from all over. You can explore these engaging social media content ideas to get the creativity flowing.
And if you want to get ahead of the game by planning these multi-image stories in advance, you should definitely check out our guide on how to schedule Instagram Stories.
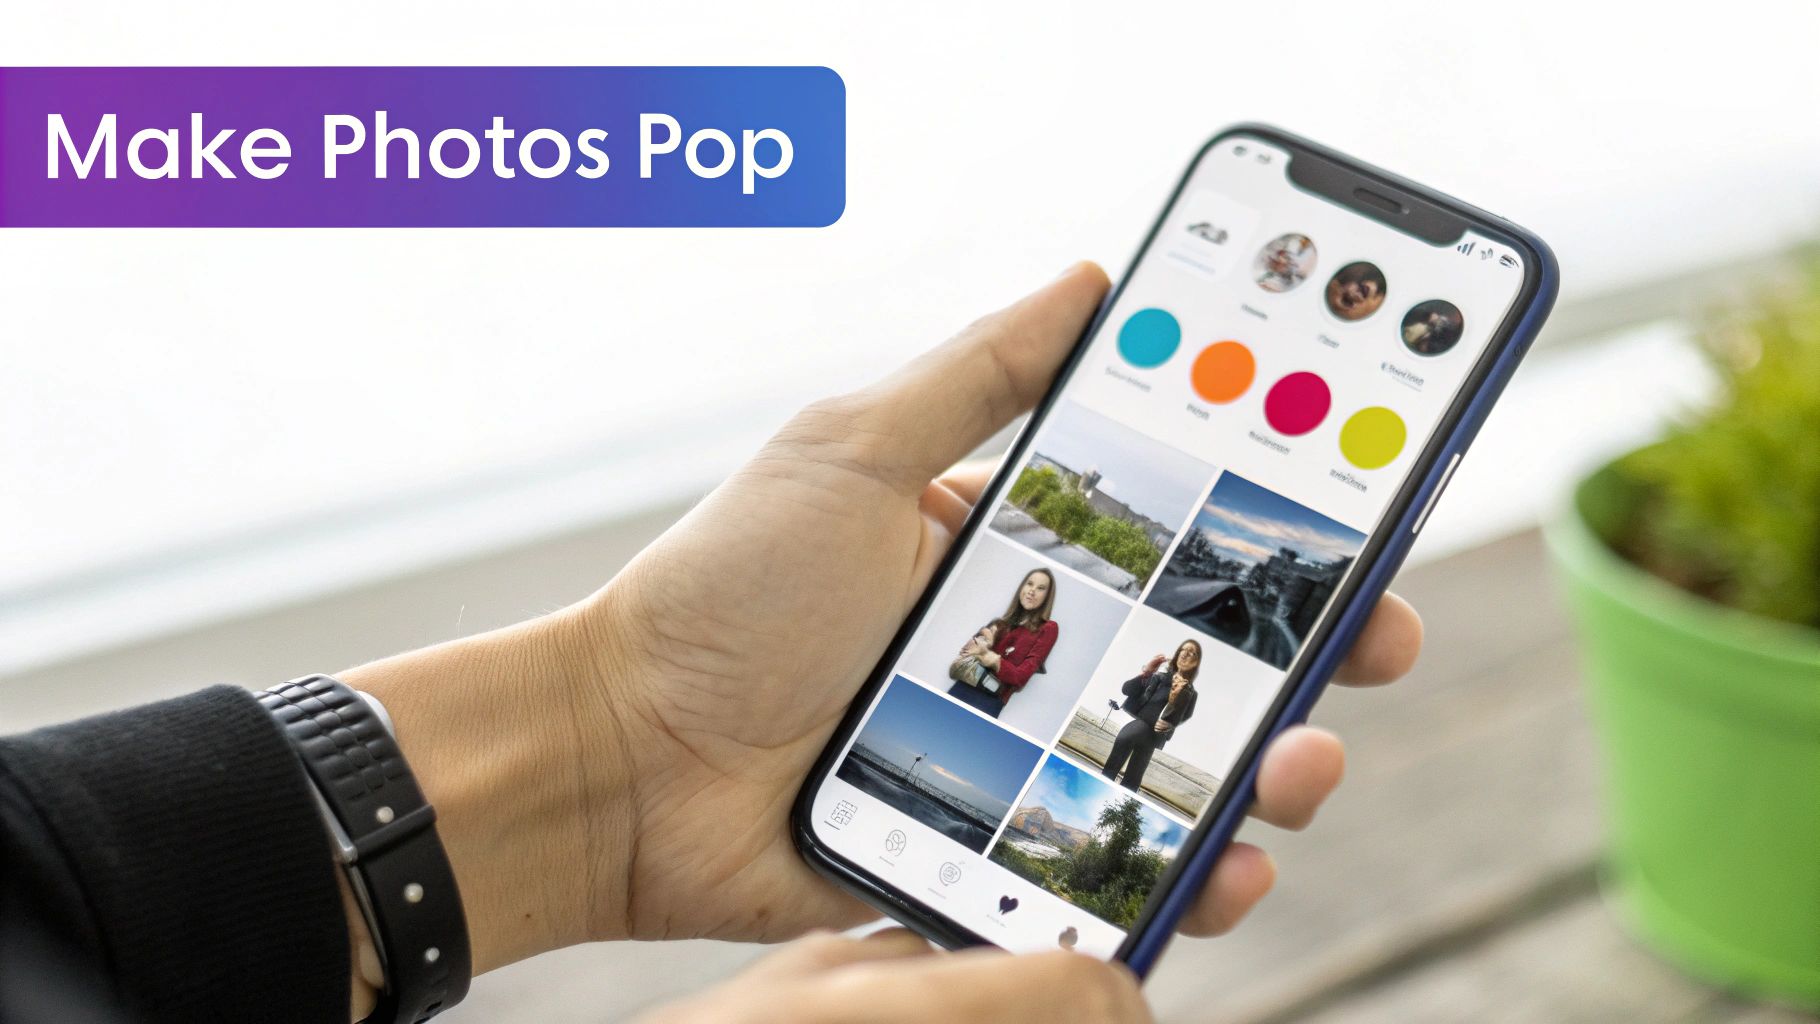
Making Your Photos Pop With Quick Edits
Getting your photo onto an Instagram Story is just step one. The real fun—and where you can make a real impact—is in the editing. A few quick tweaks can transform a simple snapshot into a scroll-stopper that actually gets people to engage. And you don't need a complicated app; Instagram's built-in tools are surprisingly powerful for creating high-impact Stories in seconds.
The easiest way to set a mood is by swiping left or right to cycle through the filters. That vintage filter might be perfect for a throwback post, while a high-contrast black and white can give a product shot a more dramatic, high-end feel. Don't just pick one at random; think about the vibe you're trying to create.
Directing Attention With Text and Graphics
Text is another fantastic tool, especially when you customize it. Instead of settling for the default white text, tap the color dropper and pull a shade directly from your photo. This little trick instantly makes your Story look more cohesive and professionally designed.
The drawing tools aren't just for scribbles, either. I often use the highlighter pen with a bold color to create a transparent overlay or to underline a key phrase for emphasis.
And then there are GIFs. They can add a ton of personality, but a word of caution: use them sparingly. A cluttered Story is an unwatchable Story. A subtle "tap here" sticker pointing to a link or a poll, however, can work wonders.
Key Insight: Your goal with these quick edits is to guide your viewer's eye. Use color, text, and small animations to make sure people are looking exactly where you want them to, whether it's a specific product detail or an interactive sticker.
With so many options, it can be tough to know which tool to grab for a specific task. I've put together a simple table to help you match your goal with the right tool.
Choosing the Right Story Editing Tool for Your Goal
| Goal | Recommended Tool | Pro Tip |
|---|---|---|
| Showcase a product detail | Zoom & Draw Tool | Pinch to zoom into your photo, then grab a bright-colored pen to circle the exact feature you're highlighting. It’s simple but incredibly effective. |
| Drive poll votes | GIFs & Text | Find an animated arrow GIF and point it right at your poll sticker. Combine this with bold text asking the question to make it unmissable. |
| Reinforce brand colors | Color Dropper Tool | Use the color dropper to match all your text and drawing accents to your brand's official color palette for a super polished, on-brand look. |
Once you’ve got the editing down, a polished look also comes from understanding how to size your images correctly. For a deeper dive, check out our guide on resizing photos for Facebook, as a lot of the core principles are the same across platforms.
And if you're sharing your content beyond Instagram, mastering Open Graph image sizes for broader social media sharing is essential to ensure your images look great everywhere they appear.
Troubleshooting Common Instagram Story Photo Issues
Even a simple feature like adding a photo to your Instagram Story can hit a snag every once in a while. Nothing is more frustrating than when a technical glitch derails a perfectly planned Story. Let’s walk through the most common headaches and get you back to creating.
One of the biggest complaints I hear is about blurry or pixelated images. This almost always comes down to one thing: compression. Instagram automatically compresses photos when you upload them to save data and speed things up. If your original image is already low-resolution, that compression is going to make it look much worse.
Key Takeaway: Always, always start with the highest-resolution photo you have. A crisp, clear image gives Instagram’s compression algorithm more data to work with, which means your final Story will look much sharper.
Solving App-Related Glitches
What happens if your photos don't even show up in your phone's gallery when you try to post? This is a classic permissions issue. Instagram needs your explicit consent to access your phone’s photo library, and sometimes that setting gets toggled off.
It’s usually a quick fix:
- Head over to your phone’s main Settings menu.
- Scroll down and find Instagram in your list of installed apps.
- Make sure that Photo Access is enabled. On some phones, you might need to select "All Photos" instead of "Selected Photos."
Another all-too-common problem is the app itself crashing, especially when you’re trying to use the photo sticker. This often points to a full cache or an outdated version of the app. Your first move should be to clear Instagram’s cache in your phone settings. If that doesn't solve it, pop over to the app store and check for any pending updates. A quick update is often all it takes to squash those persistent bugs.
Finally, let's say you've posted a Story and want to save it later without all the Instagram stickers and buttons cluttering it up. For those moments, a dedicated Instagram Story downloader can be a lifesaver, giving you a clean way to archive your best content. These tips should solve the vast majority of issues you’ll face when adding photos to your Instagram Story.
Got Questions About Instagram Story Photos? We've Got Answers.
Even when you feel like you've got the hang of Instagram Stories, little questions always seem to pop up. We get it. So, we've pulled together the most common snags people hit when adding photos to their Stories to give you some quick, clear answers for those "wait, how do I do that?" moments.
One of the biggest questions we hear is whether you can add another photo to a Story that's already live. The short answer is, unfortunately, no. Once a Story slide is published, it's set in stone. If you forgot to include an image, your only real options are to add it as a brand-new slide or to delete the original Story and start over.
Getting the Most Out of the Photo Sticker
People are always curious about how far they can push the photo sticker feature. Good news: you can add up to 10 photo stickers on a single Story slide. This is perfect for creating those cool, layered collage effects, but you'll want to use that power carefully. Piling on too many images can quickly make your Story look cluttered and be a bit much for your followers to take in.
Ever added a photo sticker, tapped it by accident, and watched it frustratingly change shape? That’s actually a feature, not a bug. With each tap, Instagram cycles through different shapes like circles, stars, and hearts. If you just want the original rectangle, get it sized and positioned just right, and then be careful not to tap it again.
Here's what separates the pros from the beginners: It's knowing these little details. Understanding that you can't edit a live Story or knowing the sticker limit helps you work smarter, not harder, and avoid those common frustrations.
Keeping these quick tips in your back pocket means you can troubleshoot on the fly. You'll spend less time trying to fix things and more time creating awesome content that your audience will love.
Ready to stop scrambling and start planning your Instagram Stories? PostSyncer gives you the tools to schedule, and analyze your content from one simple dashboard. Nail your timing, every time. Start your free trial at PostSyncer.com and see the difference.