Resizing a photo for Facebook is about more than just a simple crop. It’s about getting your image to fit the platform’s exact specifications so it looks sharp, professional, and avoids getting mangled by Facebook's automatic compression. For a standard post in the feed, that magic number is 1200 x 630 pixels.
Why Bother With Sizing Facebook Photos Anyway?
There’s nothing more frustrating than crafting the perfect image, only to see Facebook awkwardly chop off the most important part. We’ve all been there. But this isn't just about looks—it's about performance. When you resize your photos correctly, you're telling the algorithm you know what you're doing.
Think of it this way: each spot on Facebook, from your cover photo to an ad, is its own unique canvas. If your image doesn't fit, it sends a signal that your content might be low-quality, and that can hurt your reach before anyone even sees it.
It’s All About Engagement and How People See Your Brand
The first thing someone sees is your image. A blurry, stretched, or poorly cropped photo immediately makes your brand feel amateur. That first impression is made in a split second, and a sloppy visual is often enough to make someone scroll right on by.
On the other hand, a crisp, clean image that fits the screen perfectly grabs attention and invites people to engage. This isn't just a hunch. The industry settled on 1200 x 630 pixels for feed posts for a good reason. Data showed that images using the optimal 1.91:1 aspect ratio simply performed better, driving much higher engagement. When you ignore these specs, Facebook's automatic cropping can slice off key text or visual elements, tanking your post's performance. You can discover more insights about Facebook's preferred image dimensions and see how they directly connect to engagement.
Honestly, taking a few extra seconds to resize your photos is one of the easiest wins you can get. It’s a tiny technical step that has a massive impact on how people see and interact with your brand.
Alright, we’ve covered the why behind resizing your photos for Facebook. Now, let’s get into the what.
Knowing the correct dimensions isn't just about checking a box; it’s about making sure your content shows up exactly how you imagined it. Each spot on Facebook—from your profile to an ad—is its own unique canvas. Let's ditch the dry list of numbers and talk about what these sizes mean in the real world.
The difference a properly sized photo makes is night and day. It affects everything from how people perceive your brand to whether they even bother to engage.

You can see it right there. A bad fit leads to awkward, unprofessional cropping. A good fit ensures your message is delivered cleanly, giving your post the best chance to make an impact.
Profile Pictures and Cover Photos
Think of your profile picture as your digital handshake. It’s the first thing people see. While you'll upload a square image, remember that Facebook forces it into a circle on most feeds and timelines. To avoid any weird cropping, always keep the most important part of your logo or headshot dead center.
- Profile Picture Dimensions: Always upload at 1080 x 1080 pixels. It displays much smaller (176 x 176 pixels on a desktop), but starting with a high-res 1:1 image ensures it looks sharp everywhere it appears.
Cover photos are a different beast. This is the big banner for your brand, but it looks totally different on a desktop versus a phone. A classic mistake is putting key details too close to the edges, only to see them get chopped off on mobile, which is where 64% of Facebook users are browsing.
Here’s the pro move: design with a "mobile-safe" zone in mind. Keep all your critical text, logos, or faces within the central 640 pixels of the image's width. For the best all-around results, stick to 851 x 315 pixels.
Crafting the Perfect Feed Post
The news feed is where you have the most creative freedom. The size you choose isn't about right or wrong; it’s about your content and your goal. There are three main aspect ratios to work with.
Square (1:1): The mobile-first champion. Use 1080 x 1080 pixels. It takes up a ton of screen real estate on a phone, and it’s a natural fit for anyone used to Instagram. This is my go-to for product shots, bold quotes, and portraits.
Landscape (1.91:1): The classic horizontal format. Aim for 1200 x 630 pixels. It's perfect for group photos, wide scenic shots, and especially for any post that includes a shared link. This size ensures the preview displays cleanly without funky cropping.
Vertical (4:5): This is the king of mobile engagement. At 1080 x 1350 pixels, it dominates the feed and forces people to stop scrolling. Use this for infographics, detailed product visuals, or any kind of immersive storytelling.
If you’re ever unsure how your post text will look alongside your image, the PostSyncer Facebook Post Formatter is a great little tool for a quick preview before you hit publish.
Stories, Events, and Ads
Beyond the main feed, a few other spots have their own rules. Getting these right is crucial for looking polished and professional.
Facebook Stories:
Stories are built for full-screen vertical viewing on a phone. Period. If you use anything else, you'll get ugly black bars or a zoomed-in mess.
- Dimensions: 1080 x 1920 pixels (a standard 9:16 aspect ratio).
- Pro Tip: Leave about 250 pixels of breathing room at the top and bottom. This is where Facebook overlays your profile icon and call-to-action buttons, and you don’t want them covering up your message.
Event Cover Photos:
This image is the billboard for your event. A poorly sized photo can make the whole thing look amateurish.
- Dimensions: 1920 x 1005 pixels (a 1.91:1 aspect ratio).
Carousel Ads:
These are fantastic for showing off multiple products or features in one ad. Consistency is everything here.
- Dimensions: 1080 x 1080 pixels (a 1:1 aspect ratio). Keeping every card in the carousel perfectly square gives it a clean, seamless feel as users swipe through.
And while we're talking about images, it's worth noting that many of these same principles apply to video. A quick look at Facebook video ad size specifications can give you even more insight into how the platform handles media in general.
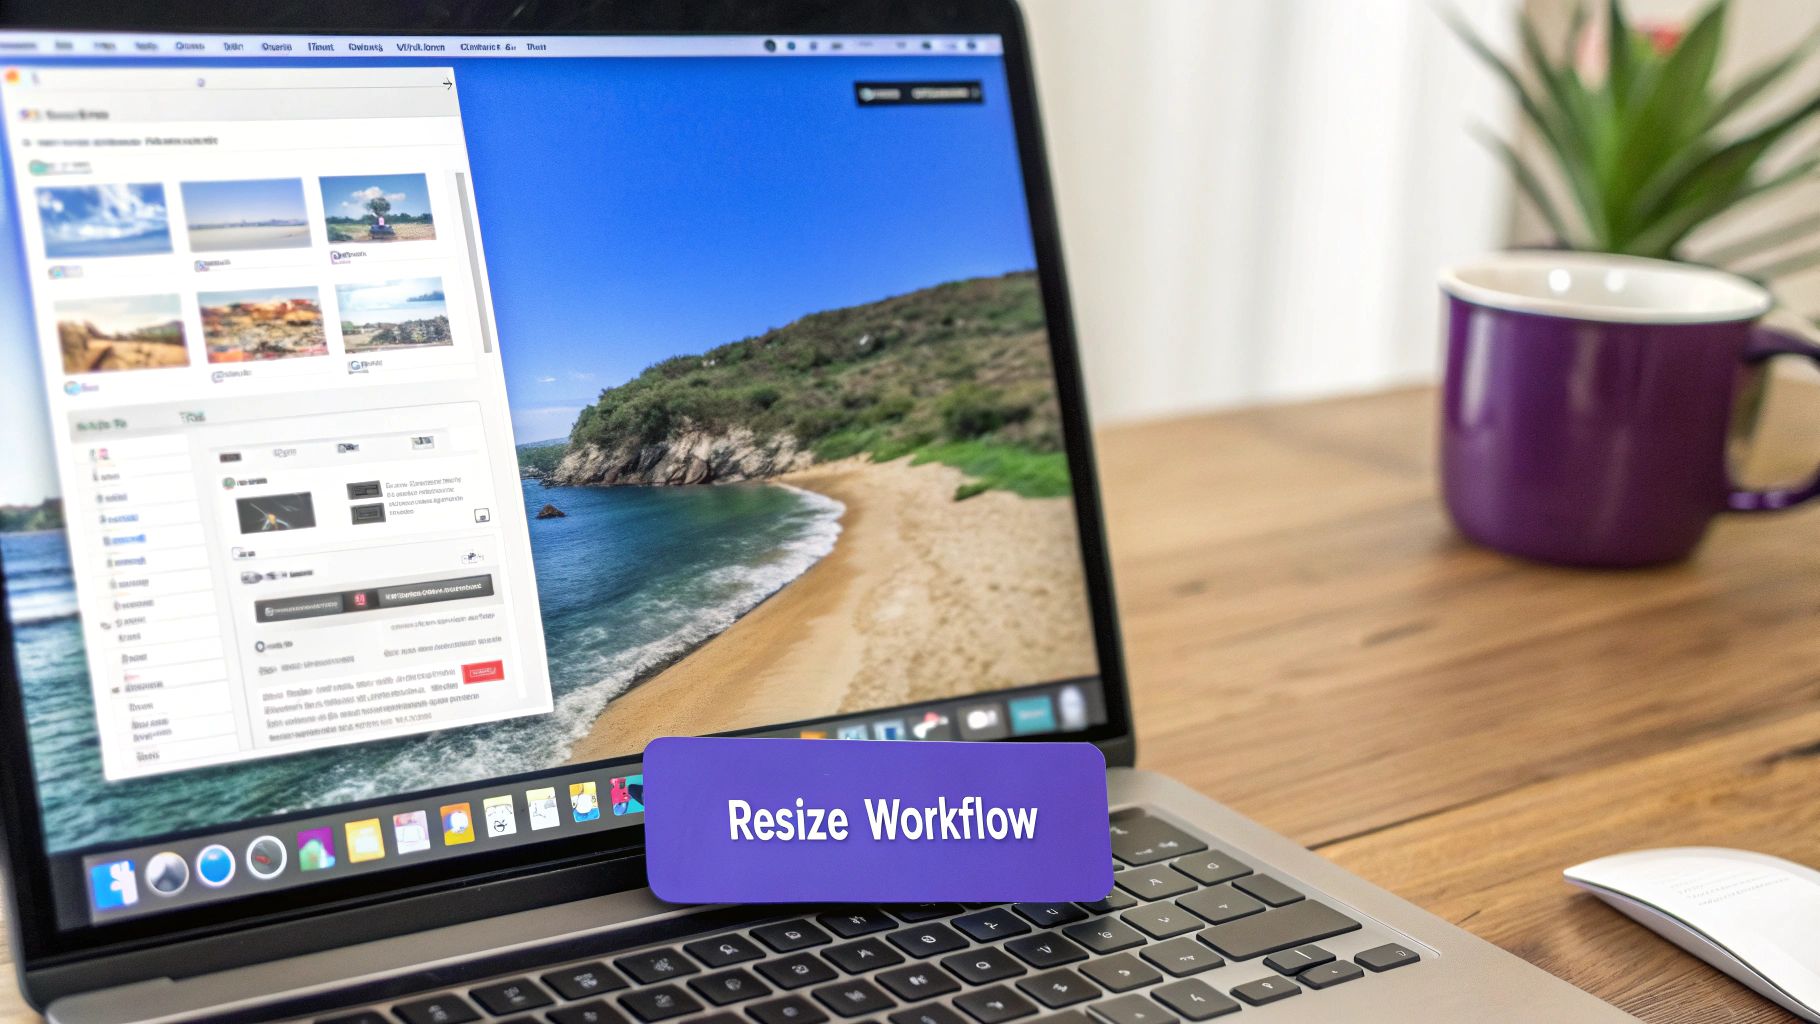
A Practical Workflow for Resizing Photos
Knowing the right pixel dimensions is only half the battle. The real challenge is building a smooth, repeatable process for resizing your photos for Facebook that doesn't eat up your entire day.
Let's walk through two practical workflows. One uses the incredibly popular Canva, and the other uses the more powerful Adobe Photoshop. The goal here isn't just to follow steps but to build a system. A solid workflow means you can resize an image for a feed post, a cover photo, and a Story in minutes—not hours—and keep your brand looking sharp with every upload.
Quick and Easy Resizing with Canva
Canva has become a go-to for so many creators, and for good reason. It makes creating visuals with precise dimensions dead simple, which is perfect when you need a quick turnaround.
First things first, you'll want to create a design with custom dimensions. Instead of picking a preset, look for the "Custom Size" button. This is where you punch in the exact pixel width and height you need, whether it's 1080 x 1080 pixels for a square post or 851 x 315 pixels for a cover photo. This gives you a blank canvas that’s perfectly sized from the get-go.
This screenshot shows the Canva homepage, where that "Custom Size" option is easy to spot in the top right corner.
From there, you just upload your photo and arrange it on the canvas. Once you’re happy with how it looks, it’s time to export.
When you're ready to download from Canva:
- Choose JPG: For most photos, this format gives you the best balance of quality and small file size.
- Select PNG: Only use this if your graphic needs a transparent background, like a logo you want to place over another image.
- Adjust Quality: Drag the quality slider to somewhere around 80-90%. This compresses the file just enough to help it load faster on Facebook without any obvious drop in visual quality.
A More Advanced Approach in Adobe Photoshop
For those who need more granular control over image quality and optimization, Adobe Photoshop is the industry standard. The secret weapon here is the "Save for Web (Legacy)" function, which gives you a detailed preview of how your compression settings affect the final image.
After opening your high-resolution photo, navigate to File > Export > Save for Web (Legacy). This opens a dialog box that's basically mission control for web optimization.
Inside this window, you'll want to dial in these settings:
- File Format: Set this to JPEG.
- Quality: I find that a setting between 60 and 70 is the sweet spot. It dramatically reduces the file size while keeping the image sharp.
- Image Size: This is where you'll type in your final dimensions, like 1200 pixels for the width of a landscape post.
- Color Profile: This is a big one. Make sure the "Convert to sRGB" box is checked. sRGB is the standard color profile for all web browsers, and checking this box prevents your vibrant photos from looking dull and washed out online.
The most powerful part of the "Save for Web" tool is the preview window. It shows you the final image and its file size in real-time as you adjust the quality slider. This lets you find that perfect balance between a crisp image and a fast-loading file.
Building a repeatable process is the key to working smarter, not harder. If you’re managing multiple social media accounts or campaigns, using a dedicated platform can make this even easier. Many of the tools offered by PostSyncer include features like a built-in media library and schedulers that help maintain consistency across all your resized assets. By combining a solid resizing workflow with smart platform tools, you ensure every single image you post is perfectly optimized.
How to Optimize File Size Without Losing Quality
Getting the pixel dimensions right is only half the battle. If your perfectly sized image takes forever to load, you’ve already lost your audience. Optimizing the file size is the crucial final step before you upload anything to Facebook, ensuring your photos look crisp without dragging down the user experience.
Think of it like packing a suitcase for a trip. You need to fit all your essentials (the visual quality) without making the bag so heavy you can't lift it (the file size in kilobytes). It’s a delicate balance, but one that’s easy to master.
Choosing the Right File Format
Your first big decision is picking between a JPG or a PNG. This choice has a massive impact on your final file size, and there’s no single "best" option—it all depends on what’s in your image.
- JPG (or JPEG): This is your go-to format for all photographs. Its compression algorithm is built for images with millions of colors, letting you drastically shrink the file size with almost no noticeable drop in quality.
- PNG: You should only use a PNG when you absolutely need transparency. If you're uploading a logo or a graphic with a clear background that needs to sit cleanly on another color, PNG is your only choice. Using it for photos will create unnecessarily massive files.
A classic mistake I see all the time is saving a detailed photograph as a PNG. This can easily make a file five to ten times larger than a high-quality JPG, slowing everything down for zero visual benefit.
Finding the Sweet Spot with Compression
Once you've settled on your format (which will likely be JPG for most images), it's time to compress. This is where you strategically trim the fat from your file. Nearly every image editor, from Photoshop's "Save for Web" feature to free online tools like TinyPNG, gives you a quality slider, usually from 0 to 100.
You don't need 100% quality for Facebook. The platform is going to apply its own compression anyway, so uploading a gigantic file is just counterproductive. I’ve found that a quality setting between 70 and 85 is the sweet spot. It keeps the image looking sharp while cutting the file size down to a fraction of the original.
While Facebook says the maximum file size is 4 MB, I always tell my clients to aim for something between 100KB and 1MB. This guarantees a speedy load time, which is non-negotiable when so many people are browsing on mobile data. A clunky, slow-loading image is a surefire way to get scrolled past.
Of course, managing all these optimized assets can get messy if you’re not organized. Having a solid system in place ensures you always grab the right version of an image when you need it. If you want to dive deeper into this, we have a whole guide covering digital asset management best practices. For the more technically curious, you can even explore some technical insights into optimizing image processing to see what’s happening behind the scenes.
Common Resizing Mistakes to Avoid
Even the most experienced creators get tripped up by the little details of resizing photos for Facebook. It’s incredibly frustrating to spend time perfecting an image, only to upload it and see it turn into a blurry, dull, or awkwardly cropped mess. Let's walk through the most common pitfalls so you can steer clear of them.
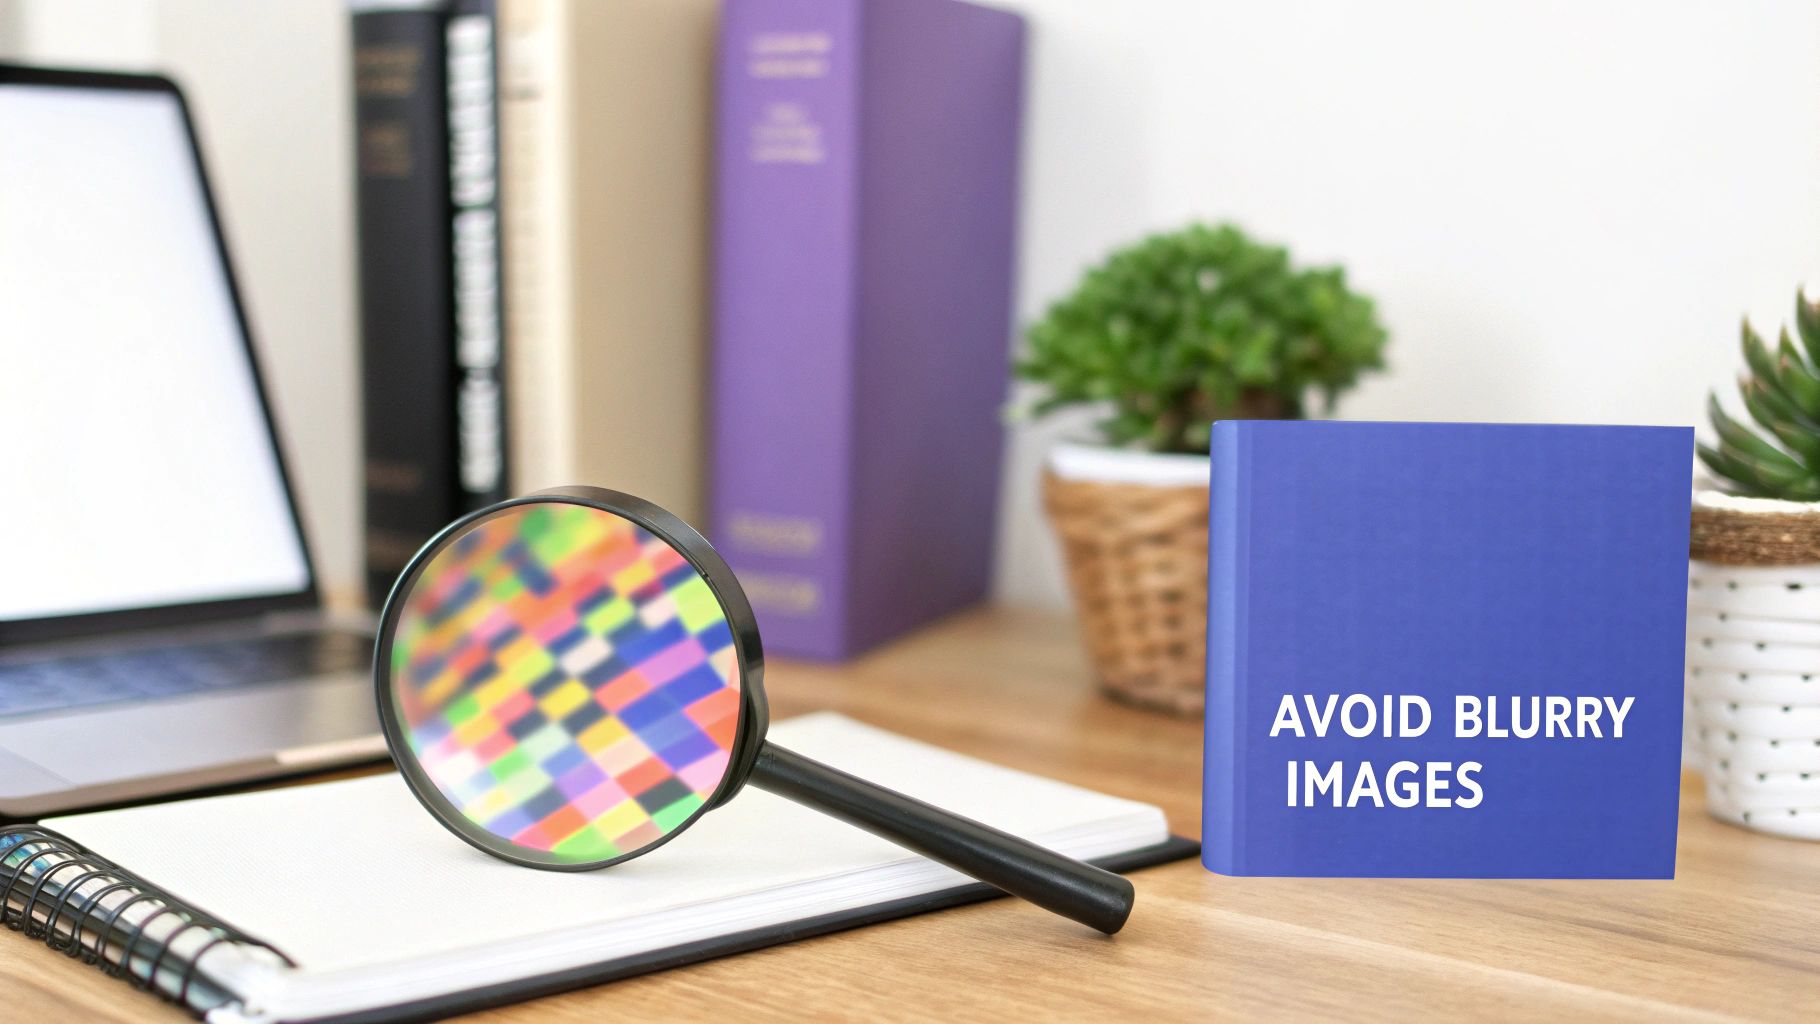
One of the biggest culprits behind blurry images is trying to make a small photo bigger. This is known as upscaling, and frankly, it just never works out well. When you stretch a low-resolution image, the software is forced to guess which pixels to invent and add, resulting in that dreaded blocky or fuzzy look we all hate.
The golden rule is simple: always start with the largest, highest-resolution source image you have. You can always make a big image smaller without losing quality, but you can’t make a small image bigger without it looking terrible.
Ignoring the Aspect Ratio
Focusing only on pixel dimensions—like 1200 x 630—without paying attention to the aspect ratio is a recipe for disaster. If your original photo is a perfect square (a 1:1 ratio) and you force it into a landscape container (1.91:1) without cropping it first, the image will inevitably look stretched and distorted.
At the end of the day, Facebook just wants to fit your content neatly into its layout. If your photo's aspect ratio doesn't match the space, the platform will automatically crop it for you, and its AI-driven choices are rarely what you would have picked.
To get ahead of this, you need to:
- Crop with intent. Don't let Facebook decide for you. Use the crop tool in your editor to frame the most important part of your image within the correct aspect ratio before you even think about resizing.
- Choose the right home for your content. If you have a great vertical photo, don't force it into a landscape ad. It’s probably better suited for a 4:5 feed post or even a Story where it can really shine.
Overlooking the Color Profile
Ever upload a photo with brilliant, vibrant colors, only to see it appear flat and muted on Facebook? This is almost always a color profile issue. Your camera might capture images in a wider color range like Adobe RGB, but the entire web pretty much runs on one standard: sRGB.
When you upload an image with the wrong color profile, web browsers and social platforms don't know how to interpret the colors correctly. The result is a dull, washed-out version of your beautiful original.
Luckily, the fix is incredibly simple. When you’re exporting your final image from your editing software, just make sure the "Convert to sRGB" box is checked. This one tiny step guarantees that the colors you see on your screen are the same ones your audience will see in their feed.
Got More Questions About Facebook Photos?
Even after you think you've got the basics down for resizing photos, a few stubborn questions always seem to pop up. I get it. Think of this as your quick-reference guide for those last-minute uncertainties that can make the difference between a post that looks okay and one that looks truly professional.
Let’s clear up some of the common ones so you can post with total confidence.
The first thing people always ask about is file formats. For just about every photograph you upload, JPG is your best bet. It’s the sweet spot, giving you fantastic image quality without a massive, slow-loading file size. The only time you should even think about using a PNG is when you absolutely need a transparent background—think logos or graphic overlays. Using a PNG for a regular photo just creates a bulky file with zero real upside.
What to Do When Things Go Wrong
Another classic problem: blurriness. You’ve painstakingly resized your image, you upload it, and it still looks soft. Why? This almost always comes down to two culprits.
First, Facebook’s own compression is incredibly aggressive. To give your image a fighting chance, always upload a high-quality JPG that has been saved in the sRGB color profile.
The second mistake is trying to enlarge a small image. This is a guaranteed recipe for a blurry mess, as you're just stretching the existing pixels. The golden rule here is to always start with the largest, highest-resolution source photo you have.
The platform's compression is no joke. Giving it a high-quality, properly formatted image from the start gives you the best chance of retaining sharpness after Facebook is done with it.
Finally, what about using the same image for both Facebook and Instagram? While you can do it, I really wouldn't recommend it if you care about how your content looks. The best-performing Facebook feed images are often landscape (1.91:1), while Instagram is all about square (1:1) or vertical (4:5) formats. Slapping the same image on both will lead to awkward, unprofessional cropping on at least one of them. Take the extra minute and create an optimized version for each network.
Juggling all these different image versions can feel like a chore, but it doesn't have to be. With PostSyncer's centralized media library and AI-powered scheduling, you can keep all your perfectly resized photos organized and ready to go. It makes posting at the optimal time a breeze. Streamline your entire social media workflow with a free 7-day trial of PostSyncer today.