

Your videos are ready, the captions are approved, and tomorrow's launch is already competing with meetings on your calendar. You want to schedule TikTok posts and move on, but there's a catch: putting a video on a calendar doesn't always mean it will publish without you.
A reliable workflow separates automatic publishing, manual completion, and approval pending before anything enters the queue. It also catches the mistakes that are easy to fix in a draft but require deleting and uploading again once you've scheduled natively.
Native Scheduling or a Third-Party Scheduler Compared
Native and third-party scheduling compared
| Option | Where you schedule | Scheduling window | Editable after scheduling | Time zone used |
|---|---|---|---|---|
| TikTok Studio on desktop | Web upload page | 15 minutes to 10 days ahead | No, delete and re-upload | Computer default time zone |
| TikTok mobile app | Phone | Use the window offered in your account; use desktop if scheduling is absent | Check available controls before confirming | Confirm the zone displayed before submitting |
| Third-party scheduler | Scheduler dashboard | Set per platform, recurring posts supported where offered | Edit while queued if the tool supports it, before publishing handoff | Workspace time zone, confirm in settings |
The desktop window of 15 minutes to 10 days ahead is documented in Hootsuite's TikTok scheduling guide, which also explains why publishing options and mobile workflows need checking. Don't assume the main TikTok app, TikTok Studio, and a third-party mobile app offer identical controls.
Use native scheduling when you manage a single account, don't need sign-off, and can finalize each video before queuing it. You don't need another dashboard just to avoid pressing Publish during a meeting. The trade-off is that native scheduling leaves less room for corrections after submission.
Choose a scheduler when account switching, approvals, and cross-platform coordination become the actual work. A visual calendar helps you spot overlapping campaigns, while separate network settings prevent you from treating a TikTok caption and a LinkedIn post as interchangeable. Compare social media scheduling tools against those operational needs, not just how far ahead their calendars extend.
Practical rule: Choose the simplest route that preserves your approval process and the TikTok features the post needs.
Video Specs to Check Before You Queue a Post
An export can look fine in your editor and still fail when the publishing service processes it. Validate the actual delivery file, not the project timeline or an earlier preview.
The following limits apply to the Content Posting API, according to TikTok's official media transfer guide: accepted containers are MP4, WebM, and MOV, recommended encoding is H.264, frame rate is 23–60 FPS, each dimension must be 360–4096 pixels, file size can reach 4 GB, and API uploads can run up to 10 minutes, subject to a lower account-level allowance.
TikTok video specs to check before scheduling
| Check | Accepted or required value | Why it matters |
|---|---|---|
| Format | MP4, WebM or MOV | Other containers can be rejected at upload |
| Codec | H.264 recommended | Non-standard encoding can fail processing |
| Frame rate | 23 to 60 FPS | Outside this range the upload can be refused |
| Dimensions | At least 360 px and at most 4096 px on each side | Check both width and height |
| File size | Up to 4 GB | Larger files need re-export |
| Duration | Up to 10 minutes via API, account limit may be lower | Check your own allowance before queuing |
Approve the delivery file
Open the exported clip in a media inspector such as MediaInfo. Check its container, video stream, frame rate, dimensions, duration, and size. Renaming a file extension doesn't convert the container or codec.
Then watch the file from beginning to end. Look for cropped subtitles, missing audio, an accidental blank ending, and text hidden behind interface controls. Technical acceptance doesn't mean the video is ready for viewers.
Use this approval checklist:
- Inspect the asset: Re-export anything outside the upload requirements.
- Check the presentation: Review the cover, caption, subtitle placement, and opening frame.
- Confirm publishing settings: Verify visibility, comments, Duet permissions, and the intended time zone.
- Record approval: Keep the approved filename, caption, reviewer, and destination account together.
- Retain evidence: Save the publication status and live post reference after release.
The TikTok video size and specs guide is useful when preparing exports. Treat a failed validation check as a reason to repair the asset, not to queue it and hope processing succeeds.
How to Test Posting Times Without Guessing
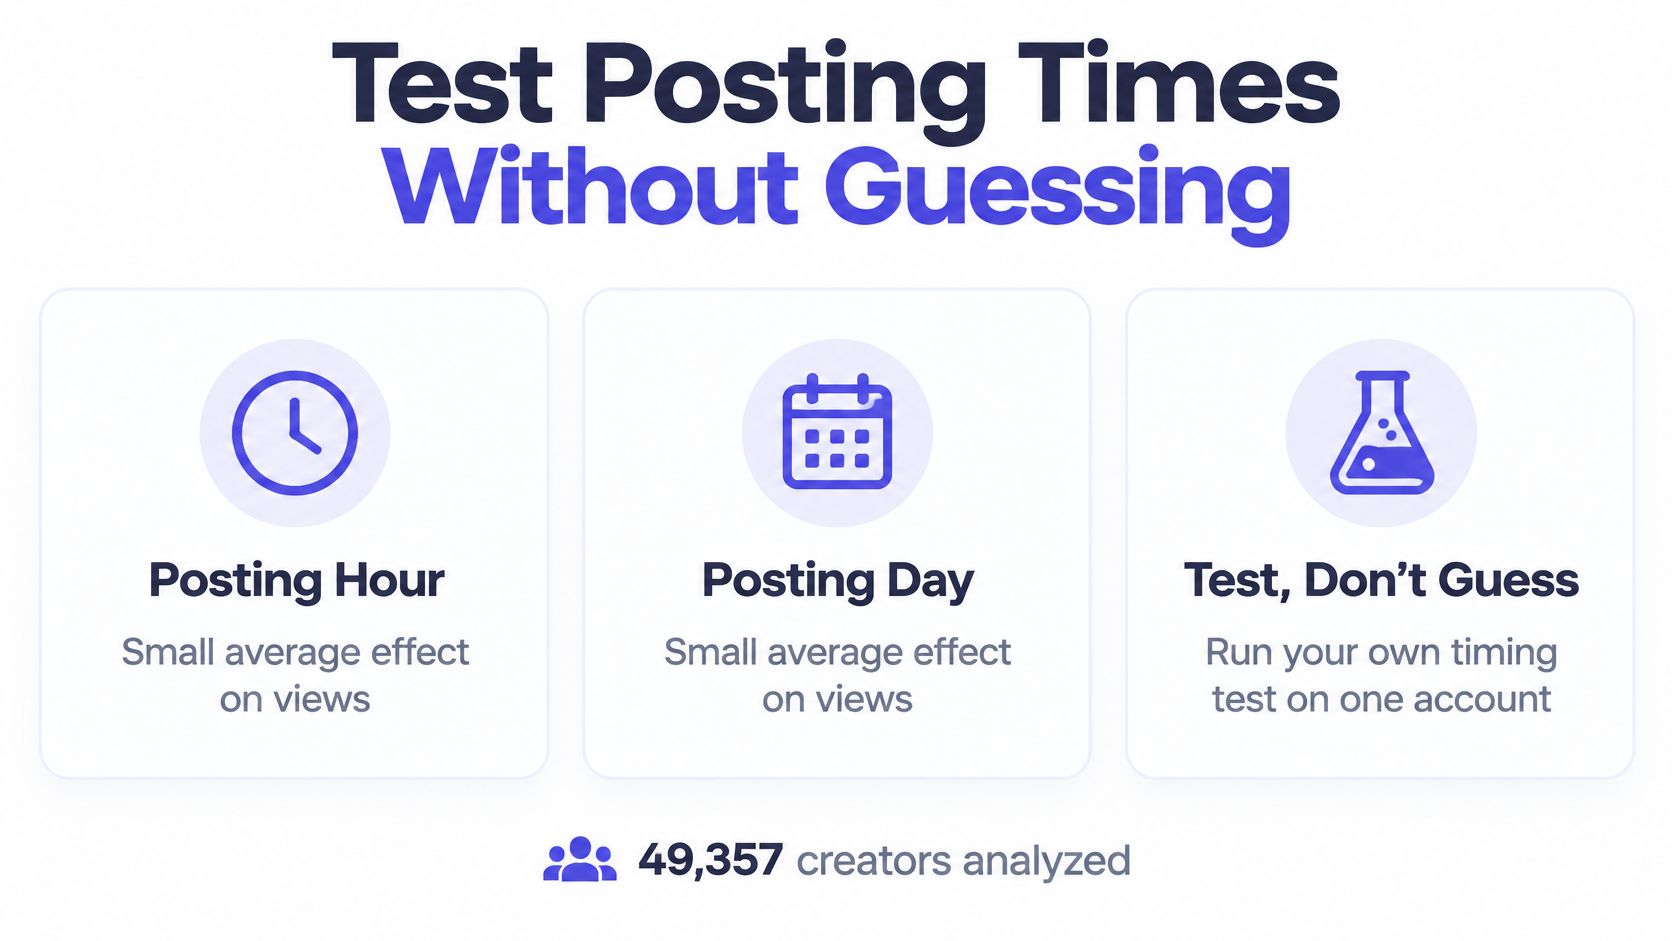
A universal best hour is a weak foundation for a publishing calendar. An analysis of 49,357 creators reported that posting hour and posting day each changed views by roughly 2% between the weakest and strongest conditions, according to Virev's TikTok algorithm analysis.
That doesn't make timing irrelevant. It means you shouldn't spend more effort moving a weak video around the calendar than improving its opening.
Run an account-level experiment
- Find plausible windows. Open TikTok Studio Analytics and inspect follower or viewer activity. Record the reporting time zone before translating those patterns into publishing slots.
- Keep your usual posting time as a control slot. Add alternative windows that match audience activity and your team's ability to handle comments.
- Rotate comparable videos across the slots. Keep the subject, format, length, hook quality, and publishing frequency as consistent as practical.
- Set the measurement rules before starting. A practical test can run for approximately four weeks, with each post evaluated after 48 hours, using median views plus shares, comments, follows, and engagement rate; Buffer's posting-time guide provides the timing context for this approach.
- Label every post by test group. Compare the median result for each slot rather than choosing the slot containing your biggest viral outlier.
Don't put every tutorial in the control slot and every product promotion in the test slot. You'd be comparing content categories, not posting times.
For audiences spread across regions, separate the intended market from the operator's location. The best time to post on TikTok should become an account-specific operating decision, not a permanent rule copied from a chart.
Keep a dependable baseline calendar, but leave room for timely replies and trends that won't survive an approval backlog.
How to Schedule a Post in TikTok Studio
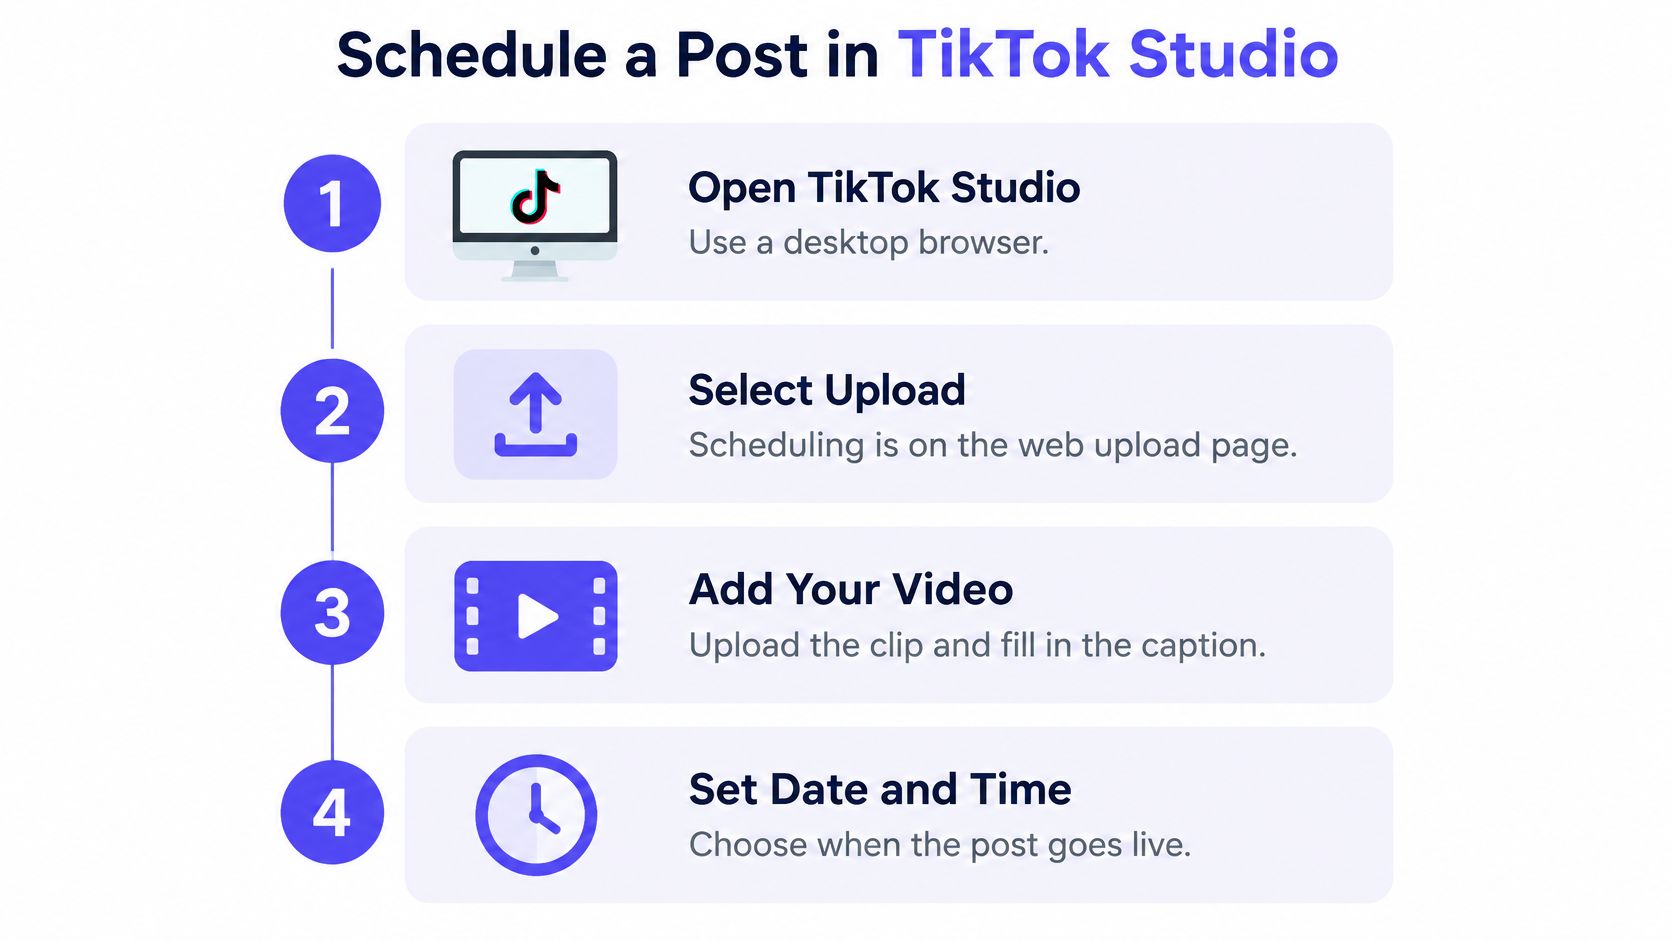
- Open TikTok Studio in a desktop browser and select Upload. Confirm you're signed into the intended account before choosing the file.
- Upload the approved video and wait for processing. Watch the preview for cropping, audio problems, and subtitle placement.
- Add the caption and cover, then review privacy, comments, and Duet options available to the account.
- Choose Schedule instead of immediate publishing. Select an eligible date and time, then check the computer's time-zone setting against your intended audience.
- Review everything before clicking Schedule. Confirm the resulting entry has the expected account, date, time, and queued status.
The documented native scheduling window is 15 minutes to 10 days ahead, and the video, caption, and scheduled time can't be edited afterward; the scheduler overview describes the delete-and-upload-again requirement. Treat submission as a final approval, not a saved draft.
Menu labels can change, so follow the controls displayed in your account. Artists coordinating release-day account setup can also browse setup guides for artists from OohYeah, keeping those setup tasks separate from final publishing approval.
How to Schedule TikTok Posts With a Scheduler
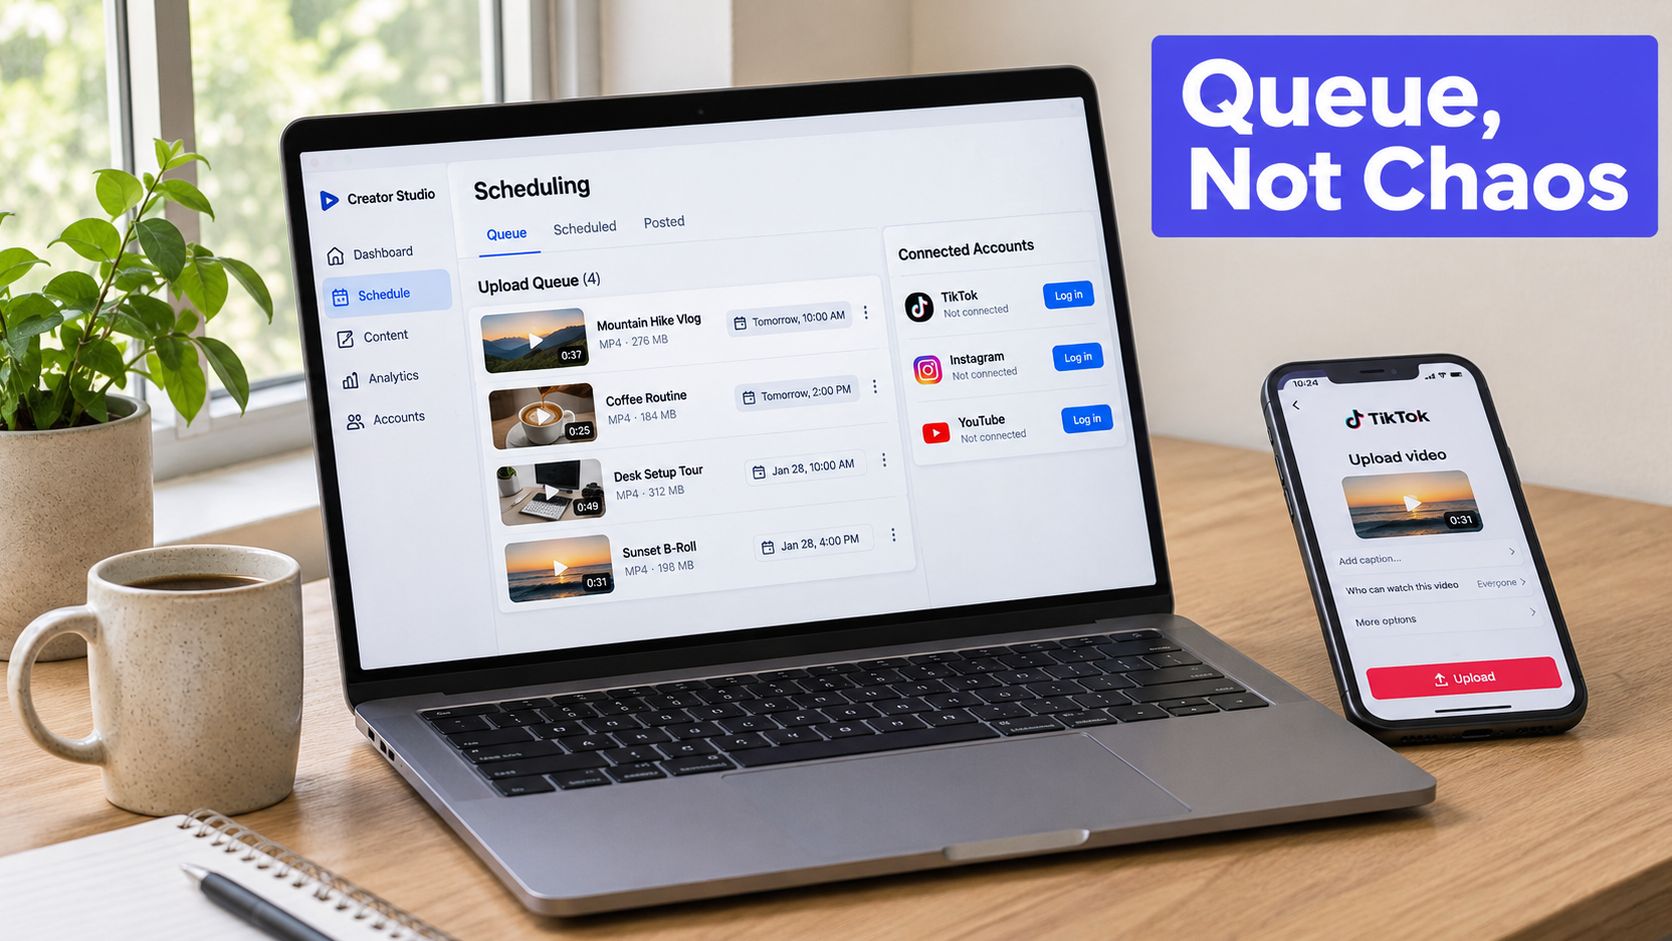
A scheduler lets you manage a queue rather than submit isolated uploads. The important distinction is whether each queued item is ready for automatic publishing or still needs someone to finish it.
Use the dashboard as an operating view, not proof that publication has happened.
Build the queue deliberately
- Connect the correct TikTok account through OAuth. Sign in on the authorization screen and review the requested permissions. Don't send account passwords to teammates or paste them into a shared planning document.
- Open the composer, select TikTok as a destination, and upload the approved asset. Check the profile identity before adding other networks.
- Write the TikTok caption and relevant hashtags. Put the useful context first, and don't assume a pasted URL will function like a clickable website link.
- Set TikTok's posting time separately. A shared asset doesn't require an identical release time or caption across every destination.
- For a recurring series, use the repeat controls only if supported. Inspect the first queued occurrence and make sure later repetitions won't recycle expired offers or dated language.
- Send the post for approval when another person owns brand, legal, or campaign sign-off. Assign that reviewer before the deadline becomes urgent.
- Review the calendar and the publishing mode. If the post requires an in-app sound, effect, or final adjustment, assign someone to handle that manual step.
A screen walkthrough can help you map this routine to the controls you're using.
Make status labels actionable
Use clear internal labels such as auto-publish ready, manual TikTok completion required, and approval pending, even if your scheduler uses different wording. A reminder-based post needs an owner, a working notification route, and access to the correct TikTok account.
Don't substitute calendar placement for approval. A post should enter the publishing queue only when its asset, metadata, permissions, and publishing mode are settled.
We handle TikTok user data in line with TikTok's Platform Terms of Service and Data Privacy requirements. Review the authorization permissions before connecting an account, and remove access when a collaborator no longer needs it.
Fixing Missed, Wrong or Stuck Scheduled Posts
When a post appears at the wrong hour, inspect the time-zone settings before changing the content calendar. Compare the intended audience time, the scheduled timestamp, and the actual publication timestamp.
A queued post and an already published post require different decisions. You can replace a queued entry; you can't undo the audience exposure of a video that has already gone live.
Scheduled post problems and fixes
| Symptom | Likely cause | Fix |
|---|---|---|
| Post went live at the wrong hour | Computer or scheduler used a different time zone | Confirm the zone; delete and replace an incorrect queued native entry, or assess whether a live post needs removal |
| Caption typo after scheduling | Native scheduled posts cannot be edited | Delete, re-upload and reschedule |
| Scheduled post never published | Manual completion was required or the account lacked eligibility | Check the status label, complete the post in TikTok if required, or resolve account access |
| Upload rejected | Duration, frame rate or dimensions outside limits | Re-export to spec and check the file requirements |
Diagnose before retrying
For a stuck upload, read the error message and check whether the account connection is still authorized. Retrying the same invalid file won't correct its encoding, and reconnecting the account won't fix an oversized export.
For an apparently missed post, check TikTok itself before triggering another upload. A scheduler's status can lag behind the live destination, and an immediate retry risks a duplicate.
Recovery rule: Confirm whether the post exists publicly before you publish a replacement.
Repeated failures call for a workflow change, not another isolated correction. Pause the affected queue, inspect shared settings and permissions, and test the repaired route with an approved post before restoring campaign activity.
Keep the failure reason in your publication record. That makes it easier to distinguish a damaged file from a recurring handoff or account-access problem.
Set Up Your First Scheduled Week
Start by choosing a small batch of approved videos for a single account. Resist the urge to fill every available calendar slot before you've confirmed that the publishing route works.
There's a reasonable case for a manageable cadence: Buffer's analysis of 11.4 million posts found that accounts increasing from one post per week to 2–5 posts per week received up to 17% more views per post. That's an observed association, not a guarantee that adding posts will improve your results.
Prepare a controlled launch
- Choose the route: Use native scheduling for a straightforward, finalized batch, or a scheduler when coordination requires it.
- Approve the assets: Finish technical and editorial checks before adding publishing dates.
- Label the experiment: Keep control and test slots distinct, with comparable content assigned across them.
- Assign manual work: Give reminder-based posts a named owner and a backup.
- Review delivery: Confirm publication before evaluating performance, then keep the experiment running long enough to compare patterns.
A shared calendar makes the planned week easier to inspect.
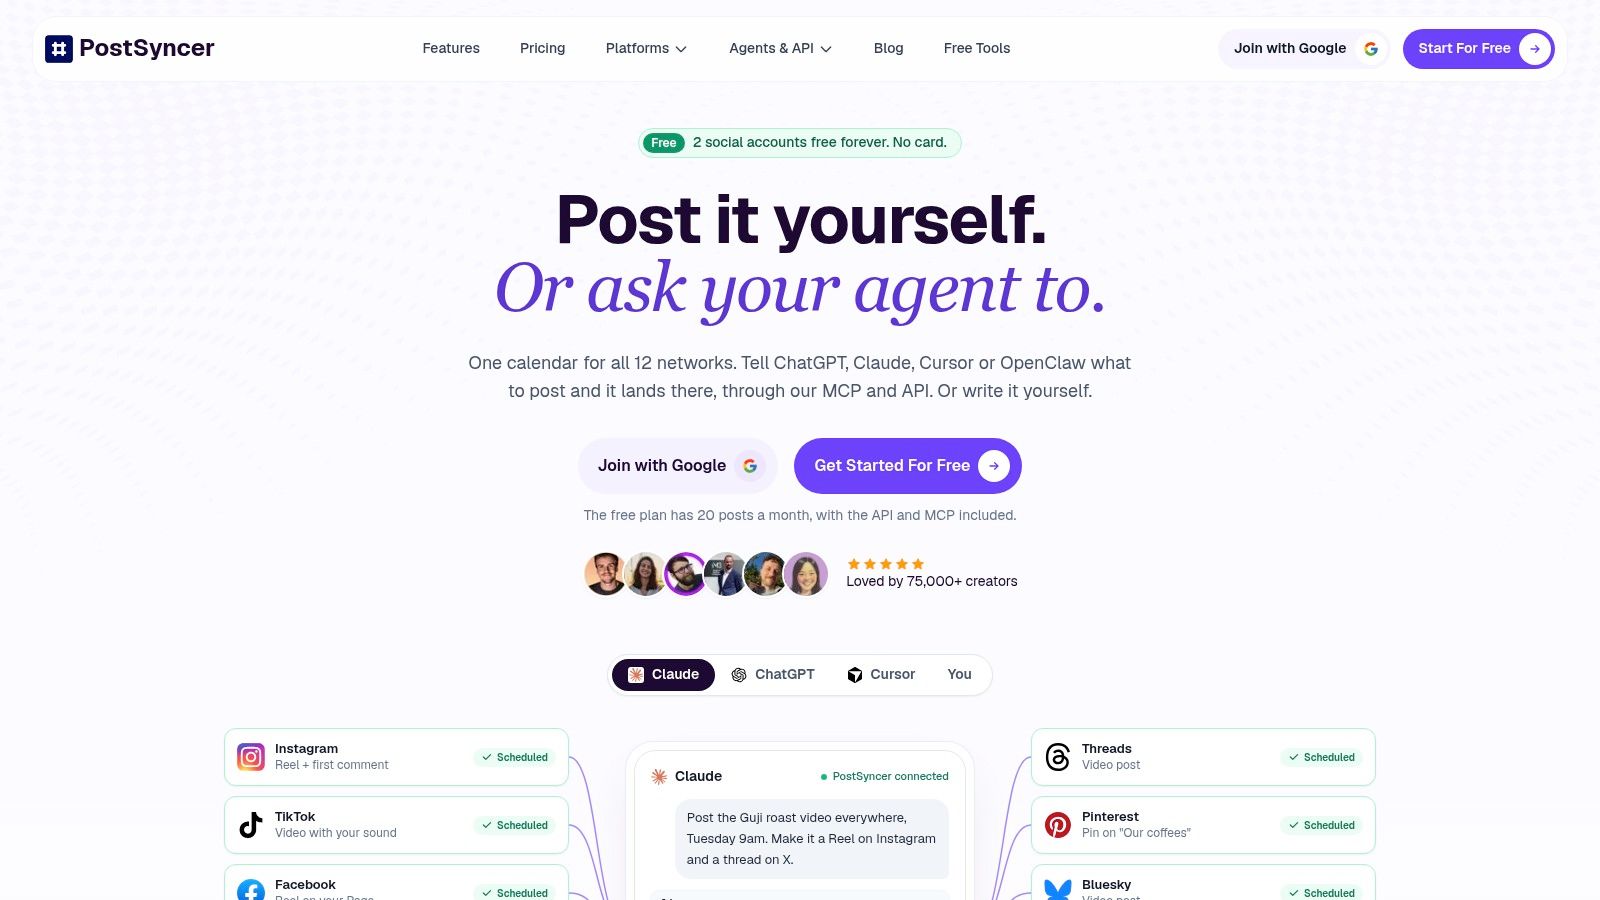
In PostSyncer, you can plan and publish across 11+ networks, set specific posting times for each platform, and create recurring posts. Use those controls to coordinate distribution without assuming every platform needs the same schedule.
Your first successful week should establish a repeatable process: approved content, correct destinations, clear ownership, and confirmed delivery. Change the timing or cadence deliberately after that foundation works.
PostSyncer brings multi-account scheduling, team collaboration, and performance analysis into a shared workspace. Visit PostSyncer to build your TikTok publishing calendar, set platform-specific posting times, and organize your next approved batch.